Growing Hollyhocks: How to Get the Most from this Cottage Garden Classic
For romanticism, stature, elegance and pollinator-friendly credentials, growing hollyhocks will add a very special dimension to beds and borders – here’s how to do it right

Amy Draiss
Sign up for the Gardening Know How newsletter today and receive a free copy of our e-book "How to Grow Delicious Tomatoes".
You are now subscribed
Your newsletter sign-up was successful
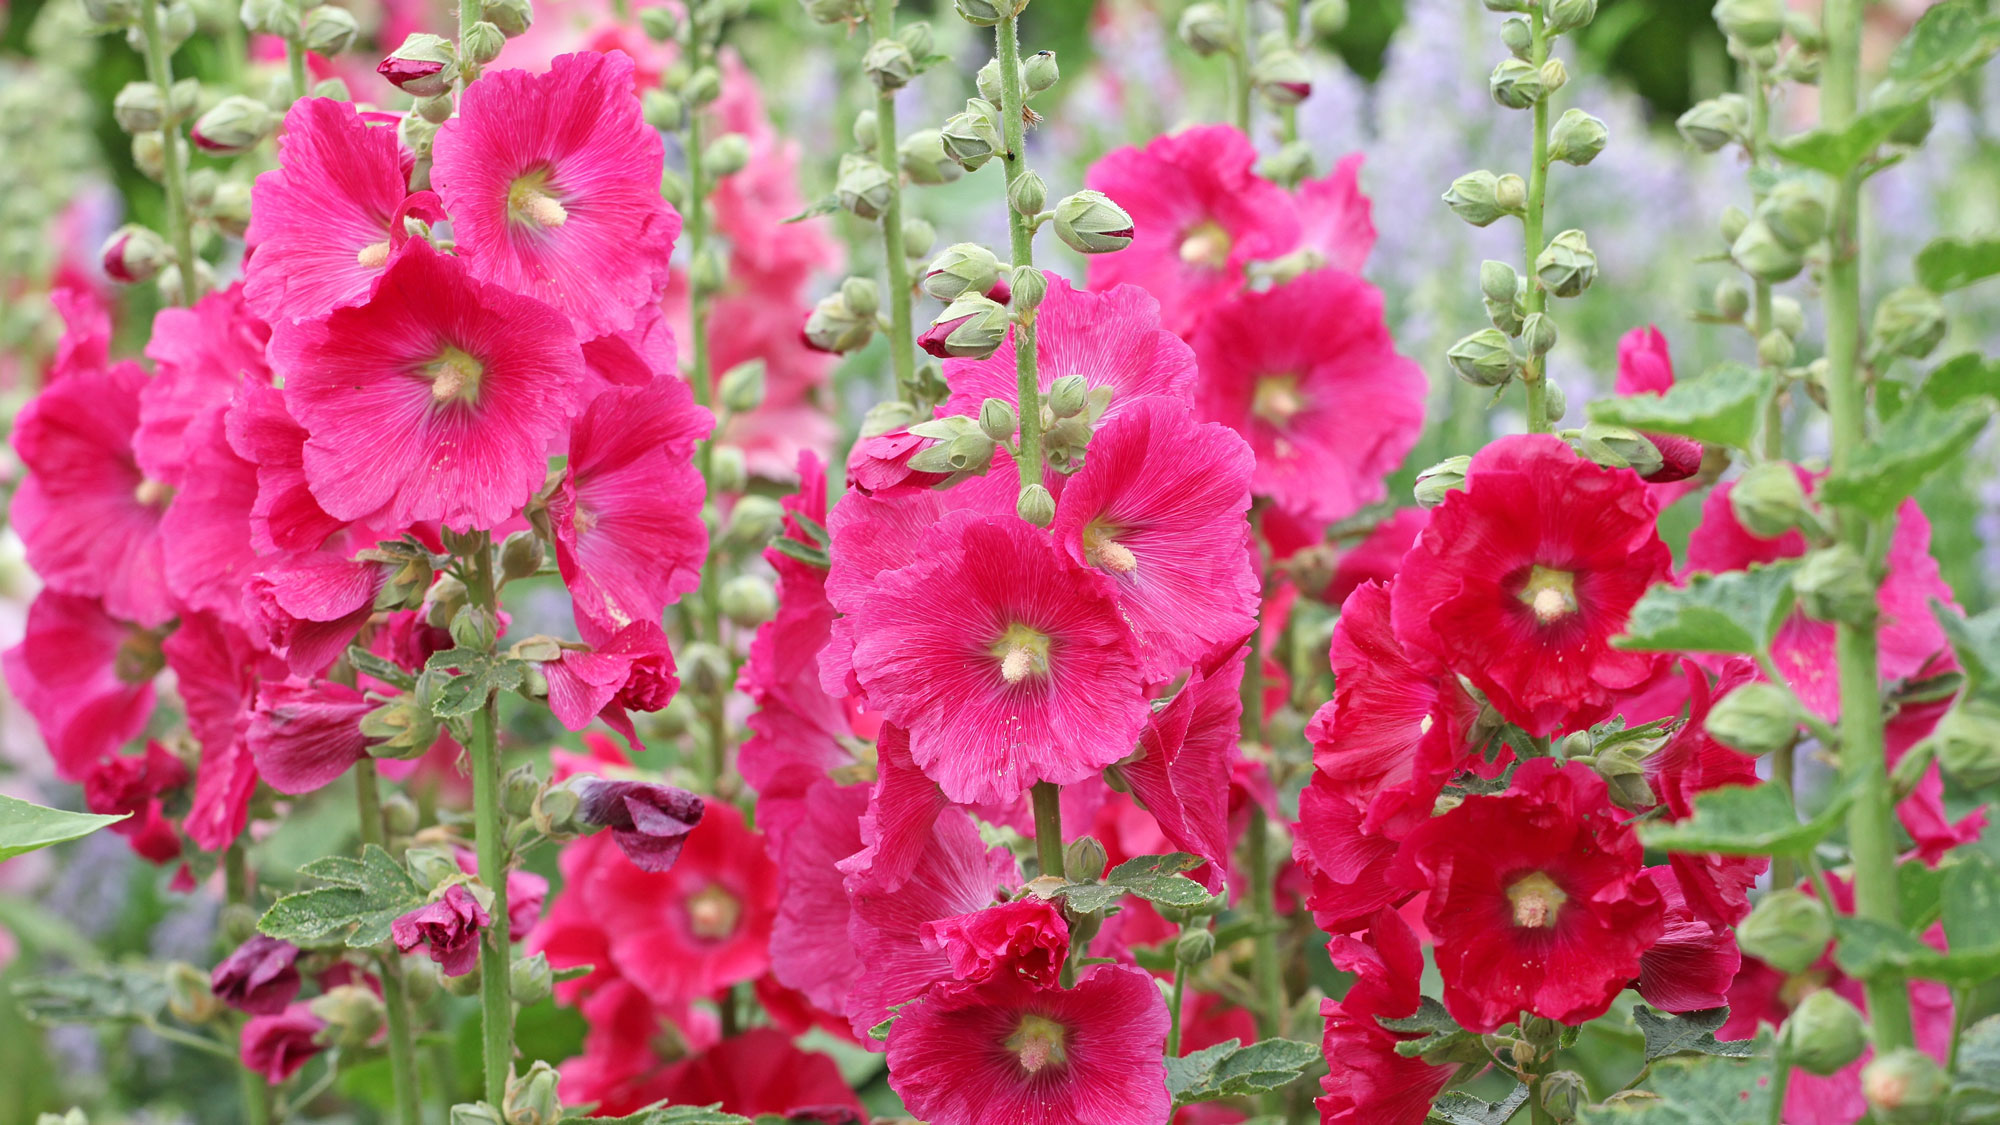
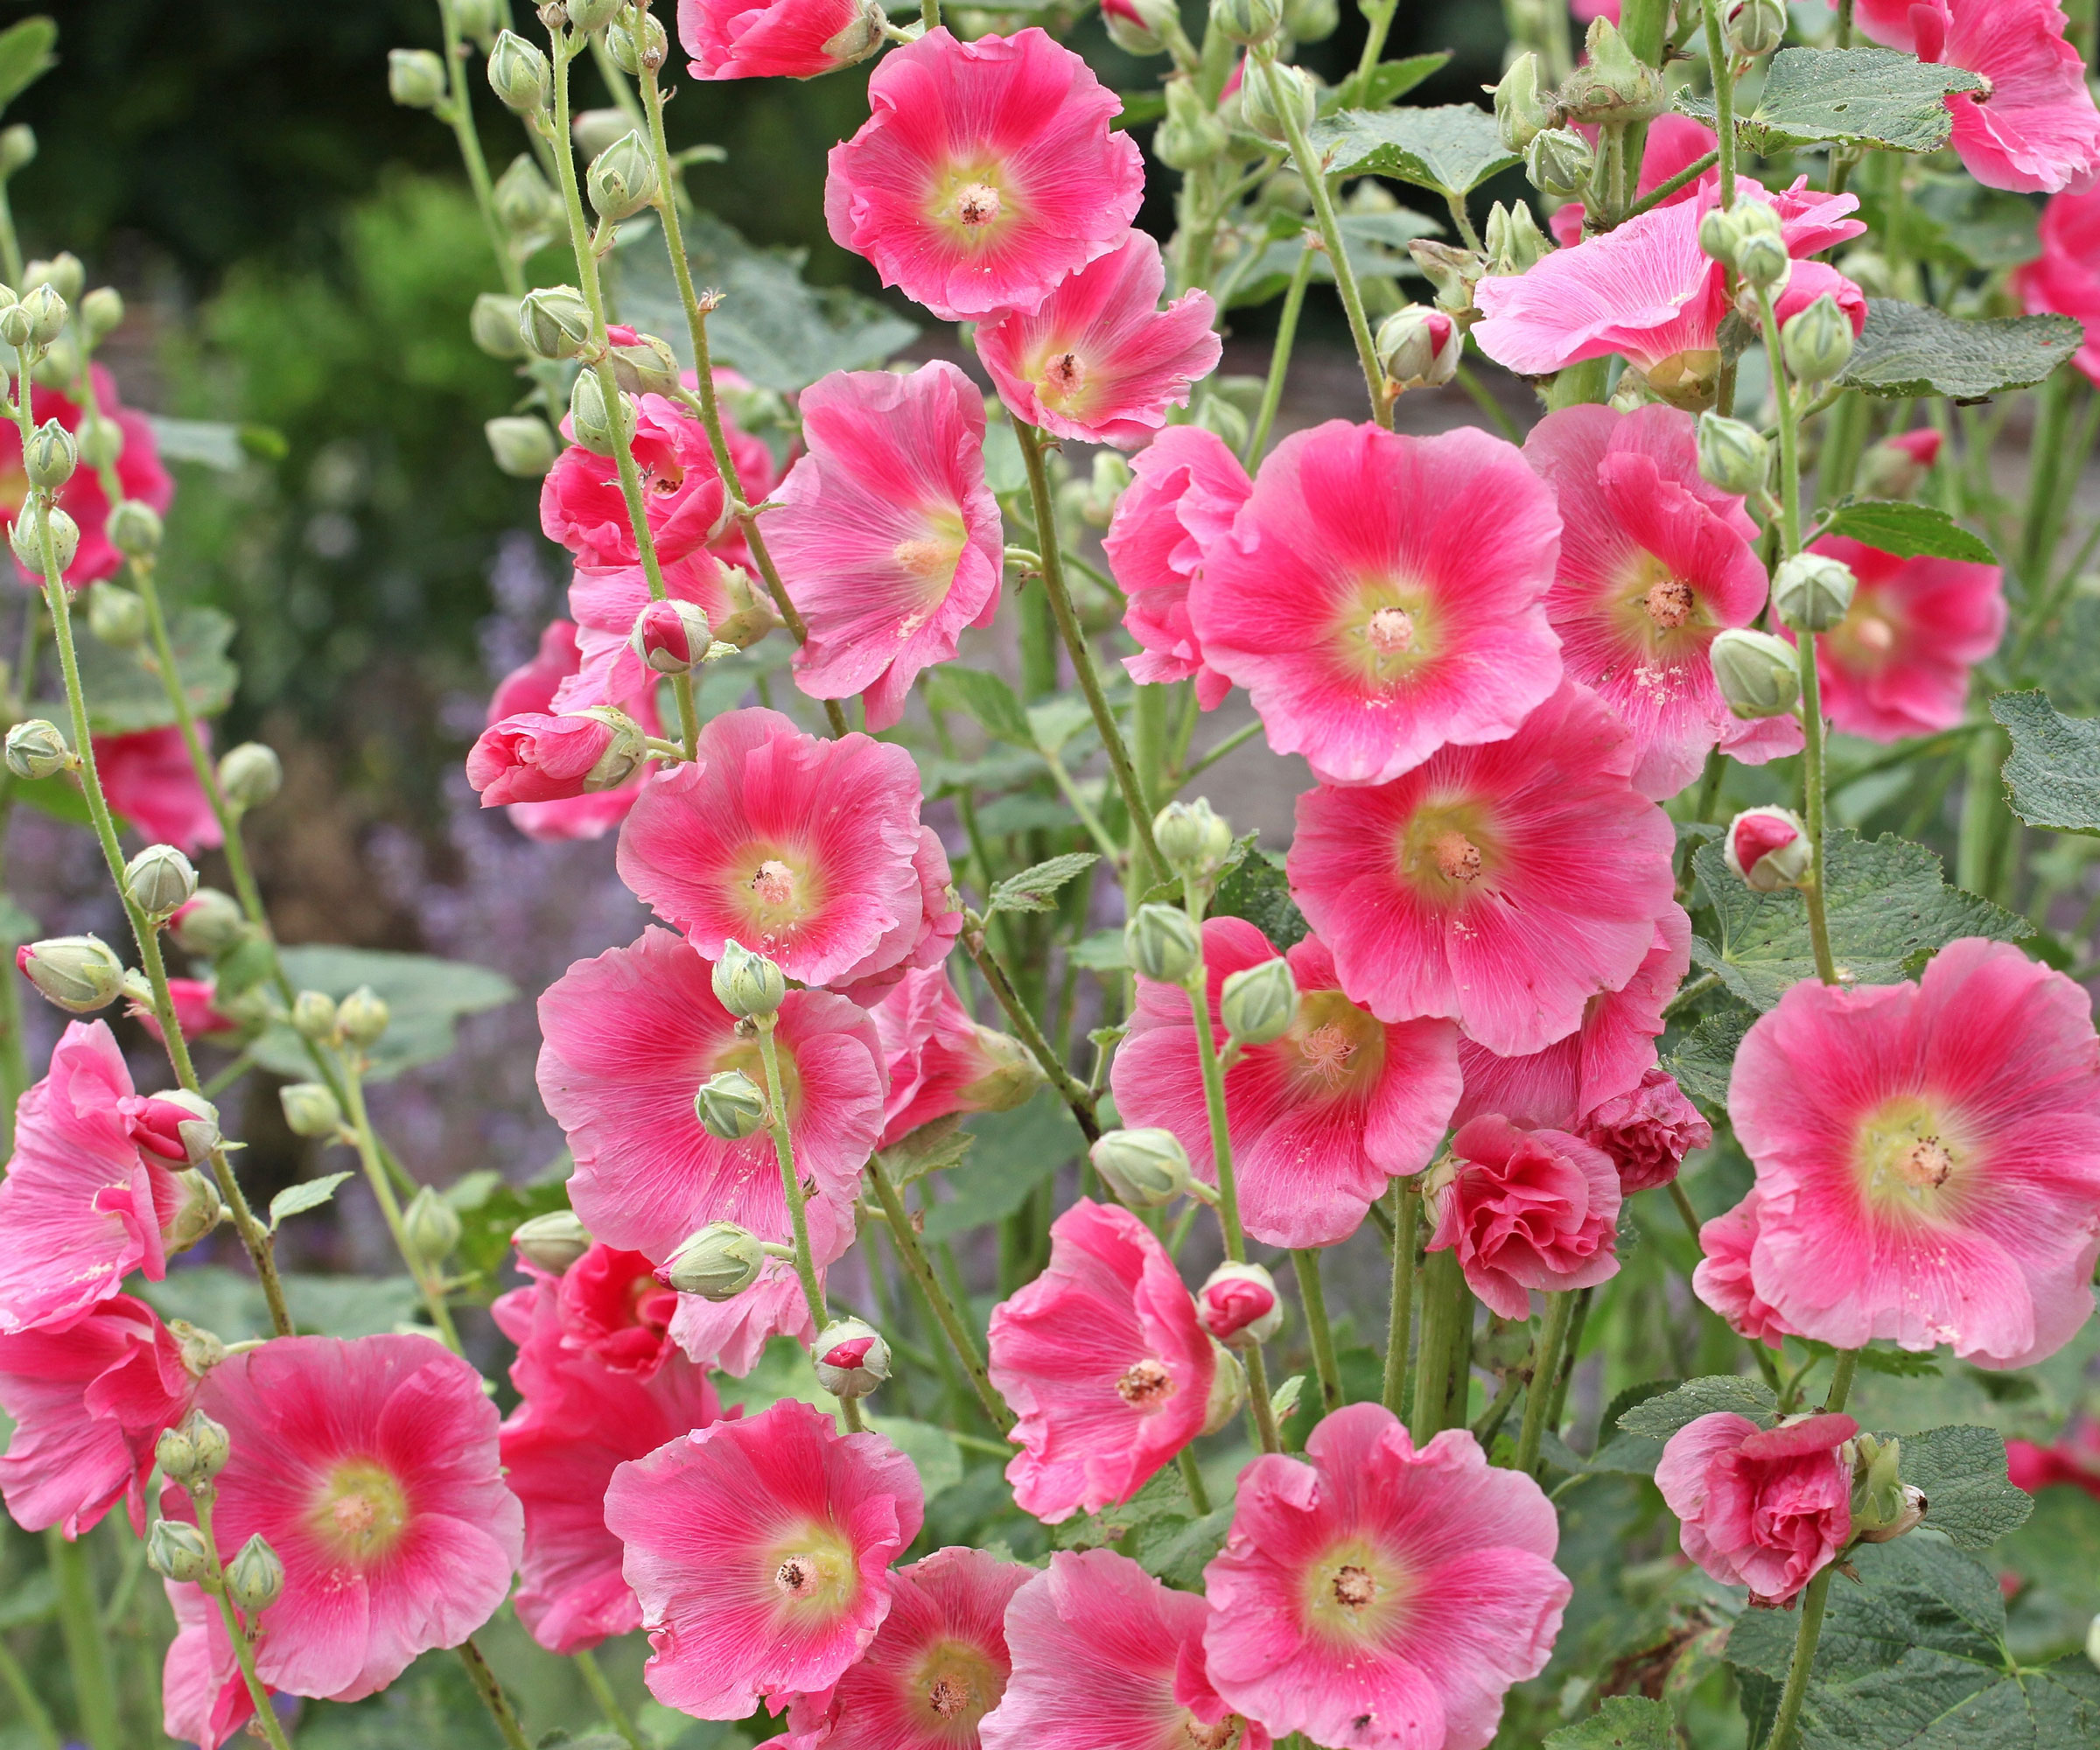
Statuesque, whimsical, and filled with quaint bygone charm, hollyhocks (Alcea spp.) are a quintessential cottage garden favorite. Growing hollyhocks adds structure and visual diversity to borders and garden edgings with their tall, elegant floral spires. Their billowy flower heads lend dynamism and drama to garden beds and walled corners, evoking a literal hum in quiet corners with their allure to pollinators all summer long.
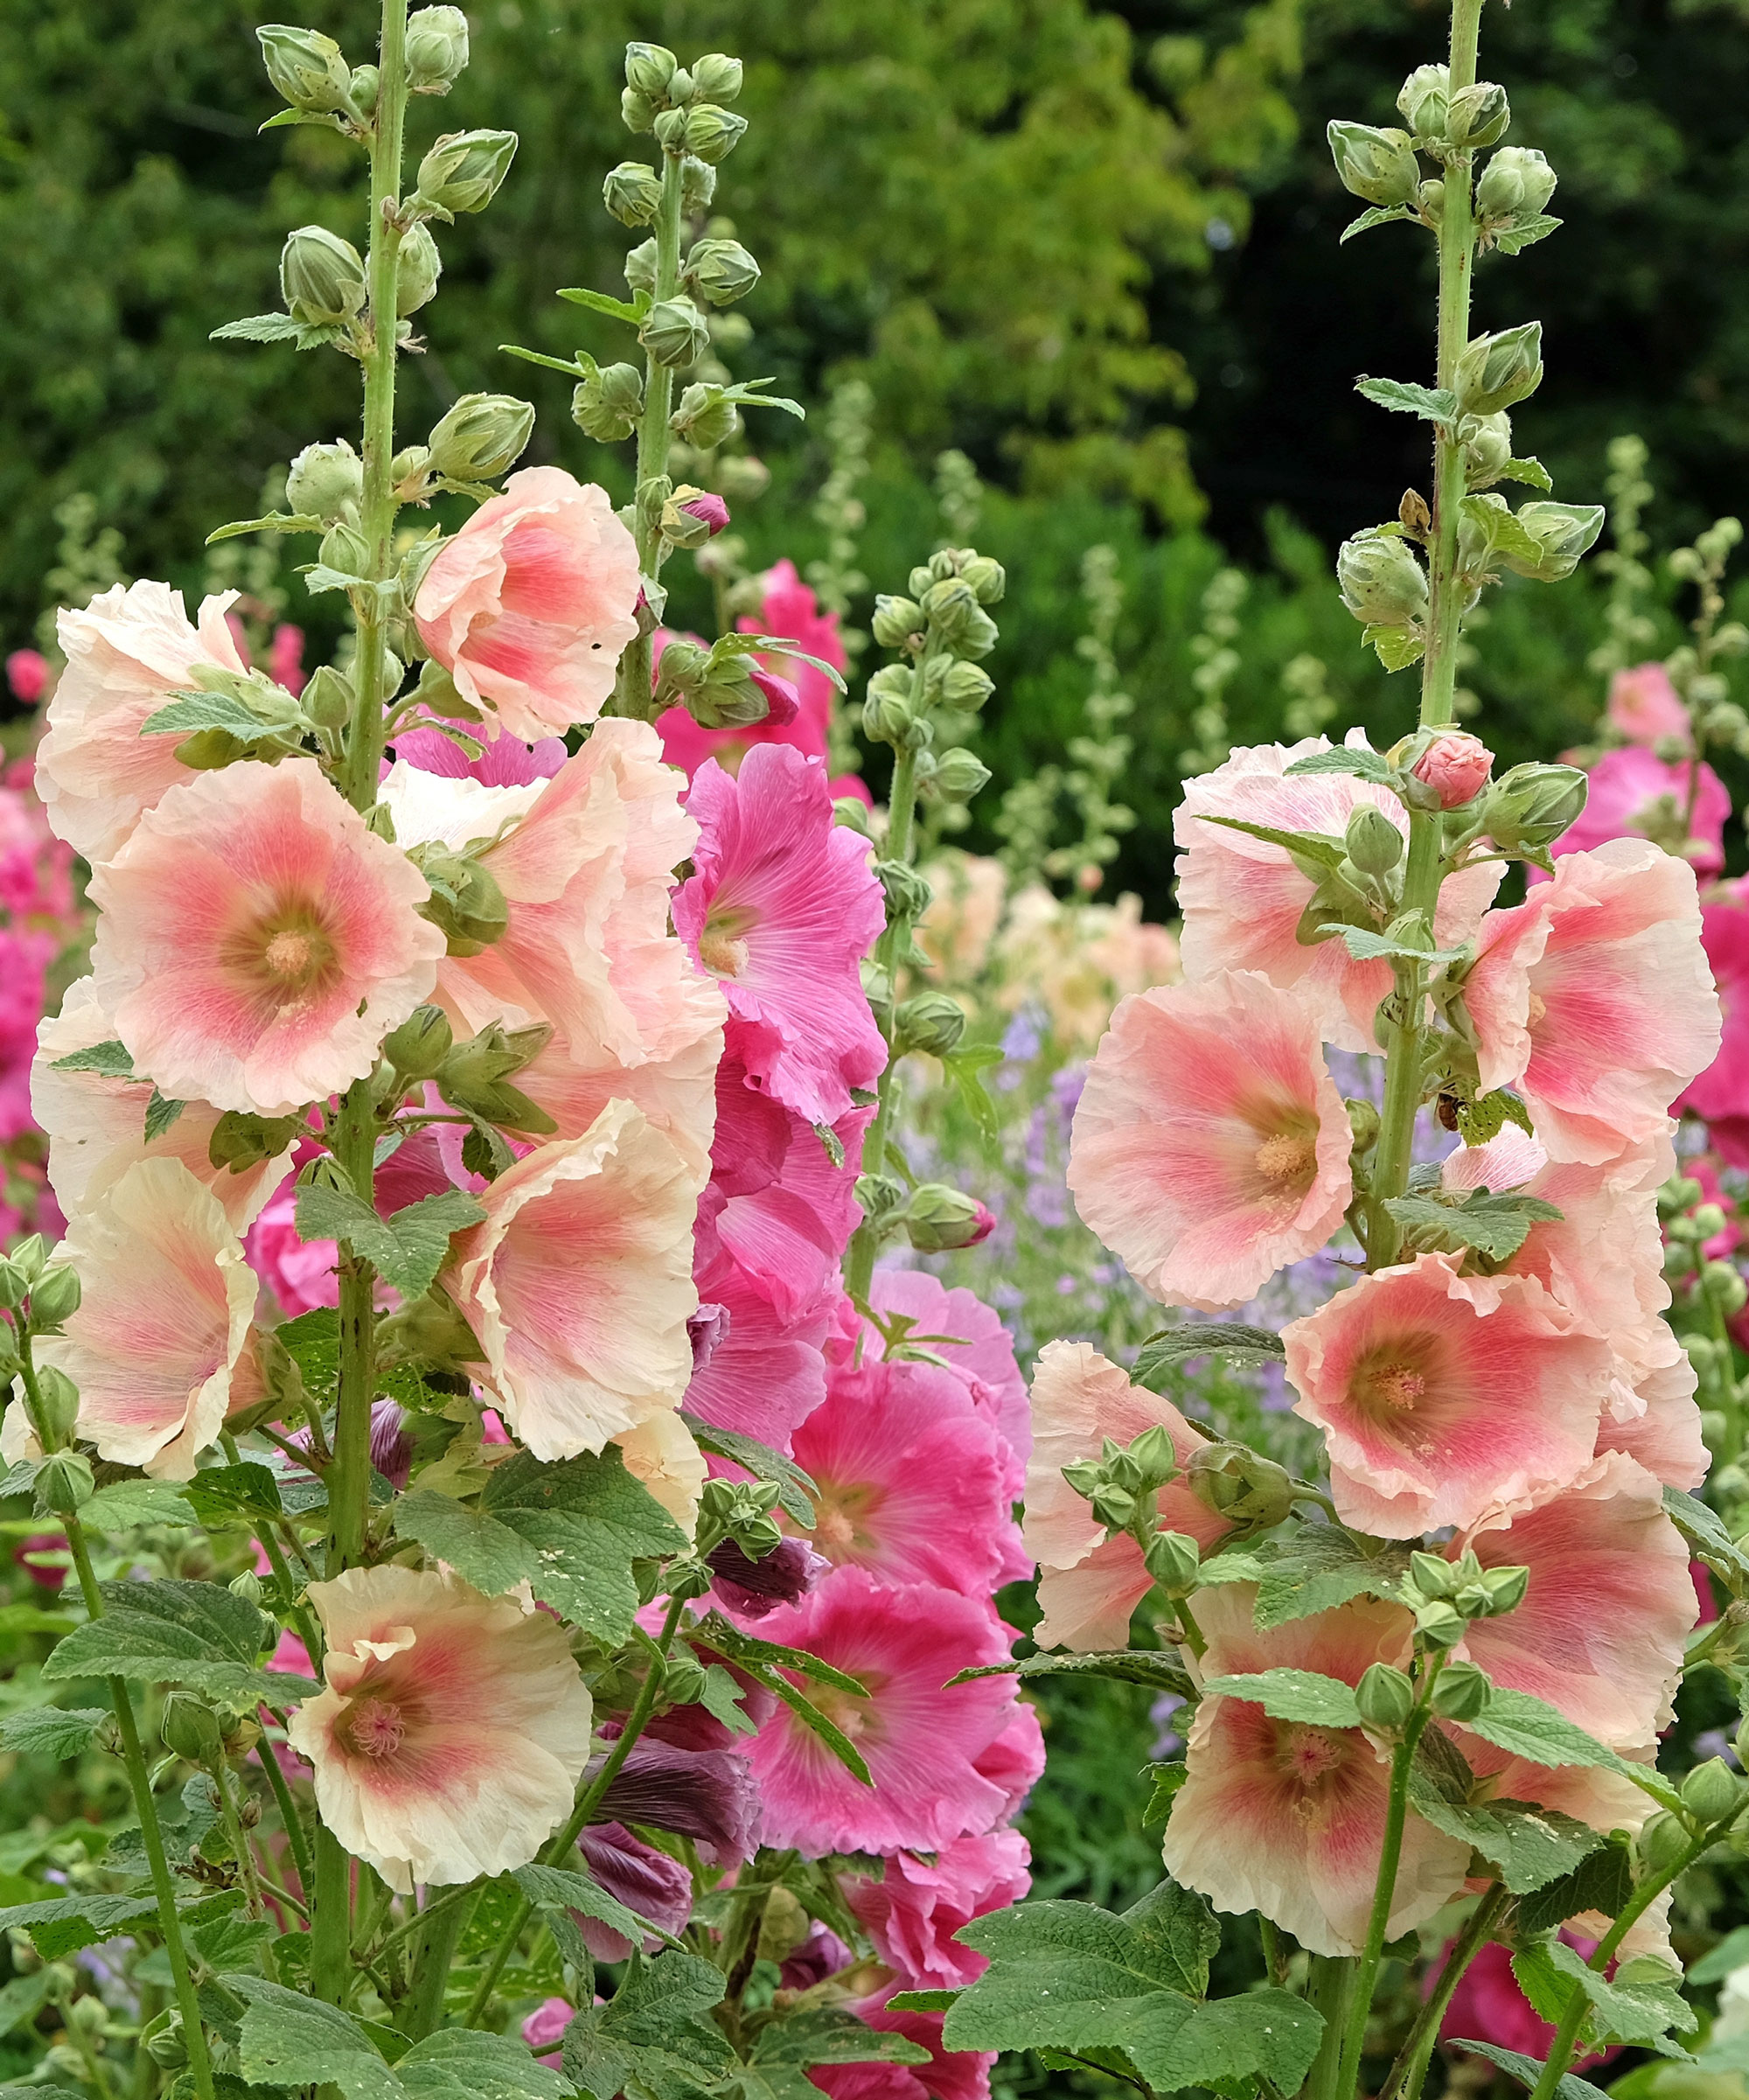
These tall, graceful divas are like the supermodels of summer. The right hollyhocks care brings poise and refinement in a myriad of hues, ranging from delicate peaches and creams to arresting neon pinks and scarlet reds. Yet for all their visual stature and regal bearing, homegrown hollyhocks are reassuringly easy to cultivate – as long as you’re patient. Unlike perennial flowers such as rudbeckias, and cottage garden lovelies like zinnias, time is required to coax the best from these graceful ornamentals.
Hollyhocks are biennials by heart, which means they flower in their second year, and spend their first year developing strong root systems and masses of foliage. So you need to be willing to wait to enjoy their darling spectacle of towering beauty. But it’s well worth the wait if you crave the ultimate cottage garden ideas. Once you see them in full bloom, you can easily encourage a future supply of color as they are keen self-seeders. Here’s how to plant and care for your own gorgeous hollyhocks, for classic floral elegance, towering visual flair, and just the right amount of attitude.
Quick Hollyhocks Facts
Botanical Name | Alcea spp. |
Plant Type | Biennial, short lived perennial |
Height | 5-8 feet (1.5-2.4 m) |
Spread | 1-2 feet (30-60 cm) |
Light | Full sun, partial sun |
Soil | Rich, moist, well draining, pH 6-7.5 |
Hardiness | USDA zones 2-10 (Not in the US? Convert your zone) |
Flowers | Summer (second year) |
Native Range | Asia and Europe |
Planting Hollyhocks
Sowing and planting boils down to a few key pointers to ensure the healthiest and most exquisite hollyhocks possible. The fundamentals are plenty of sunshine, plenty of space and good airflow, a nourishing yet well-draining soil, and ample support. You can start hollyhocks from seed in spring or in fall, either by direct-sowing seeds in the ground or by starting seeds indoors.
Fall planting can often result in earlier flowering the following year. However, if you are starting from seed indoors, bear in mind that you need to be very gentle when transplanting seedlings outdoors, as these flowers have long taproots and dislike being disturbed. As well as growing hollyhocks from seed, you can grow hollyhocks from transplants acquired in stores, which will generally be ready to flower the same year.
Soil Needs
Hollyhocks aren’t all that fussy about soil type and can thrive in a range of loamy and sandy soils. They dislike compacted, clay soils, however. It’s a good idea to test your soil ahead of planting and make amendments where necessary. Aim for a soil pH that is neutral or slightly alkaline (6-7.5). Use a meter like the Yamron 4-In-1 Soil Meter from Amazon, which can help test soil pH levels as well as moisture levels and nutrient load. Make sure soil is kept moist and well draining. It’s also smart to give the earth a boost with some aged compost, chicken manure, or a scattering of worm castings before sowing outdoors. This will give you stronger plants and more impressive blooms.
Light and Warmth
Full sunshine is critical for the health, longevity and flowering potential of hollyhocks. You should give plants access to 6-8 hours of sunshine per day, though a little afternoon shade is welcome. The more sunshine you can give your hollyhocks, the stronger the stems will be and the more prolific and hearty the flowers you will see. However, while they love sunshine, they will struggle with humidity, so make sure there is plenty of airflow around individual hollyhocks. Think about the eventual maximum height when starting from seed. Cramped conditions will cause stress and increase the chances of infection, stunting and non-flowering.
Sign up for the Gardening Know How newsletter today and receive a free copy of our e-book "How to Grow Delicious Tomatoes".
Planting Step by Step
If you are starting from seed, whether indoors or outdoors, you can rest assured that hollyhock seeds germinate fairly easily. You may wish to soak seeds before planting, but you don’t have to do that. Germination should only take a couple of weeks. Once you have checked, prepped, and raked the soil, there are only a few steps for planting seed outside (direct sowing) in spring after the last frost, or in early fall:
- Sow seeds a quarter of an inch deep, and around 18-24 inches (45-61 cm) apart. You just need to scatter lightly on the surface of the soil. However, the spacing is important, given the eventual heights these plants can reach. Getting it right at the beginning is crucial, so you don’t have to move plants later.
- Lightly cover the seeds with a fine layer of soil or a dusting of compost. Then water very gently so as not to disturb the positioning of the individual seeds too much. Make sure you keep the planting site moist (but not soggy) until seedlings emerge, which should happen 10-14 days after planting.
- Although you don’t need to stake right away, it can help to add them while there is less chance of damaging root networks. Stakes or plant supports are also a great way to mark out the area so you keep tabs on the seedlings and don’t lose your bearings. Adapt the support you use to the eventual height of the hollyhock variety. You may need to thin seedlings once they are a few inches tall, to maintain optimal spacing.
- Once your young plants are big enough to see and look settled and secure, add a layer of mulch around the plants (but not touching the stems). This will help to stop weeds from competing for soil resources while your plants are developing stronger root systems. It also helps regulate moisture levels. Use an organic bark-based option as Back to the Roots Organic Mulch with Natural Wood, from Amazon.
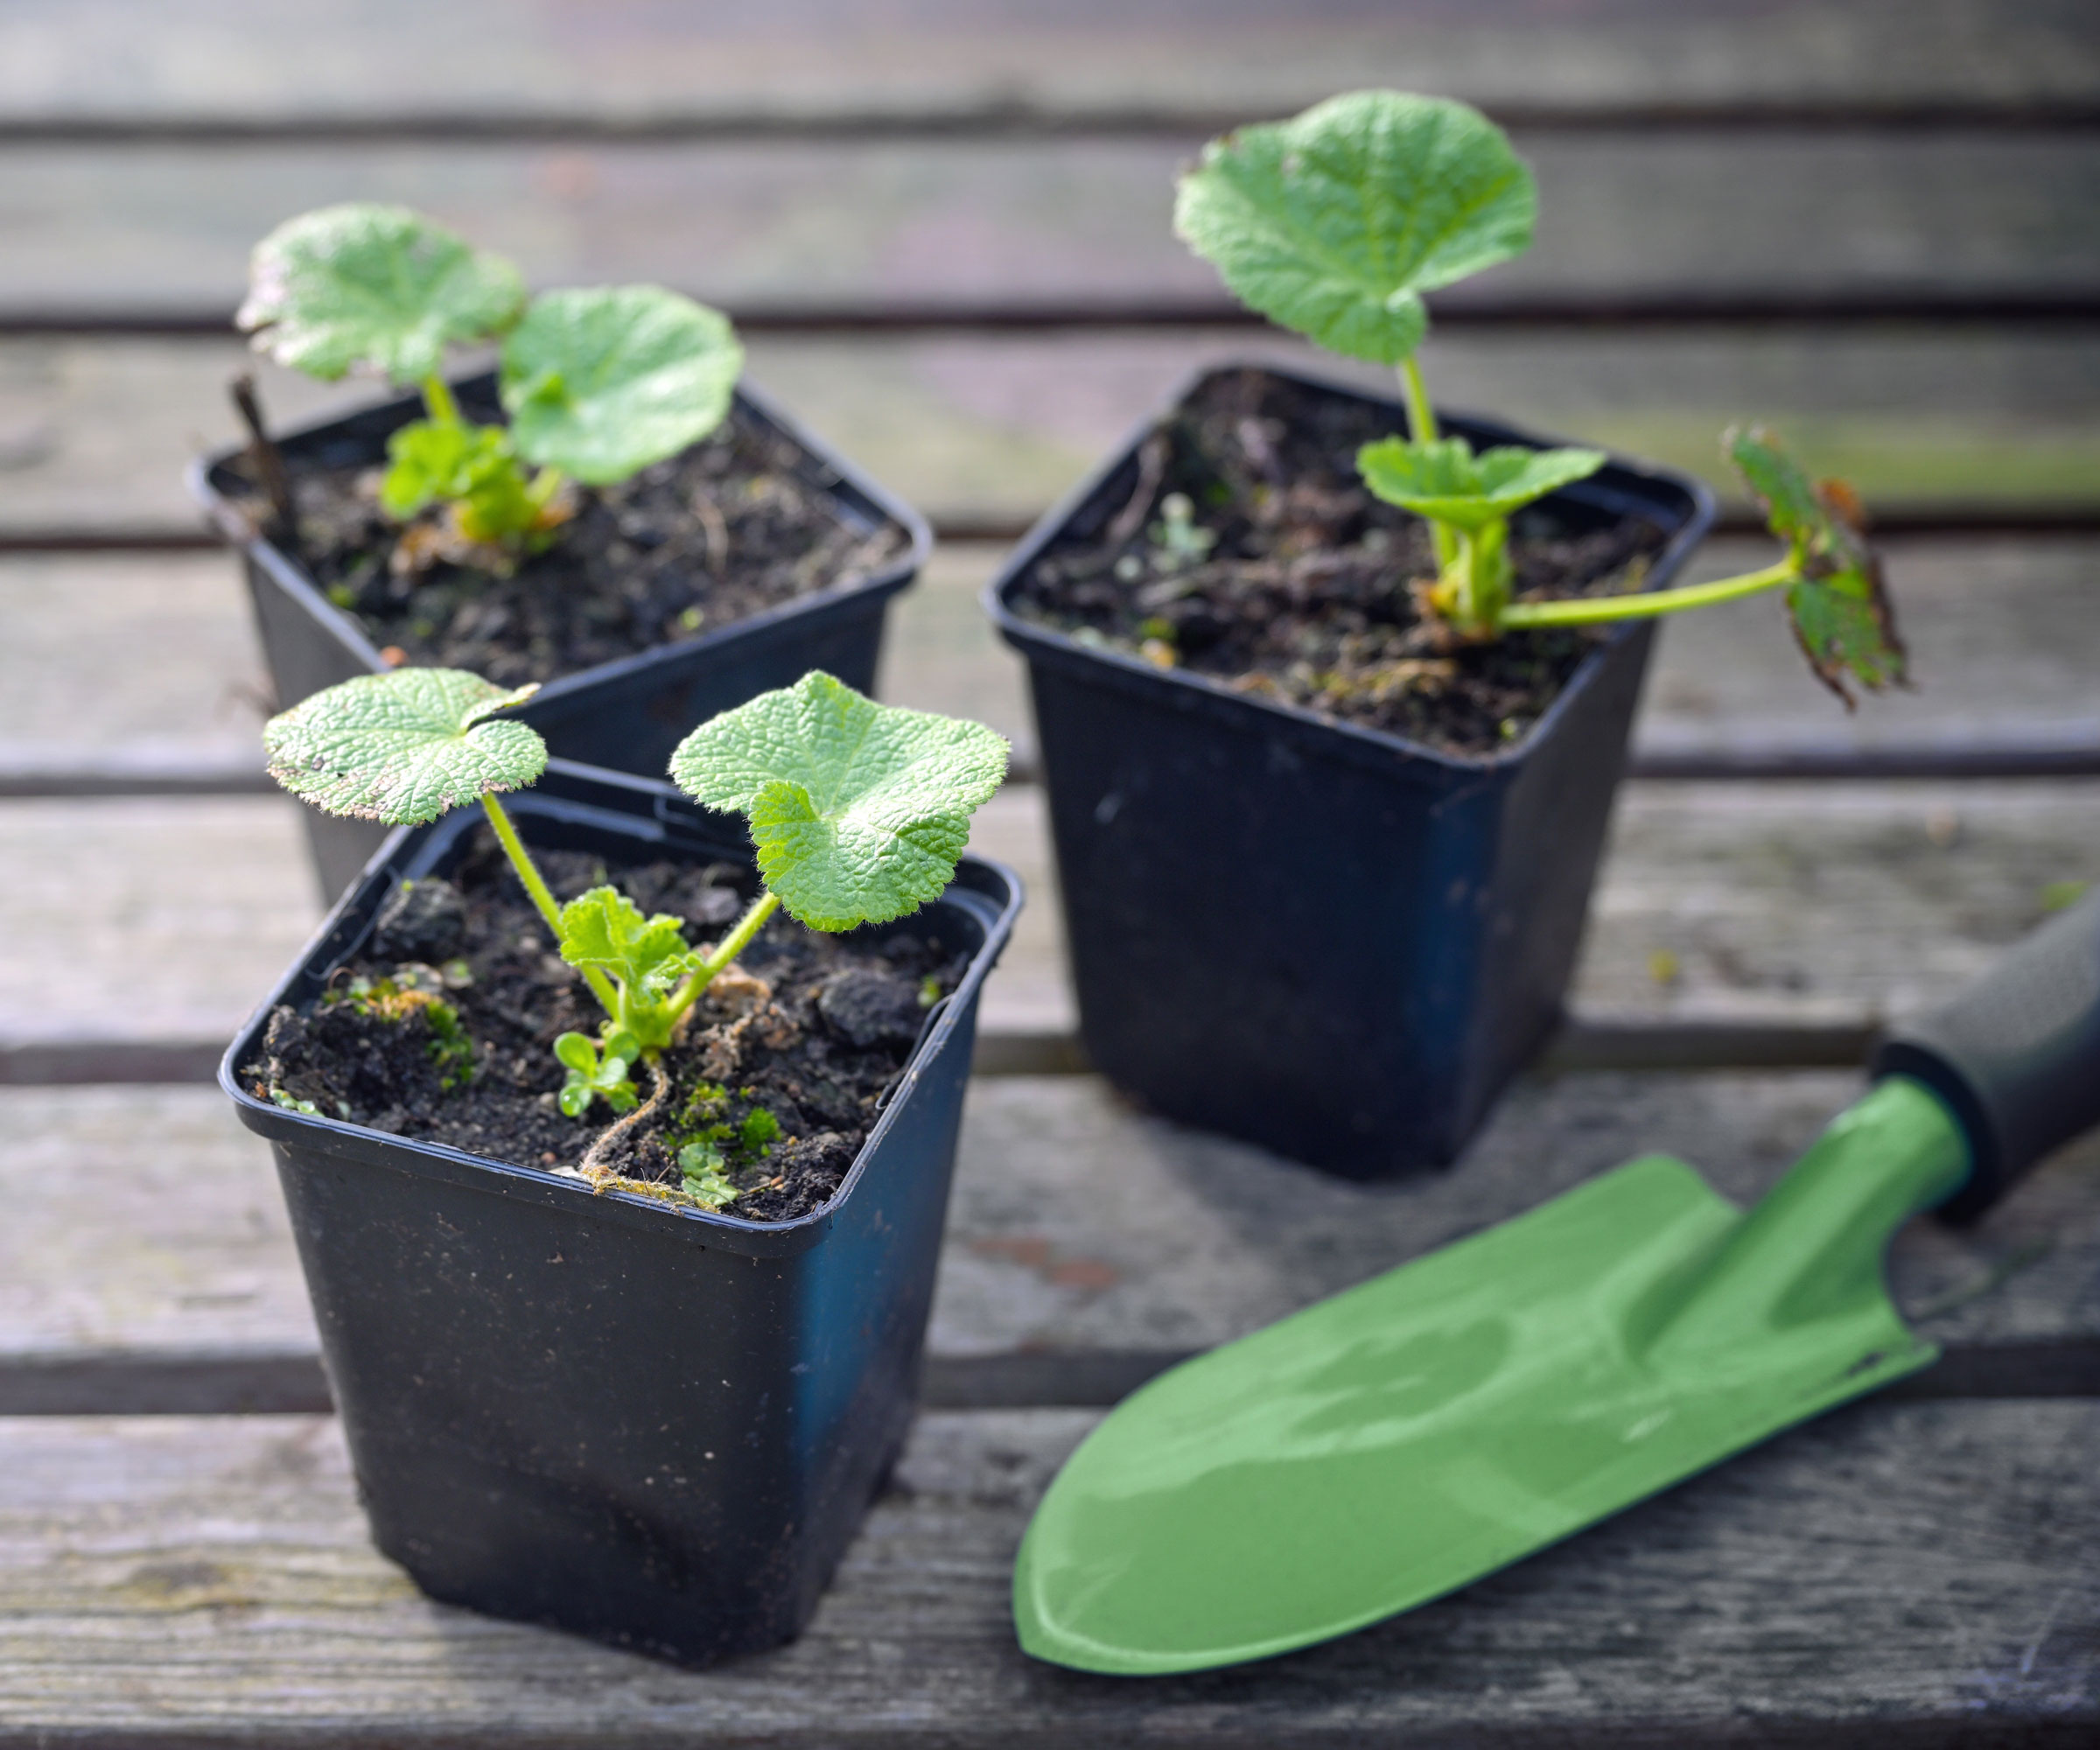
If sowing indoors in pots or trays, preferably six weeks before the last frost, use a seed-starting mix with good drainage. Cover the surface of planted seeds only lightly and keep trays at around 65-70°F (18-21°C). Harden off seedlings and carefully plant out after the danger of last frost has passed. For transplants, dig holes in the earth just a little wider than the root balls.
Best Hollyhock Care
Once planted, there are just a few key ways you need to maintain good hollyhock health through the growing and flowering season. Keep an eye on these core aspects of cultivation, adapting as necessary. The following will apply to most varieties, unless specified:
Watering Hollyhocks
It’s important to water plants regularly in the late spring and summer months, especially in dry spells. Water at the base of the plant to reduce the risk of fungal disease (specifically, rust). It’s best to water deeply, once or twice a week, for strong root growth. Regulate water intake and maintain even soil moisture by using a soaker hose or a drip irrigation system, such as the MIXC Quick Connect Drip Irrigation Kit from Amazon.
Fertilizing Hollyhocks
To feed hollyhocks, apply a balanced, slow-release fertilizer, like Organic Plant Magic Slow Release Granular Fertilizer from Amazon. Add once in early spring, and again midsummer, to encourage strong growth and optimum flower health. Alternatively, add some well-rotted compost or aged manure in early spring. You could also add a high-potassium feed every couple of weeks while hollyhocks are flowering to promote further flowering. Avoid adding high-nitrogen feeds, which encourage more leafiness at the expense of flowering.
Mulching Hollyhocks
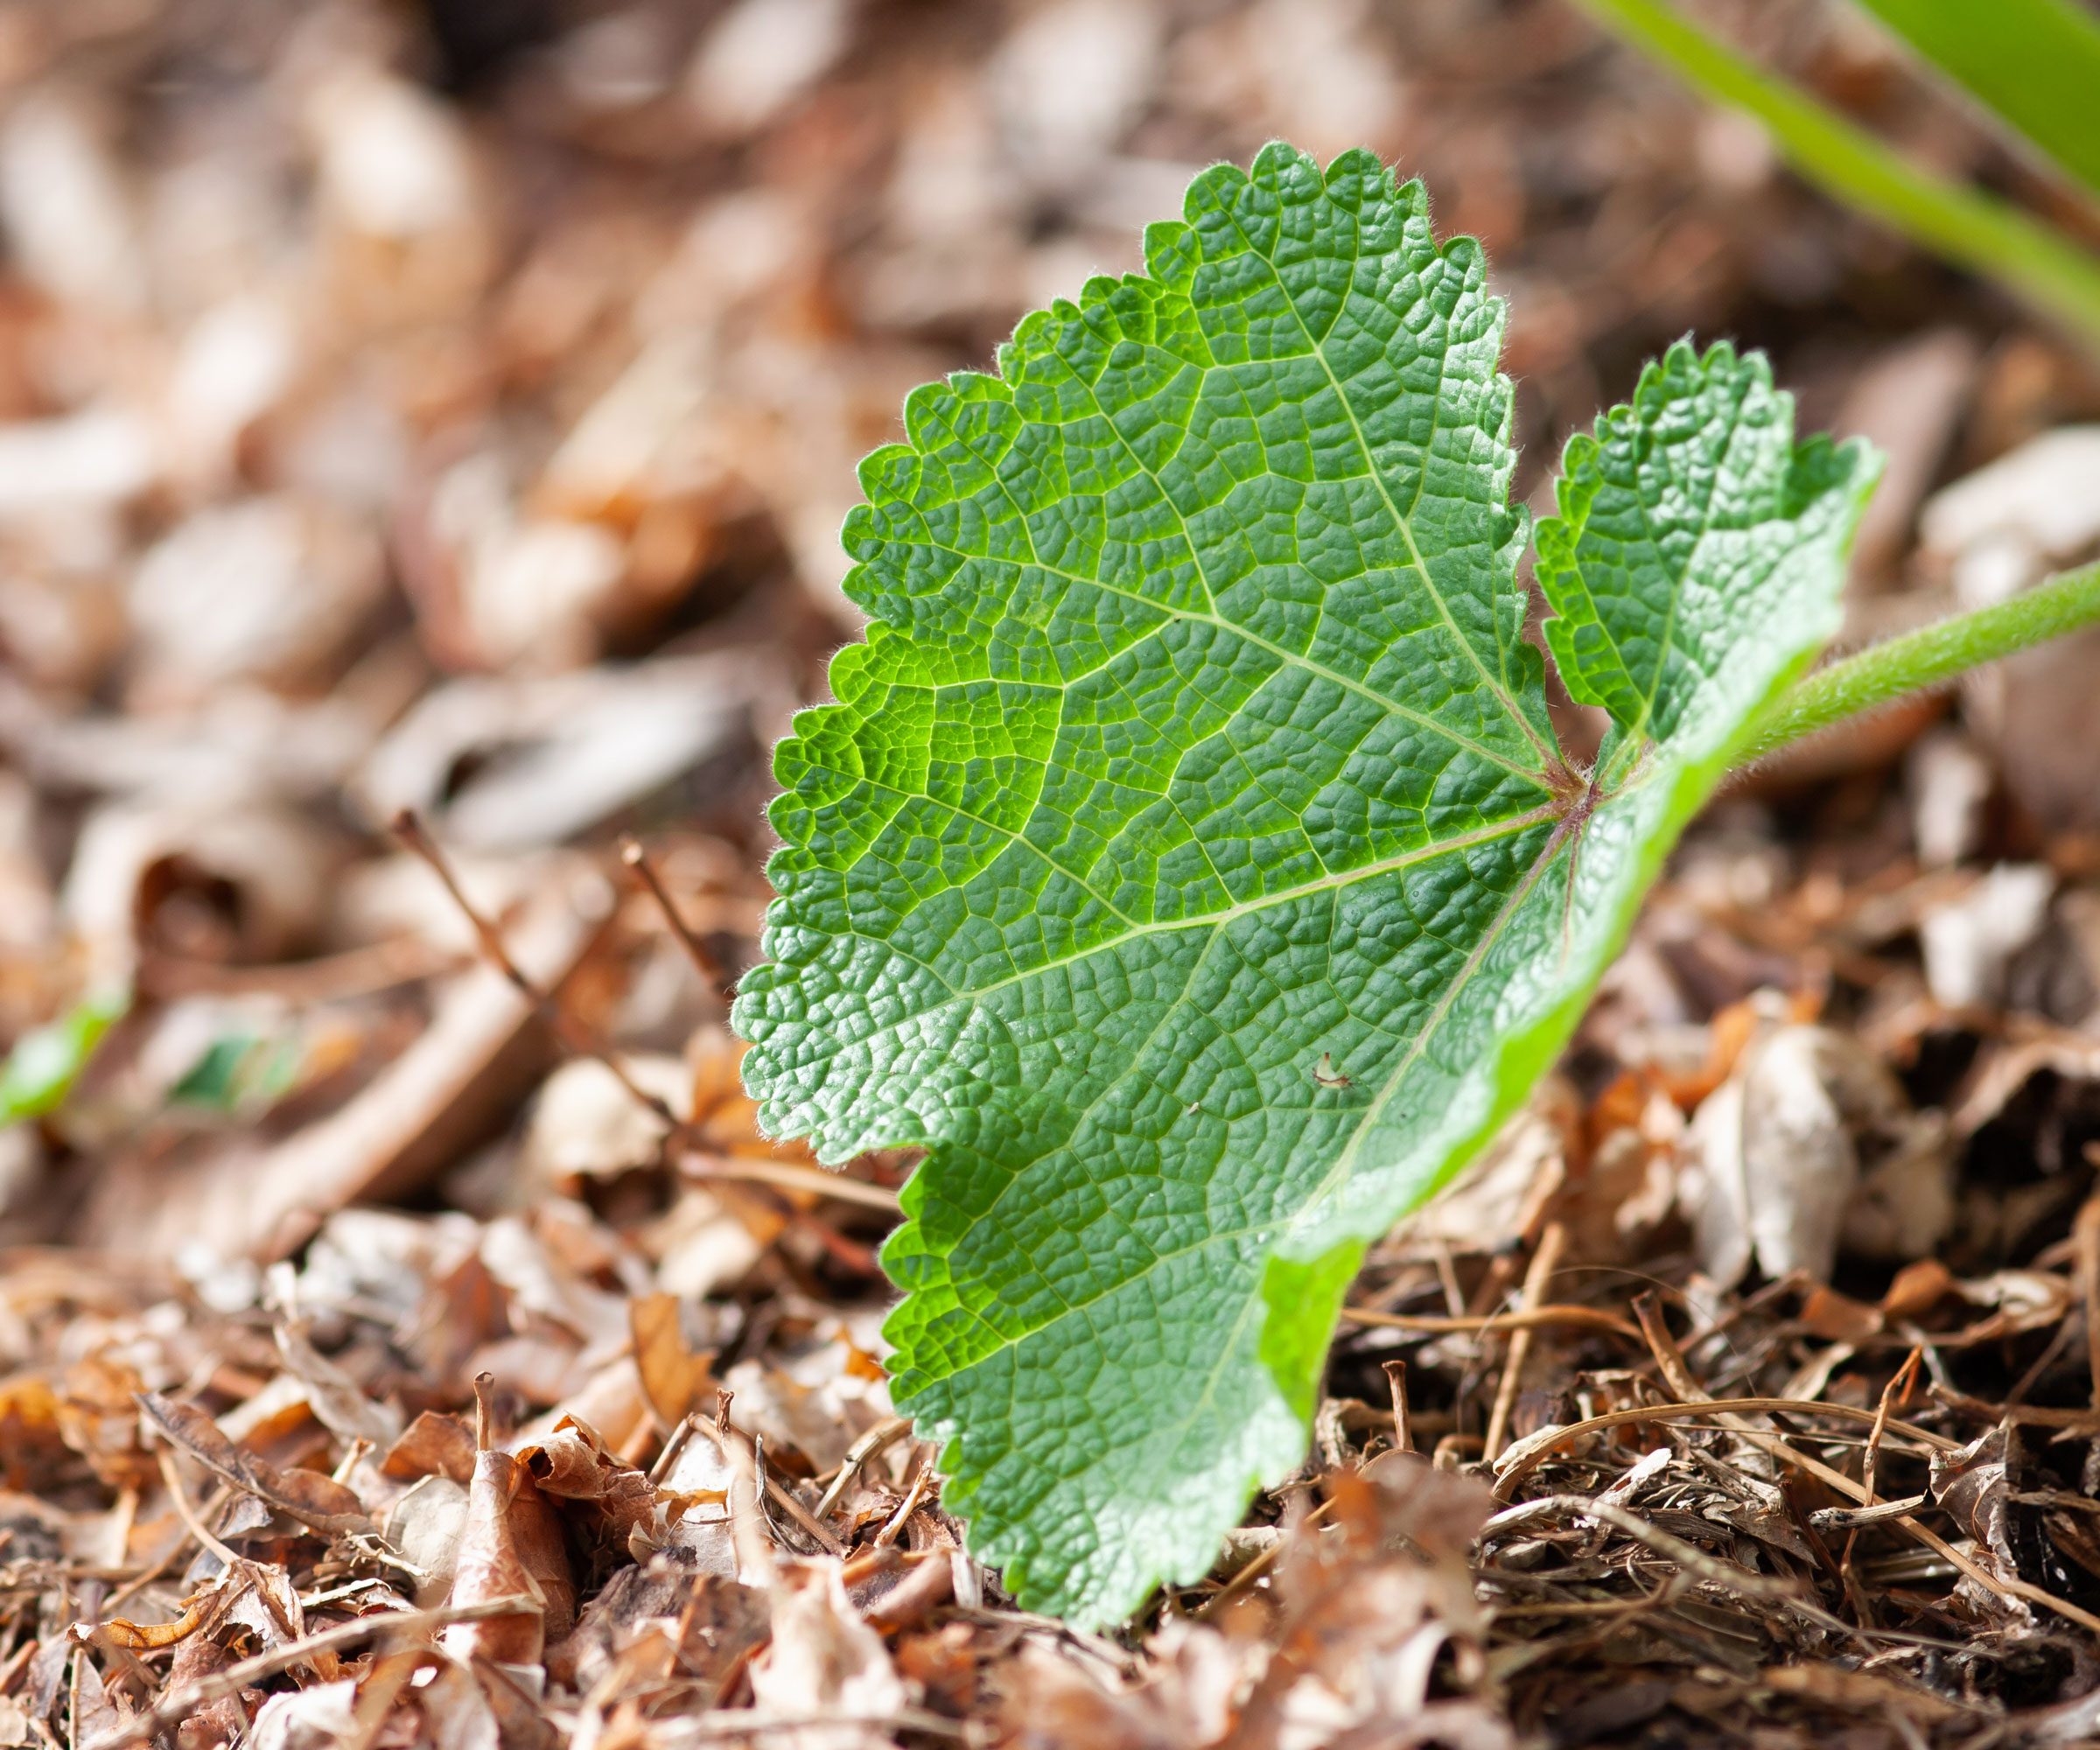
As well as a regular watering routine, a 2-3 inch (5-8 cm) layer of organic mulch can help retain and regulate soil moisture. Adding mulch can also assist in temperature regulation and weed suppression, as well as contributing towards a reduced risk of soil splash-back of fungal spores. If you haven’t already, add a layer around the base of plants, taking care to avoid stems and crowns (stem bases). It’s a good idea to add this in spring, or at the time of planting outdoors. Good options include leaf mold, aged compost, or bark chips. Refresh in late fall for overwintering rosettes.
Best Way to Support Hollyhocks
Support of taller plants is critical to help keep stems strong, firm, and protected against winds, as well as to help keep them upright as the flowers develop. As blooms burst forth in mass formations, they really add to the weight. The top-heavy nature of a lot of this weight can cause issues unless you add some reinforcements. Add some dedicated plant supports or stakes, like Sprigra Garden Sturdy Plant Supports from Amazon, using soft ties fastened loosely. You can also use cages or trellises, or encourage plants to grow up against a well-protected wall or fence. It’s best to add supports early in the growing season, shortly after planting, if possible.
Pruning Hollyhocks
While hollyhock plants are growing and flowering, you shouldn’t need to worry about pruning. These ornamentals have a long bloom period and flowers develop gradually across each stem. You can extend the flowering season by pinching off fading flower heads to encourage further blooms – in other words, by deadheading hollyhocks.
This will reduce the ability for the plant to self-seed, but some self-seeding should still be possible at the end of the season. Deadheading stops energy going into producing seeds, effectively fooling the plant into producing more flowers. Deadheading also helps to keep your flowering hollyhocks looking tidy, which is advantageous in ornamental borders, particularly given their height and visibility.
After flowering comes to an end, usually in late summer or early fall, you can cut the flower stalks to approximately 5-6 inches (12-15 cm) above ground level. It’s fine to leave a few flower heads to dry on the stems if you want the plant to self-seed, or if you are looking to harvest some of the seed for sowing. Depending on the climate, region, and plant variety, there is a chance of reblooming.
It’s fine to trim away any diseased, damaged, or yellowing leaves, as this helps keep the overall plant healthy and reduces the risk of fungal infections. For deadheading and trimming, you can use Spear & Jackson Traditional Bypass & Anvil Secateurs from Amazon. Just be mindful not to cut back rosette growth in the first year. This growth is necessary to service future development, and will store energy for the flowers you see in the second year of the hollyhock’s growth.
Hollyhock Care Calendar
| Header Cell - Column 0 | Spring | Summer | Fall | Winter |
|---|---|---|---|---|
Plant | ✓ | Row 0 - Cell 2 | ✓ | Row 0 - Cell 4 |
Fertilize | ✓ | ✓ | Row 1 - Cell 3 | Row 1 - Cell 4 |
Mulch | ✓ | Row 2 - Cell 2 | ✓ | ✓ |
Deadhead | Row 3 - Cell 1 | ✓ | Row 3 - Cell 3 | Row 3 - Cell 4 |
Stake Plants | ✓ | ✓ | Row 4 - Cell 3 | Row 4 - Cell 4 |
Cut Back Foliage | Row 5 - Cell 1 | Row 5 - Cell 2 | ✓ | Row 5 - Cell 4 |
Propagate | ✓ | ✓ | ✓ | Row 6 - Cell 4 |
Great Hollyhock Varieties
There are 60-80 species of flowering ornamentals in the genus Alcea, and thousands of cultivated varieties you can grow as cottage garden plants. The common hollyhock (Alcea rosea) alone includes a great number of cultivated varieties, but there are others such as fig-leaf hollyhock A. ficifolia and Russian hollyhock A. rugosa. You can get single forms and ruffled double varieties, as well as varieties bred with resistance to rust (a problem which afflicts hollyhocks).
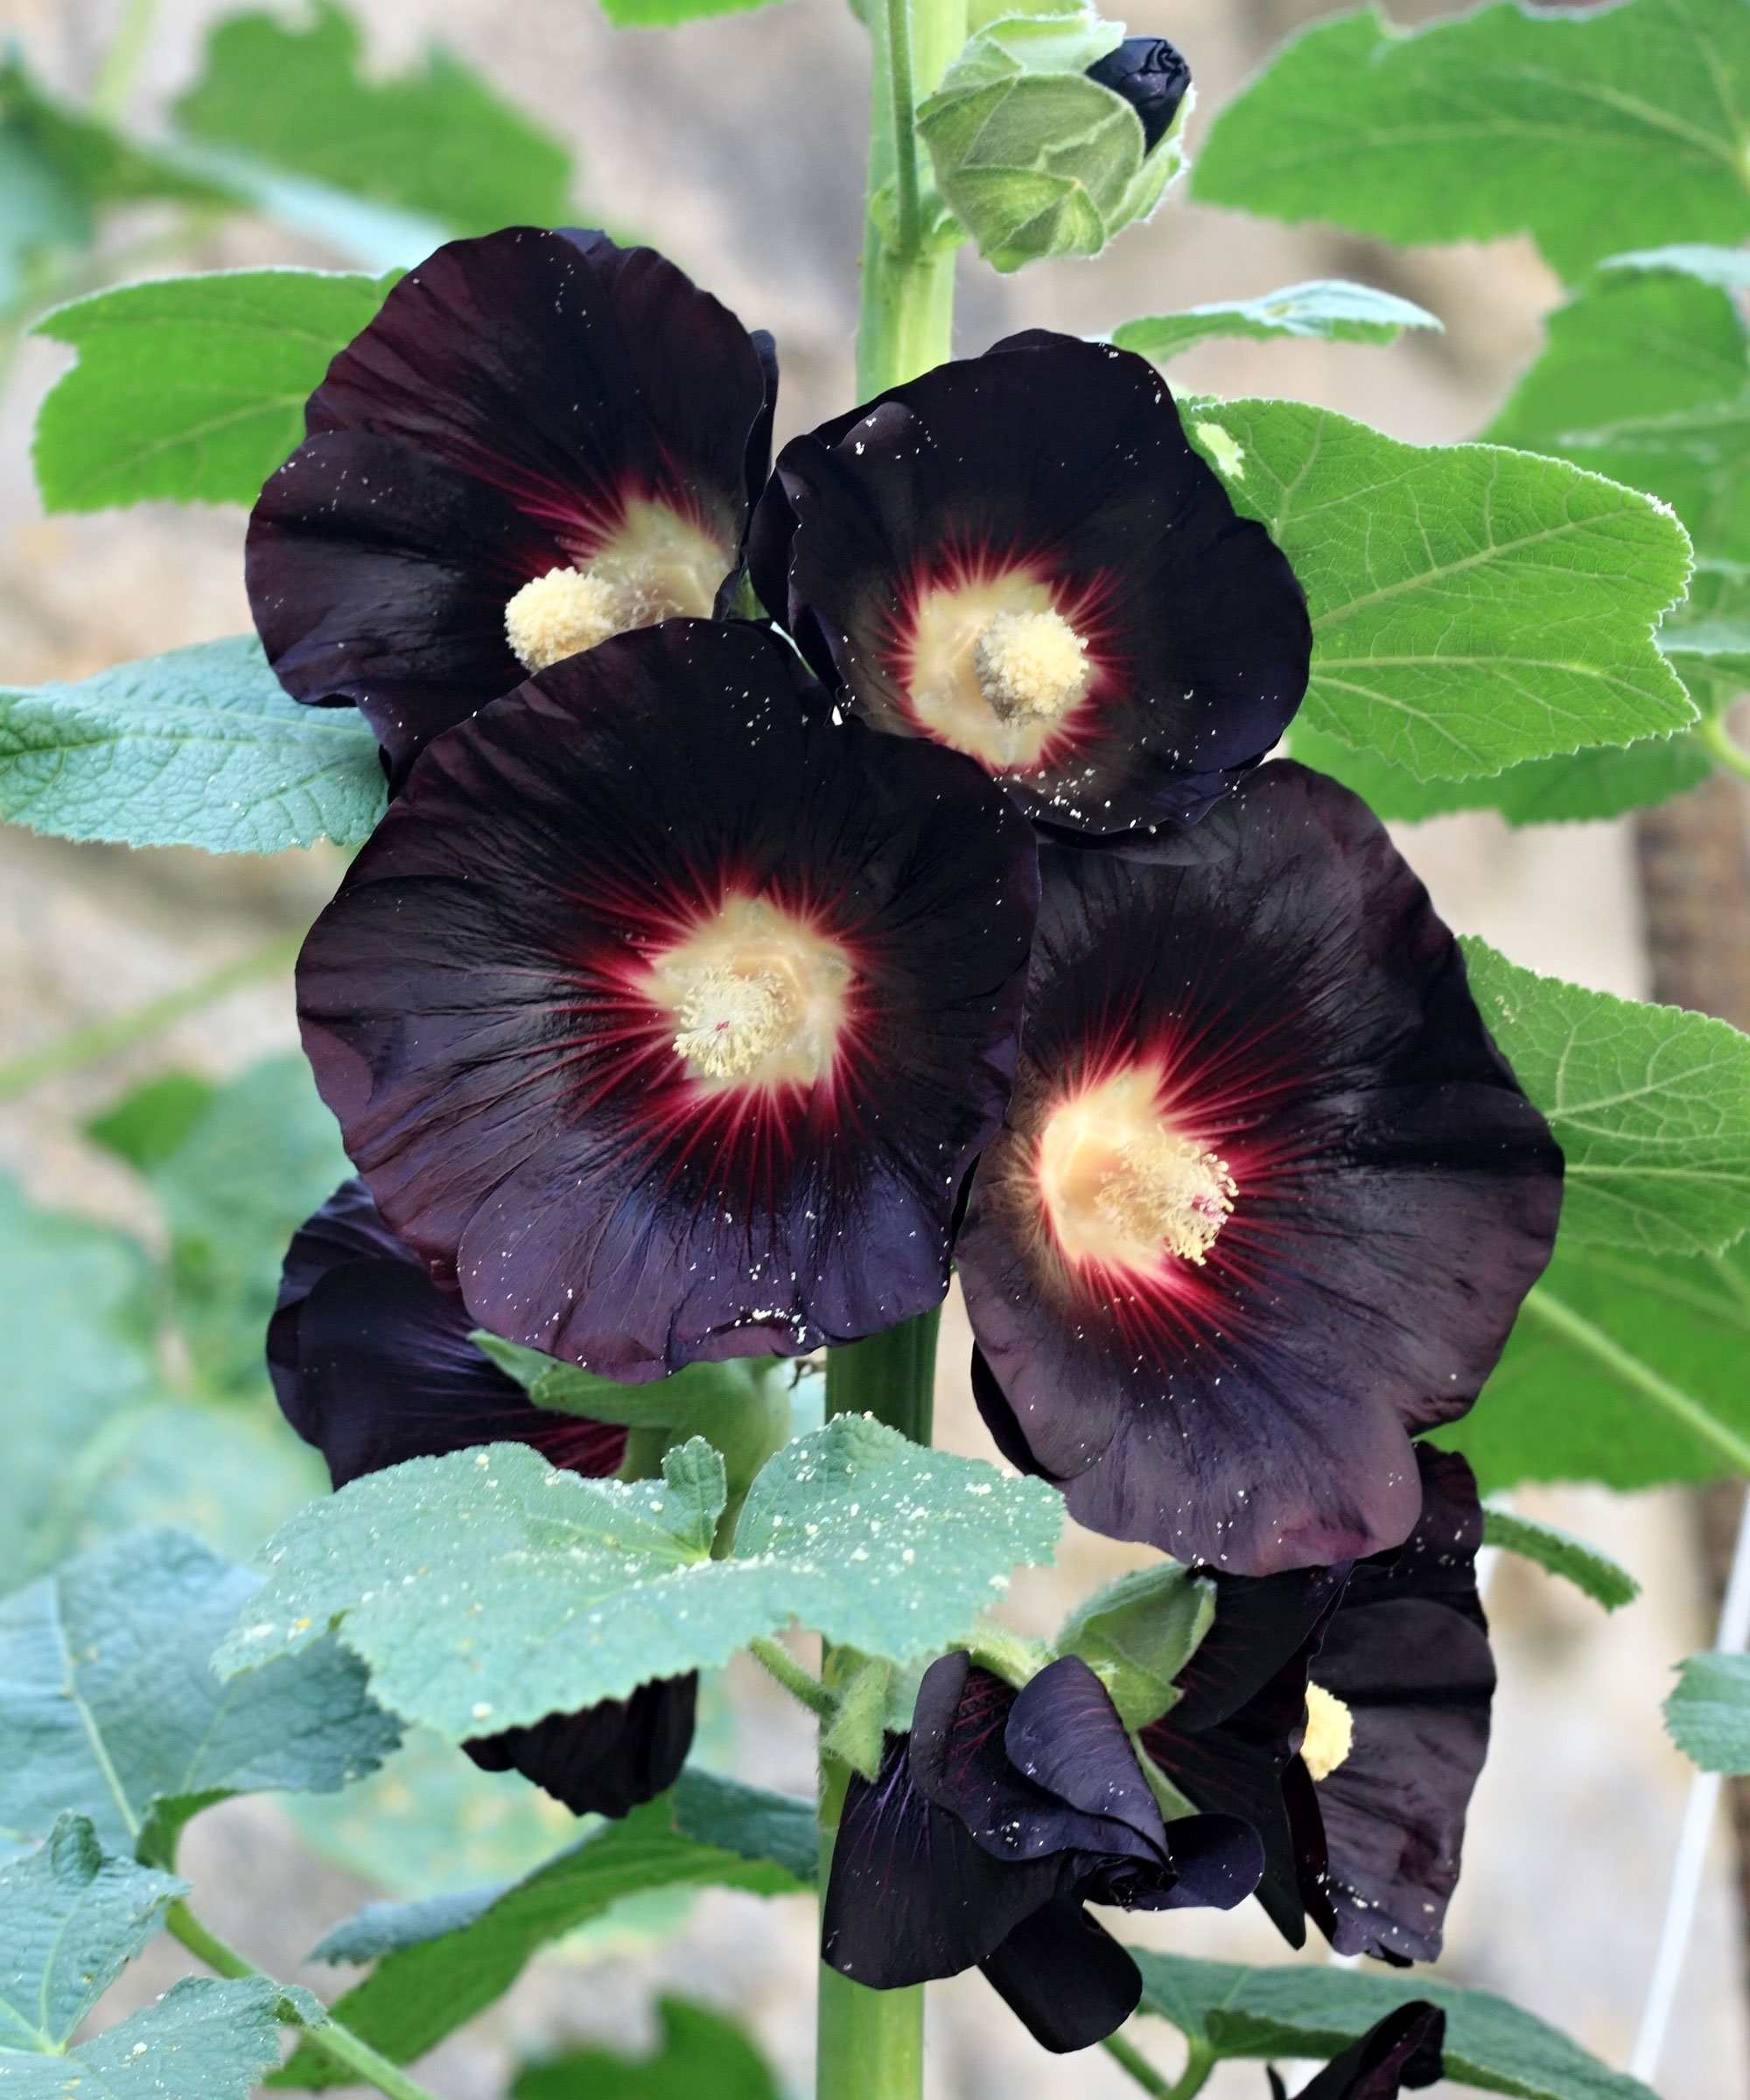
Within this range lies enormous scope in terms of flowering color, with options varying from softest pastels, peaches and pinks, through oranges and corals to magentas and reds, purples and even blacks. There is also variety in terms of height. Whether you are a complete hollyhock beginner or a cottagecore aficionado, you’ll be spoiled for choice. Some of the most dramatic, distinctive and colorful plants to grow include the following:
- Peaches ‘n’ Dreams: This sweet double variety casts a frilly spell on beds and borders with its sumptuous pastel petals. Plants reach 6 feet (1.8 m) tall and look especially lovely paired with bright white ornamentals or deep purples.
- Halo Series: A charming single flower selection with colors including vibrant reds and gentle apricot oranges. The centers of these flowers usually appear slightly darker and richer than the outer edges. These modern bee-friendly and beginner-friendly flowers are rust resistant and can reach 6 feet (1.8 m) tall.
- Nigra: An extraordinary variety with rich, dark burgundy flowers. This single-flower form appears so intense and dark, it can seem almost black, so consequently it is an excellent choice for creating drama and intrigue in borders. Plants can reach 6 feet (2.4 m) tall and look especially cool in gothic designs and moon gardens.
- Queeny Purple: One of the more compact varieties you can grow, this award-winning hollyhock reaches just 2-3 feet (60-90 cm). This makes it perfect for compact gardens, containers, and beginners who aren’t confident with the more statuesque forms. Gorgeously ruffled in appearance, with pompom peony petals.
Overwintering Hollyhocks
Because hollyhocks are biennial plants, they will need help during the winter months following their first year. Overwintering will depend on your hardiness zone, but it is definitely going to be a consideration in cold climates. You need to make sure they are kept safe so these beautiful plants can flower next summer. Start thinking about winter care in the fall. Your plants will have formed a rosette of leaves during the first year. Unless you see any damaged or diseased leaves or plant material, don’t cut the foliage or disrupt the rosette.
If you have a dry spell during fall, water the ground deeply in advance of that first fall frost. This will minimize the damage caused by frost underground and will ensure plants see the winter out with good levels of hydration. Apply a thick mulch around your hollyhocks in cold USDA areas – this will help keep crowns safe. A couple of inches (5cm) applied in late fall should suffice. Keep mulch away from the center of the rosette.
If your area is likely to be very cold, consider placing a fleece over the top of the plant for extra protection. Where plants are placed in an exposed area (not near a wall or fence), consider a temporary screen or winter windbreak such as the WindScreen4Less Heavy Duty Windscreen Fabric from Amazon.
Propagating Hollyhocks
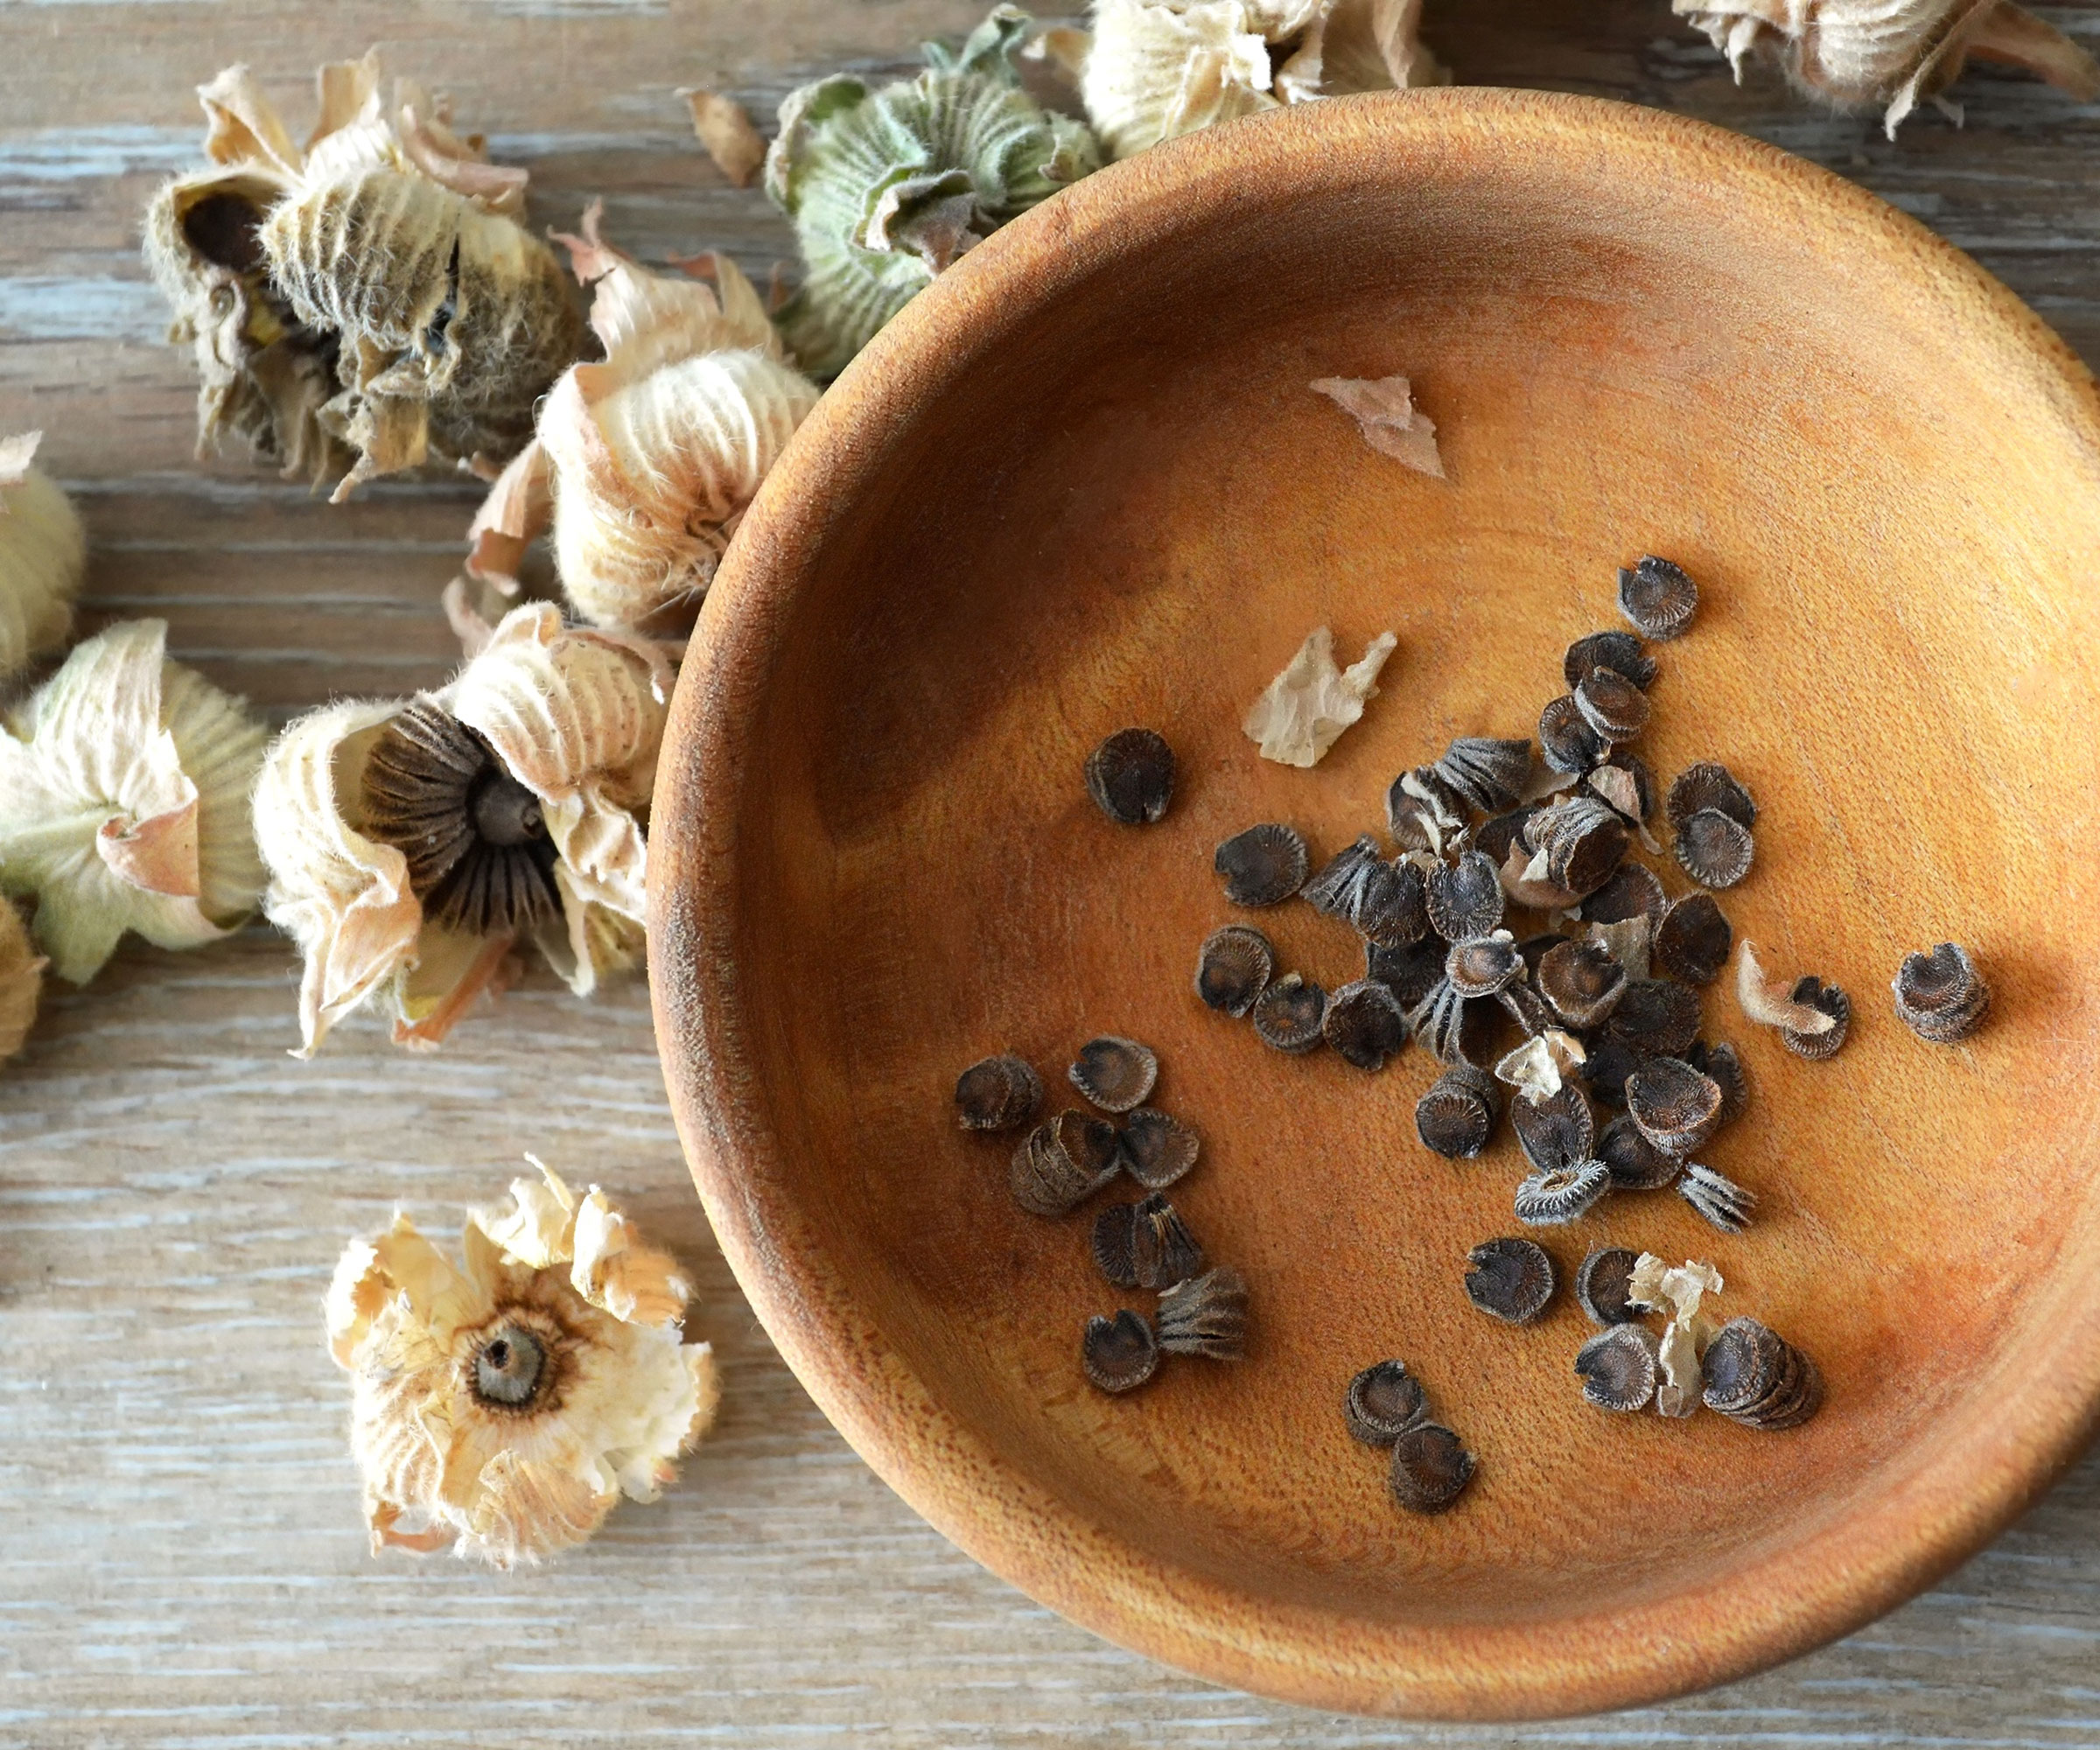
At the end of the flowering phase, which generally occurs in the second year of growth, hollyhock plants will shift to seed production. If you decide to leave some seeds on the plant to dry up, this will lead to self-seeding, continuing the appearance of hollyhocks in your beds and borders. However, if you want to ensure future hollyhock blooms, you can also harvest hollyhock seeds for propagation. If you harvest from hybrids, just bear in mind that future flowers may not be true to type.
Wait until the seed pods are completely dry. Don’t wait until the pod splits open, though, unless you are happy for the seed to scatter randomly into the soil. If you are harvesting the seed, collect the pods in early fall once dry. You can either sow them straight away so they overwinter in the soil, or store them in a cool, dry place until you can sow them in spring. Keep them in a sealed container. Seed-saving boxes like Himake’s 60-Slot Seed Storage Organizer from Amazon include envelopes, sealed seed bottles and special compartments to keep seeds safe and sealed.
Common Hollyhock Problems
Once established, hollyhocks are generally fairly low maintenance, as long as you follow the above care guidelines and exercise patience. However, due to their iconic cottage garden history, many hollyhock varieties are considered heirloom. As such, they are susceptible to diseases and pests. Some of the most common are:
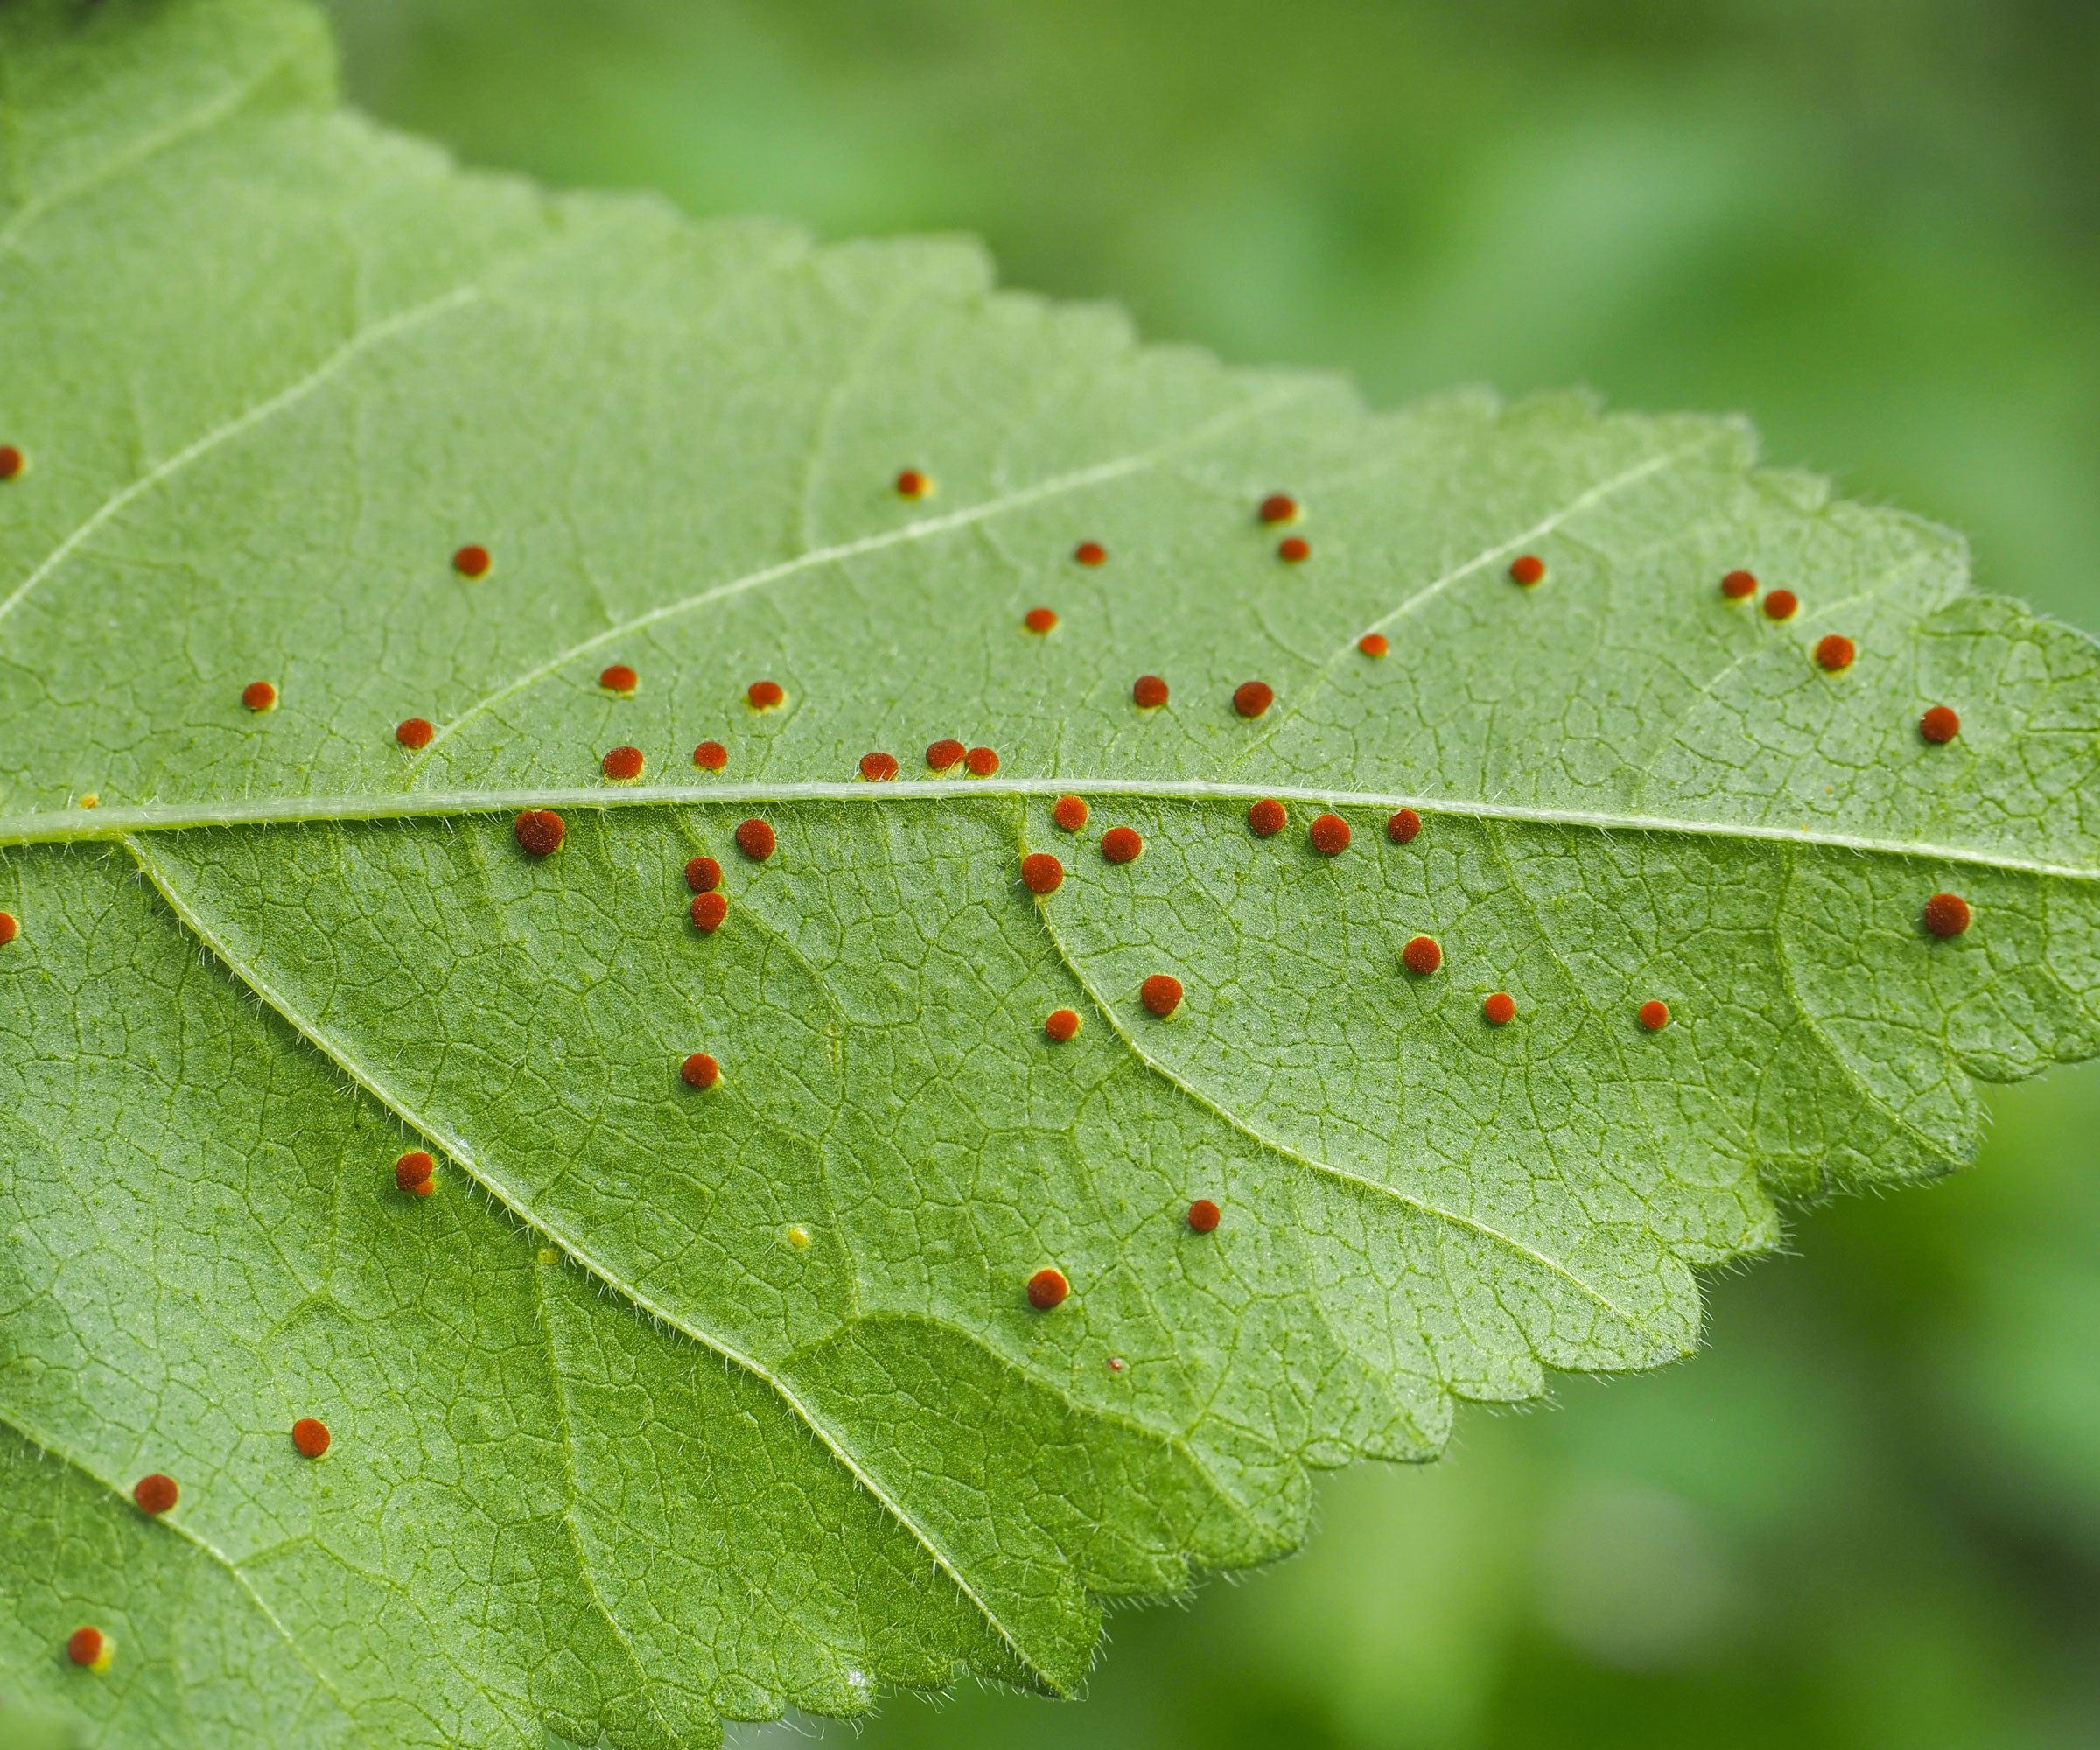
- Rust (Puccinia malvacearum): This tends to happen as a result of poor airflow or poor watering practices (if you splash foliage, rather than watering the base of the plant). The big signs of trouble are the orange or brown pustules on the undersides of leaves. Remove infected leaves, improve circulation, water correctly, and consider rust-resistant hollyhock varieties (especially if your climate is damp). Mulching can also reduce the risk of spores being splashed up onto leaves. You can also use a neem oil spray as an antifungal agent.
- Weevils (Apion longirostre): These pests attack the flower buds and lay eggs inside them, and the adults feed on all parts of the plant. You may notice deformed buds or bud drop, or small grubs in stunted flower buds. Where possible, handpicking adult weevils on hollyhocks can help manage pest numbers. It’s also necessary to remove affected buds, particularly if you spot larvae. You can also use sticky traps to manage numbers or encourage natural predators such as parasitic wasps.
- Aphids: Aphids target weak or stressed plants, so if you are keeping them in good health, this is less likely to be an issue. However, swift intervention can turn things around. Signs of trouble include a sticky residue on leaves, with insect clusters on fresh young tips. To control aphids, blasts of water applied daily can be a great first line of attack. You can also introduce beneficial insects like ladybugs or lacewings. In more extreme cases, try a horticultural soap or diluted neem oil solution. Bonide Captain Jack’s Ready-To-Use Neem Oil Spray from Amazon can control outbreaks.
Other issues for hollyhocks include powdery mildew and Japanese beetles, which can also be treated with diluted neem oil sprays. Alternatively, remove the beetles by hand and drop them in soapy water, or use beneficial nematodes. Again, proper watering and spacing can generally help keep the risk of infections like powdery mildew very low. Swift intervention is important in reversing the threats from these common problems, and ensuring that your hollyhocks can flower successfully.
Growing Hollyhocks in Containers
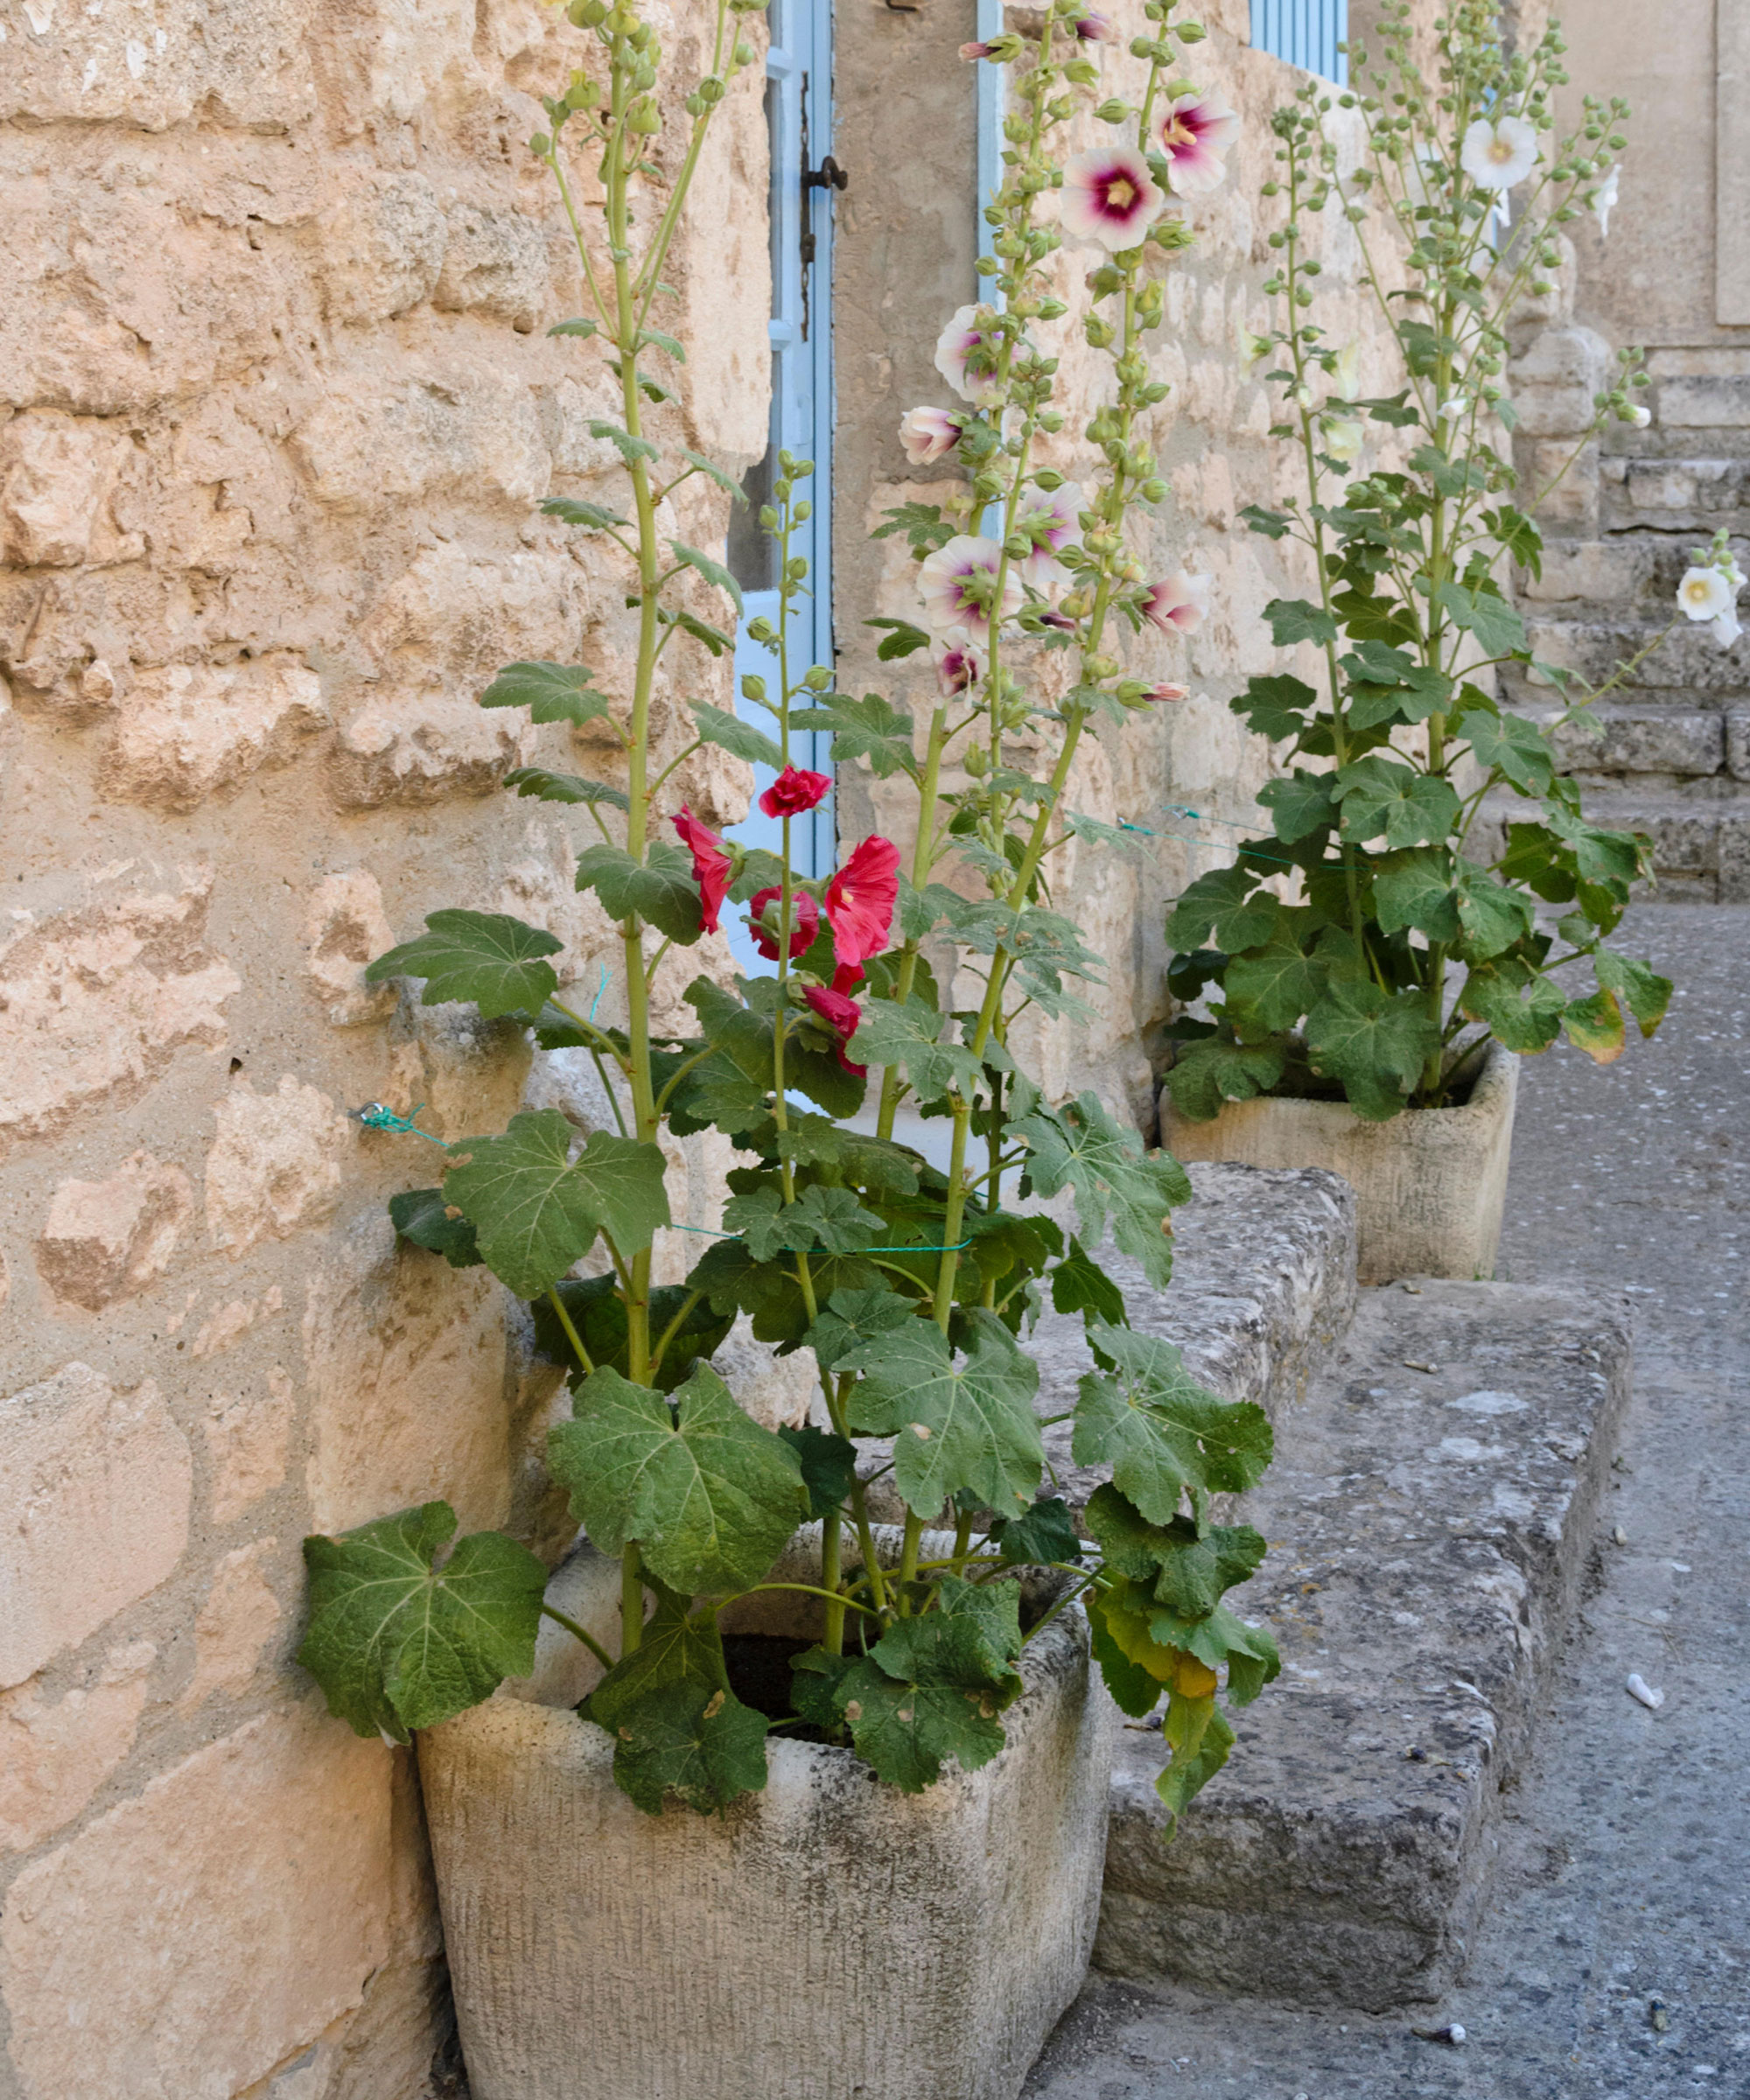
The conventional aesthetic attached to most hollyhocks is one of statuesque floral spires that can often reach 5-6ft (1.5-1.8 m). Because of that, most varieties rely on a combination of deep earth and sturdy frames or poles to support their height and large taproots. So in most cases, hollyhocks are not generally considered the best plants for container gardening. That said, select varieties have been bred to be housed in pots and planters. So if you select the right variety (and use a generous container), it is possible to grow hollyhocks this way.
If you grow dwarf or compact hollyhock varieties with relatively smaller root systems and smaller maximum stems to support, you can make it work. Choose the deepest containers possible (at least 18 inches/45cm deep, and preferably deeper) to sustain the roots with room to spare. Shallow or small containers will cause plant stress. The pot you choose should retain moisture, but drain well (unless the pot has a large drainage hole, there is a greater risk of root rot). Use a light potting mix with a general-purpose feed, as with ground-based hollyhocks. Keep in full sunshine, water evenly (at the base of the plant to reduce the risk of rust), use supports where necessary, and deadhead spent blooms to encourage further flowering.
As with ground-based hollyhocks, give some thought to overwintering. Protect containers during winter if growing plants in USDA zone 5 or below. Move to a sheltered spot, mulch and wrap with horticultural fleece, or overwinter indoors in an unheated greenhouse, coldframe, or shed. Some of the best compact, shor,t and dwarf varieties for pots include vibrant double ‘Summer Carnival’, bright pink ‘Fiesta Time’, award-winning ‘Queeny Purple’, and ruffled ‘Majorette Mix’ hollyhocks.
Hollyhock Companion Plants
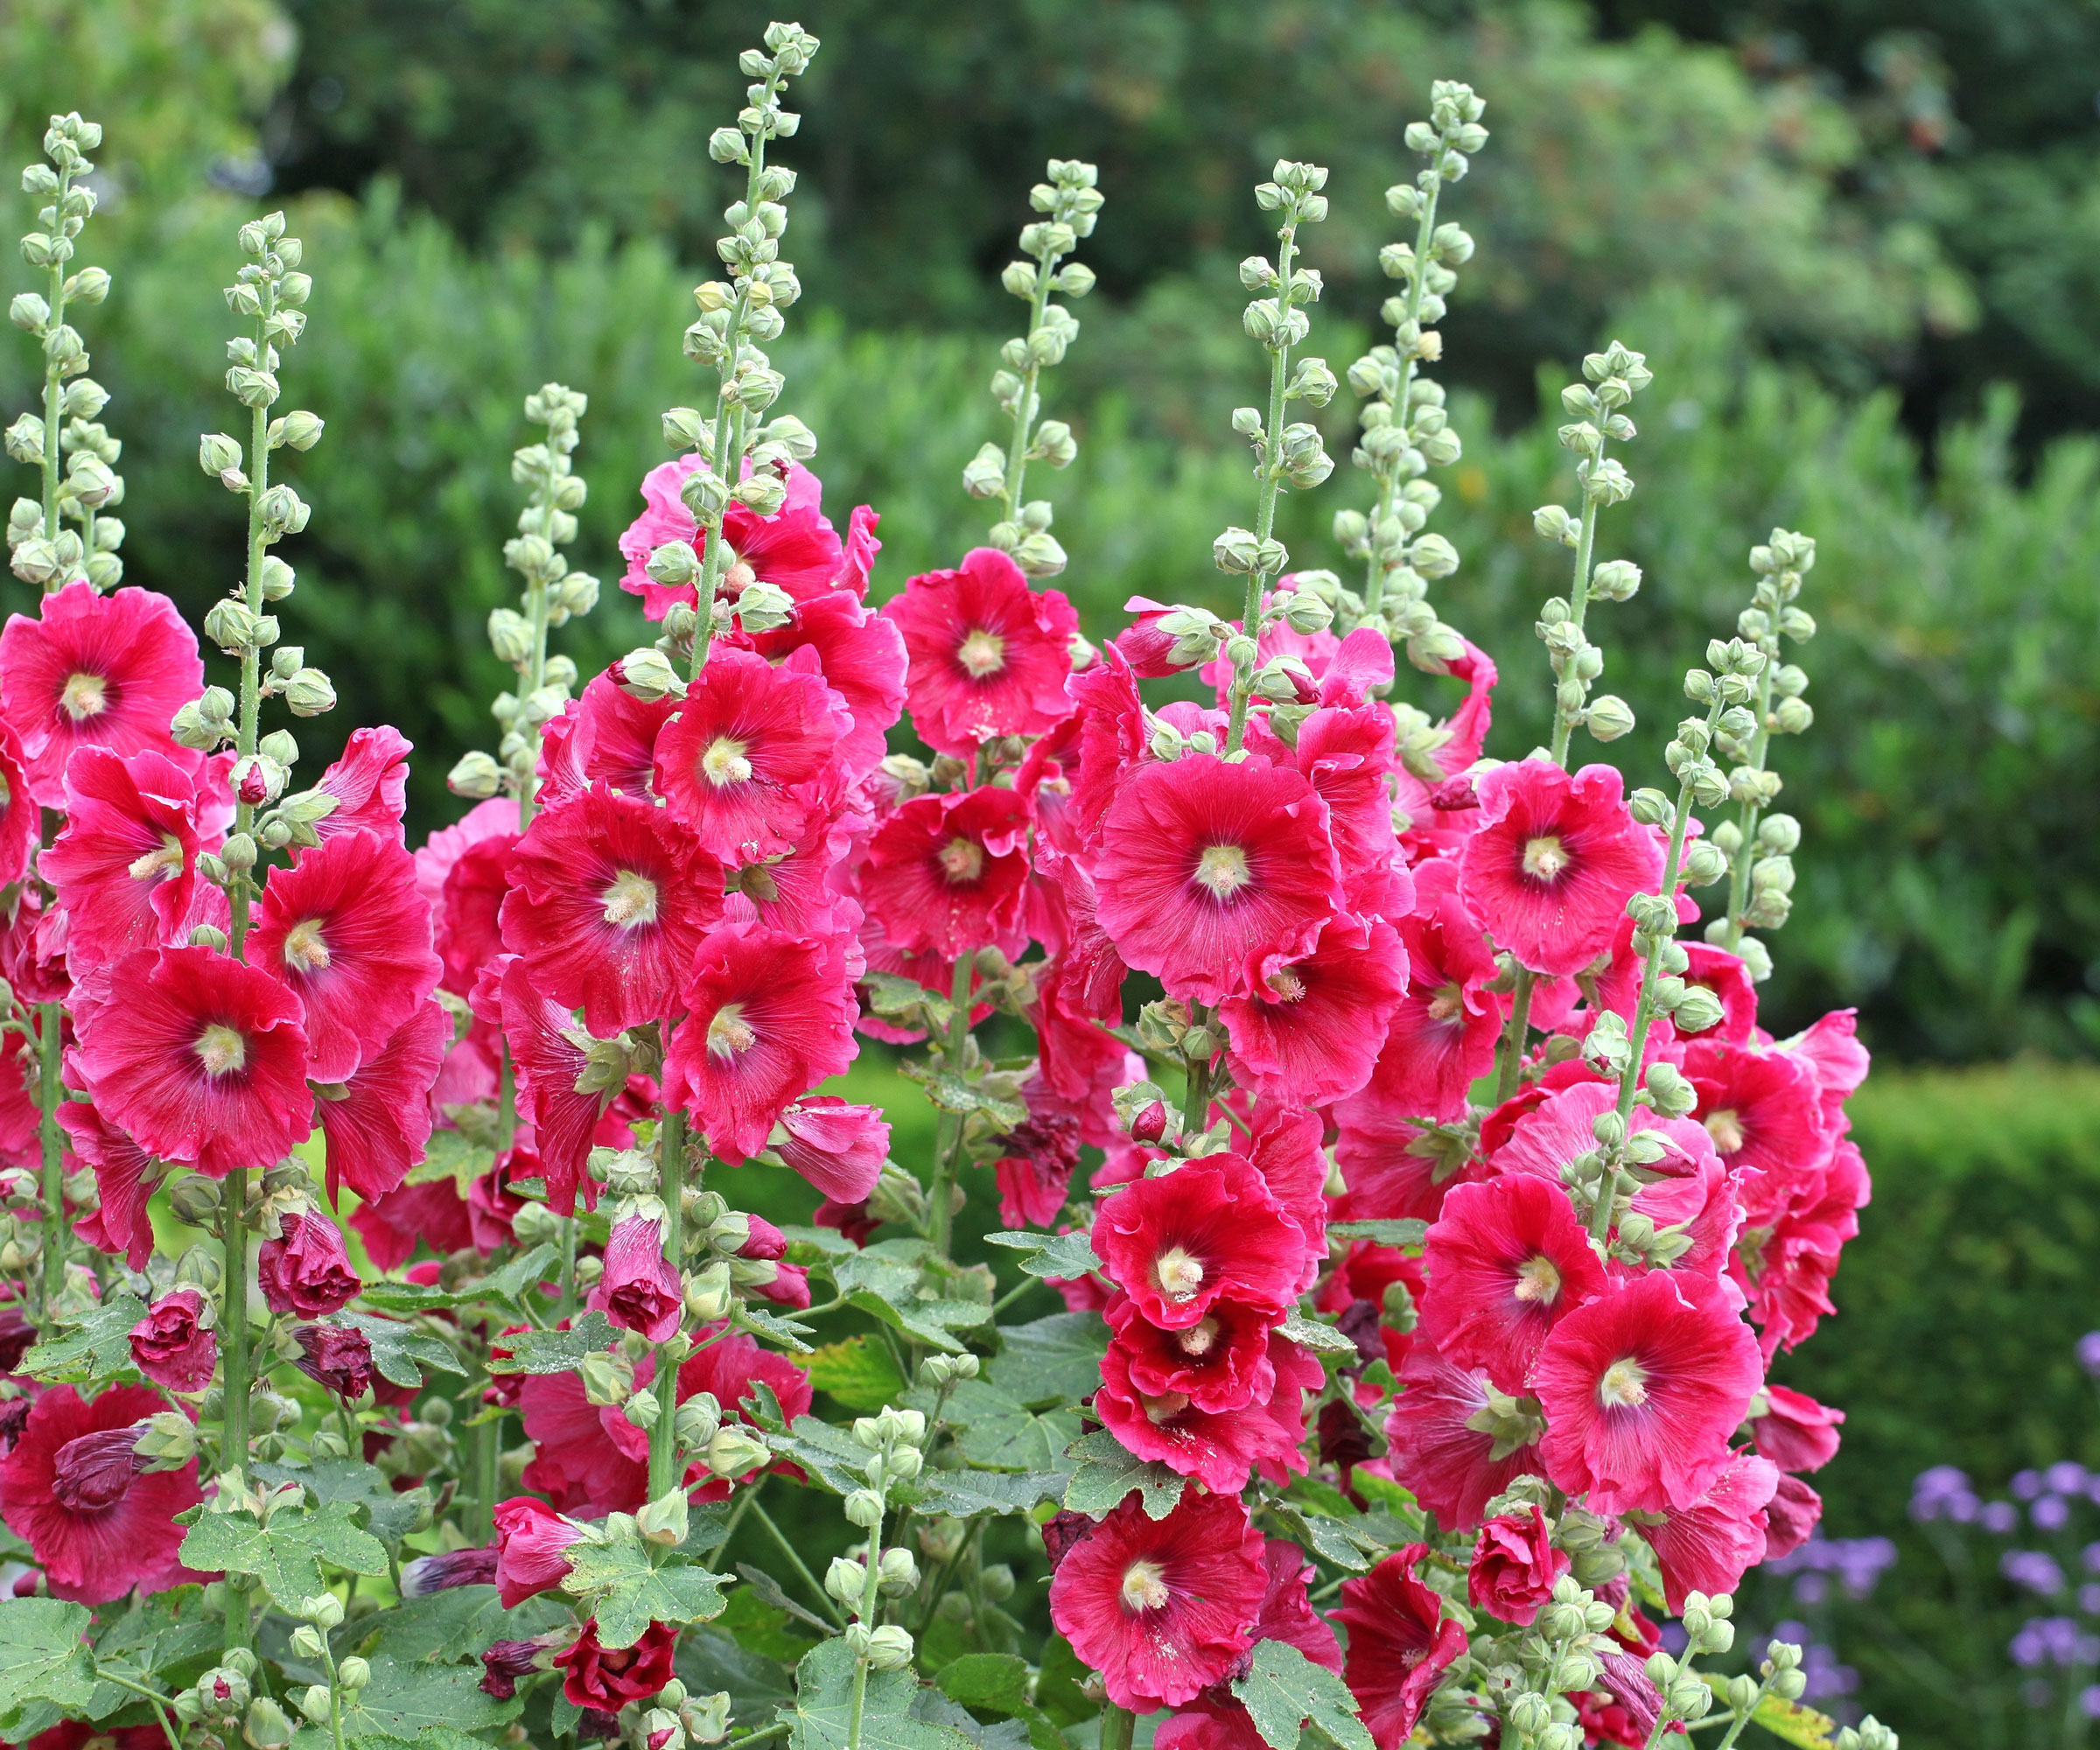
The best companion plants for hollyhocks will include equally tall flowering plants, those that service pollinators, plants that deter pests, plants that contribute towards communal vitality, those that help bolster a cottage garden aesthetic, and lend themselves to harmonious color schemes. Just remember when planting groups of plants and flowers alongside hollyhocks that you need to maintain good airflow and support. Here are some of the best companions for hollyhocks in beds and borders:
- Delphiniums: These towering beauties with their dramatic blue and purple hues help create cohesion and complementary color when used in backs of borders and edges of bedding. They flower around the same time for abundant vertical drama. They appreciate the same growing conditions and are big pollinator magnets.
- Foxgloves: Also great for creating balance alongside statuesque hollyhocks, foxgloves enhance and enrich the visual vertical tapestry. They also love full sun and well-draining soil, and they help extend the season with slightly earlier bloom times.
- Roses: The ultimate pairing for cottage garden allure, roses and hollyhocks create a satisfying blend of textures and palettes. Whether shrub, hybrid, or climber, the lush softness of roses serves as a natural counterpoint, creating a layered collaboration.
- Catmint: This dynamic pairing also creates a layered aesthetic that conceals any gaps created by the taller hollyhock. Catmint is another fine choice for attracting bees, butterflies, and beneficial insects, while repelling pests. Plus, its whimsical blue and silver hues contrast beautifully with hollyhock peaches, pinks, and coral tones.
Hollyhock Frequently Asked Questions
Do Hollyhocks Come Back Every Year?
Most hollyhocks are biennial, producing foliage in their first season, then blooming and setting seed in the second year. Some newer varieties will flower in their first year, behaving as an annual (‘Queeny Purple’ is one example). But the lifespan is usually two years so they won’t ‘come back’ once they have flowered – other than from their seeds, so sow each season for ongoing hollyhocks.
Are Hollyhocks Toxic to Pets?
These flowers are generally non-toxic to cats, dogs and horses However, the stems and leaves could cause mild irritation if touched or chewed, prompted by a reaction to the tiny hairs (called trichomes). In some cases, ingesting large quantities may cause mild stomach problems. It's generally safe for humans to handle mature plants, but again, they can cause mild skin irritation, so it’s wise to wear gloves when handling them.
Are Hollyhocks Deer Resistant?
Unfortunately, hollyhocks are not deer resistant. Deer (and rabbits) could nibble the leaves, especially the young, tender growth. If you are living in an area where deer are more prevalent, it is wise to use physical barriers like mesh or fencing. You could also try introducing a deer repellent nearby, such as garlic-based Liquid Fence Deer and Rabbit Repellent from Amazon, or companion planting with rosemary or lavender.
How Tall do Hollyhocks Get?
As noted, you can get dwarf hollyhocks such as ‘Summer Carnival’ and ‘Majorette Mix’ hollyhock varieties, which can be used for container growing. However, most hollyhocks are typically tall, and their tall stems will require ongoing support. Dwarf hollyhocks can reach 12-36 inches (60-90 cm), while traditional types have the potential to reach 5-7 feet (1.5-2.1 m) and some can even reach 8 feet (2.4 m) high.
Hollyhocks Quiz
How much have you learned about these statuesque, whimsical cottage garden ornamentals? Test your knowledge before you start growing…
Hollyhock Care Essentials
- Use a reliable soil meter like the Yamron 4-In-1 Soil Meter from Amazon, which can help test soil pH levels, moisture and light levels, and nutrient loads ahead of planting – and help you decide on any amendments as plants are being cultivated.
- Apply a balanced, slow-release fertilizer like Organic Plant Magic Slow Release Ganular Fertilizer from Amazon. Add this every 6-8 weeks, including once in early spring, and once midsummer, for strong plant growth and optimum flower health.
- Use an organic mulch such as Back to the Roots Organic Mulch with Natural Wood, available from Amazon to bolster your soil’s natural moisture retention levels, suppress weeds, keep roots cool, regulate temps and help prevent diseases.
- Try sturdy supports such as Sprigra Garden Sturdy Plant Supports from Amazon, together with soft ties, to prevent your hollyhock plants from flopping over as a result of top-heavy flowering or strong winds.
- Tackle some of the worst effects of hollyhock rust with a swift, repeat application of Bonide Captain Jack’s Ready-To-Use Neem Oil Spray from Amazon (or similar organic control), which can also be used to control outbreaks of pests like aphids.
- Deadhead flowers and remove spent foliage with the Spear & Jackson Traditional Bypass & Anvil Secateurs from Amazon, to assist with a range of precision cuts that cause minimal damage to plants.

Janey is a former assistant editor of the UK’s oldest gardening magazine, Amateur Gardening, where she worked for five years. For the last few years, she has also been writing and editing content for digital gardening brands GardeningEtc and Homes & Gardens. She’s taken part in a range of conservation and rewilding projects for the Royal Horticultural Society (RHS) and the British Trust for Conservation Volunteers (BTCV) as a way of exploring her horticultural horizons. She is currently undertaking her RHS Level 2 certificate in The Principles of Plant Growth and Development.
- Amy DraissDigital Community Manager