How To Repot An Orchid: Your Essential Guide For Thriving Plants
Discover the step-by-step process to repot your orchids, ensuring healthy growth and vibrant blooms. Perfect for both beginners and seasoned indoor gardeners.
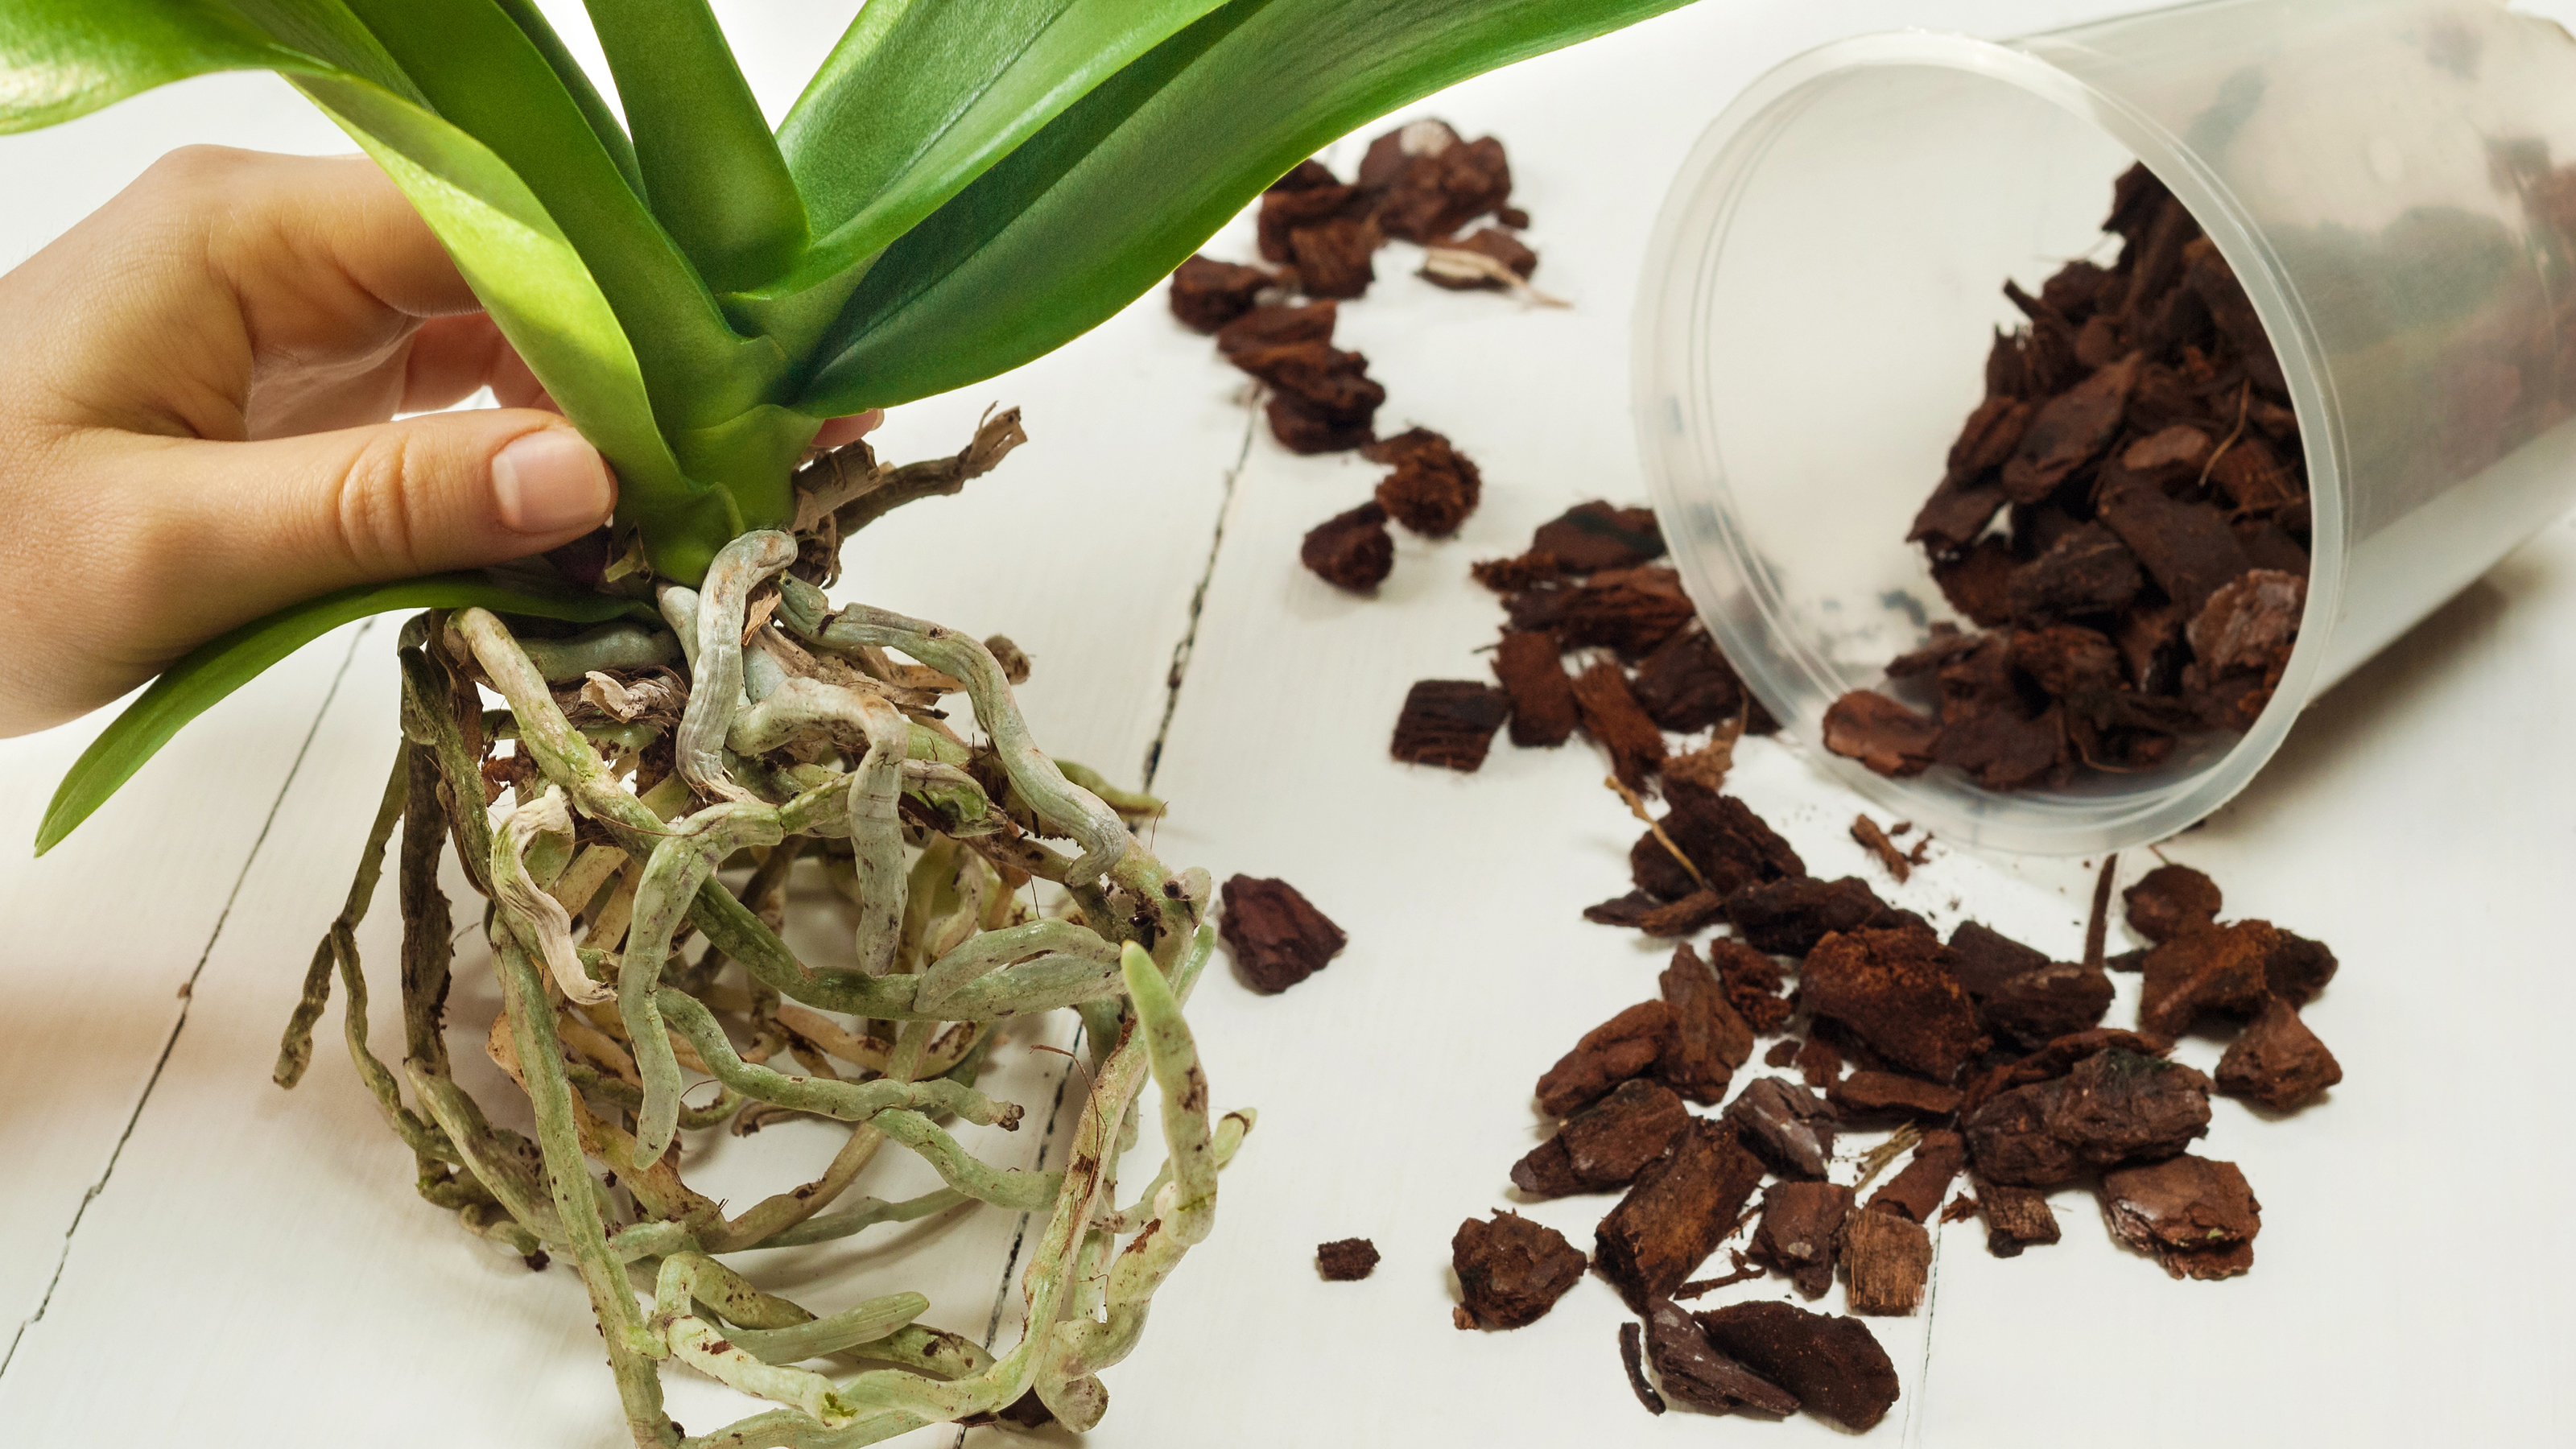

Anne Baley
My orchid has bloomed for the third time and I’m ecstatic! True, it’s only a common moth orchid, but I’m thrilled all the same. Learning how to repot an orchid correctly was key to the plant’s successful bloom rate.
Orchid care confuses many growers, as they don't grow like other houseplants. Instead of putting out roots in a pot of soil, they exist in a container of loose materials such as bark, charcoal, and moss. Almost every grower gets nervous at the thought of repotting orchids, but it gives them that extra push of nutrients they need to flower.
Over time the potting mix breaks down and becomes compacted, reducing airflow and nourishment for the plant. The roots may also outgrow the space provided and need more room to spread out.
Freshening up the growing medium and going up a container size is a great way to revive an ailing orchid or promote repeat flowering on a plant that hasn’t bloomed in a while.
Learn how to repot an orchid with my essential step-by-step guide.
Signs It’s Time To Repot
Knowing when to repot orchids is easy if you know the key signs to look for.
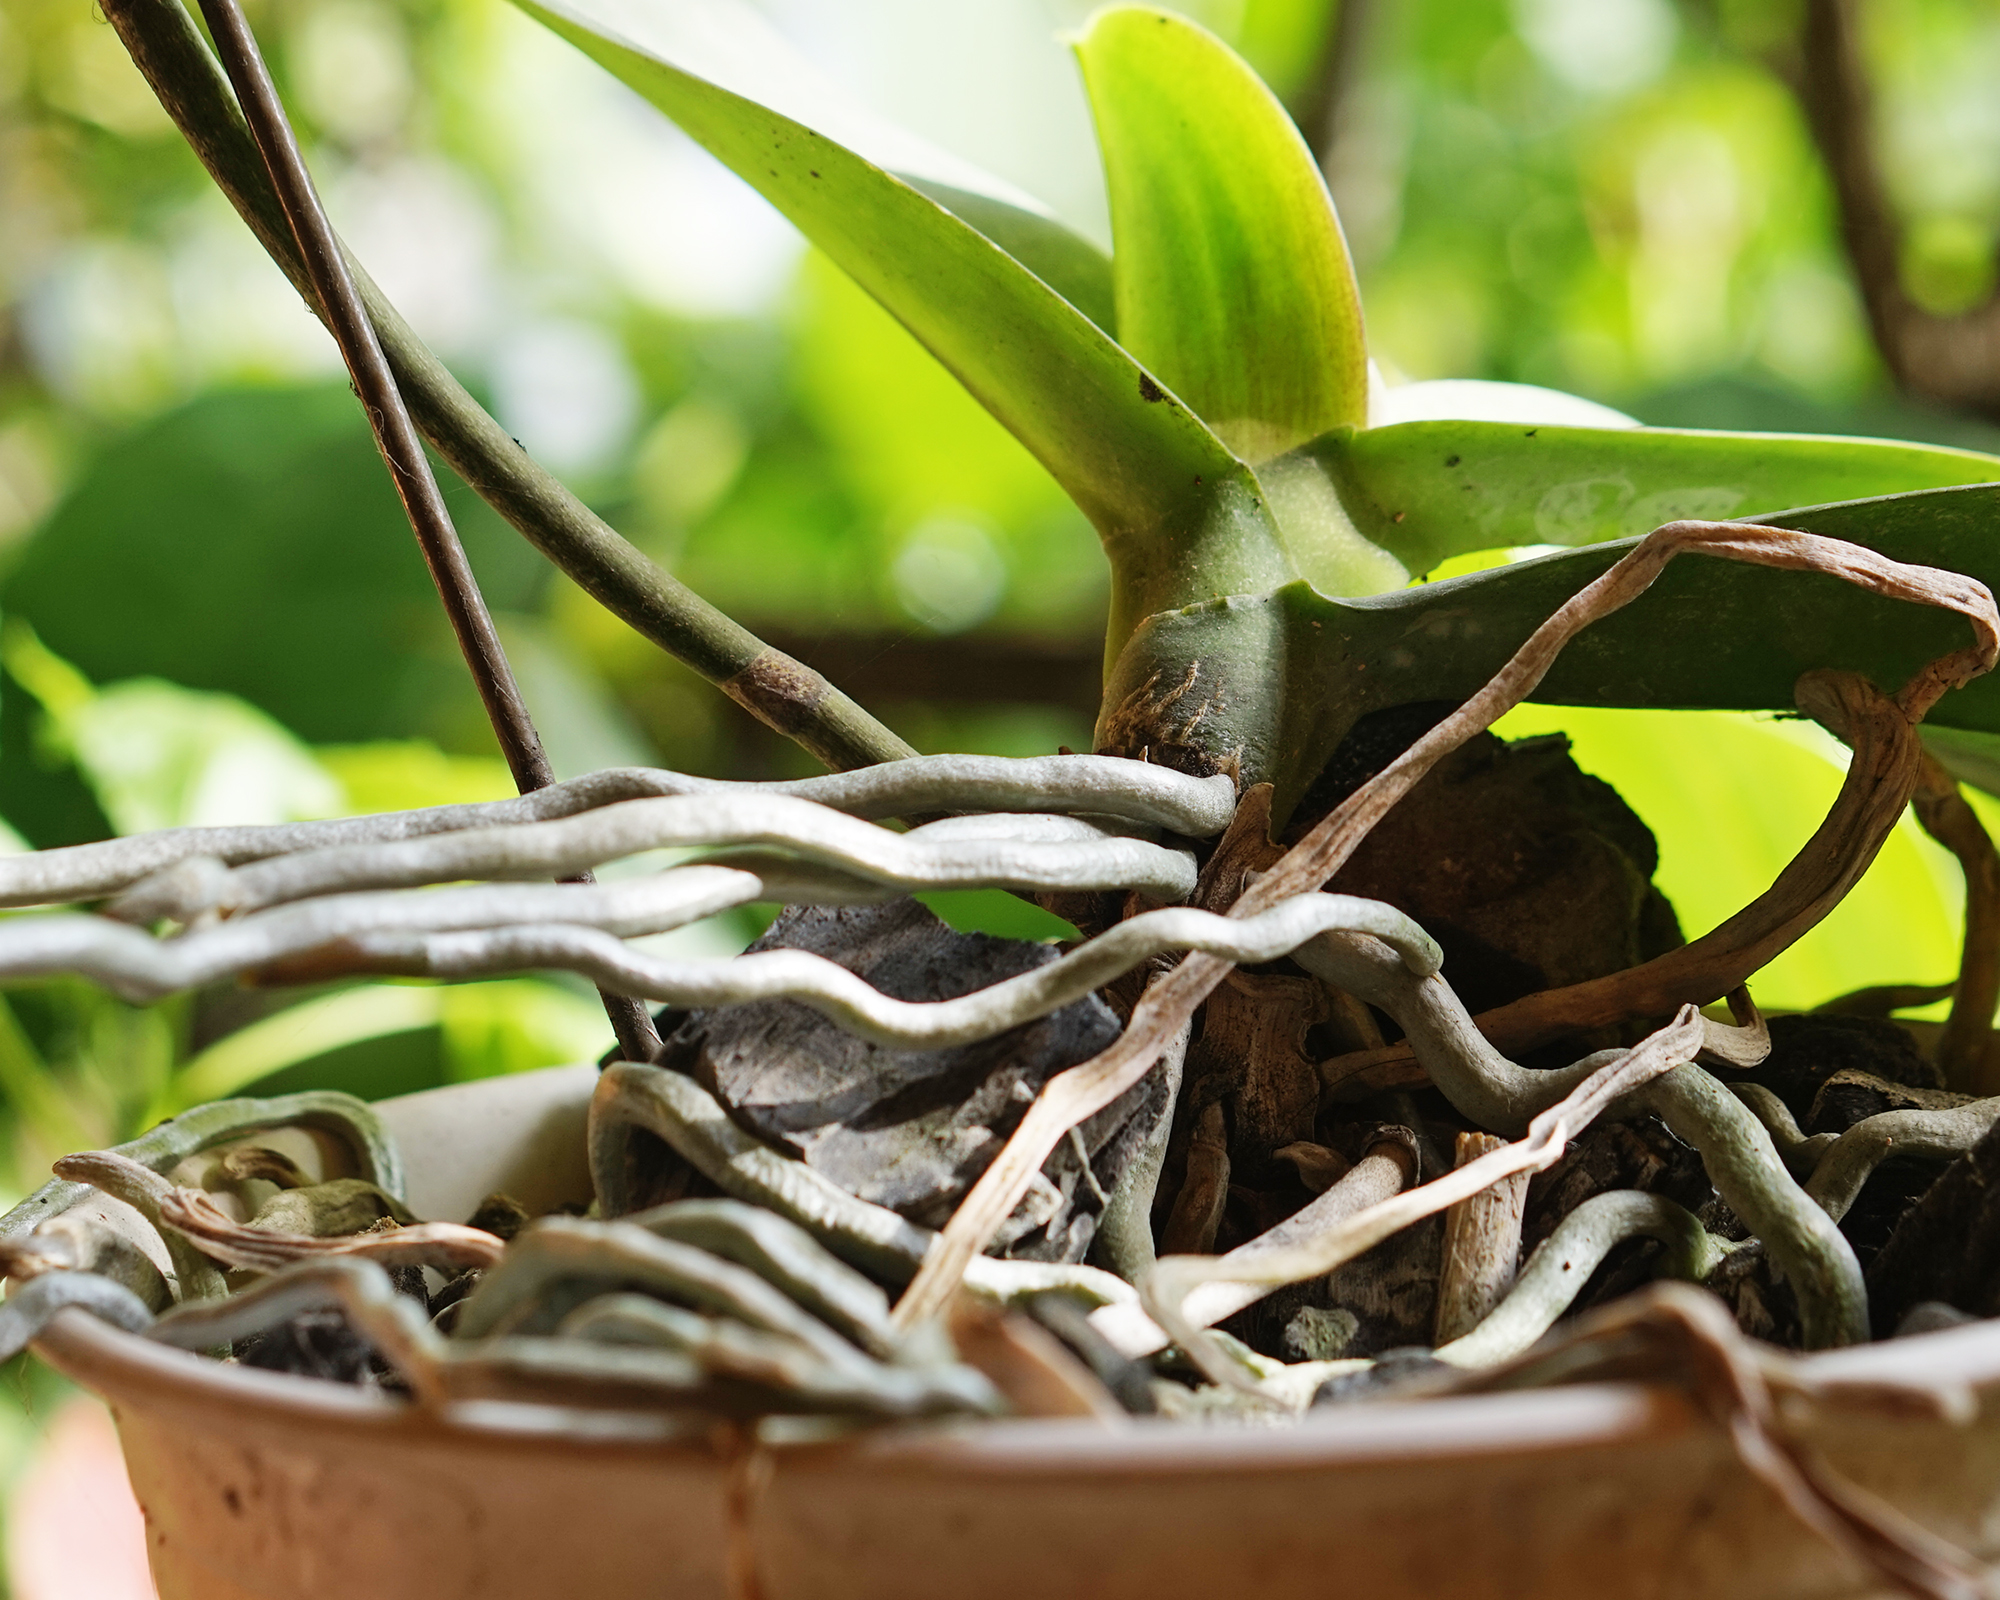
- If the plant is pushing up and out of the pot, that means it has a lot of roots growing under the medium and it's time to repot.
- Lots of aerial orchid roots growing out the pot are another sign. These are normal as many orchids are epiphytes; they grow on trees, without any soil or substrate, in their native tropical rainforests. In your home, the rampant root growth might be an indicator that your orchid needs more space.
- If you can visually see that the orchid medium has broken down, it's time to repot. Orchids grow in a very chunky medium, and when it breaks down into smaller bits, it won't drain as well.
- Lastly, if your orchid just won’t rebloom, repotting can give it the space and nutrients it needs to produce flowers.
In general, you should repot your orchid every year or two. Choose the time of year that's best for the plant, as different types of orchids have different needs.
Gardening tips, videos, info and more delivered right to your inbox!
Sign up for the Gardening Know How newsletter today and receive a free copy of our e-book "How to Grow Delicious Tomatoes".
Pseudobulb orchids should be transplanted right after flowering, before the roots begin to grow, but most other orchids can be repotted at any time.
Wait until it has finished blooming, as disturbing the plant when it's in flower is usually not a good idea.
The Right Potting Mix
When you buy an orchid they often, but not always, come in a tiny clear plastic cup filled with sphagnum moss. Growers use moss so the orchid doesn’t dry out during shipping or while sitting on a retail shelf, but it isn’t the best orchid potting medium. It can stay too wet and cause rot.
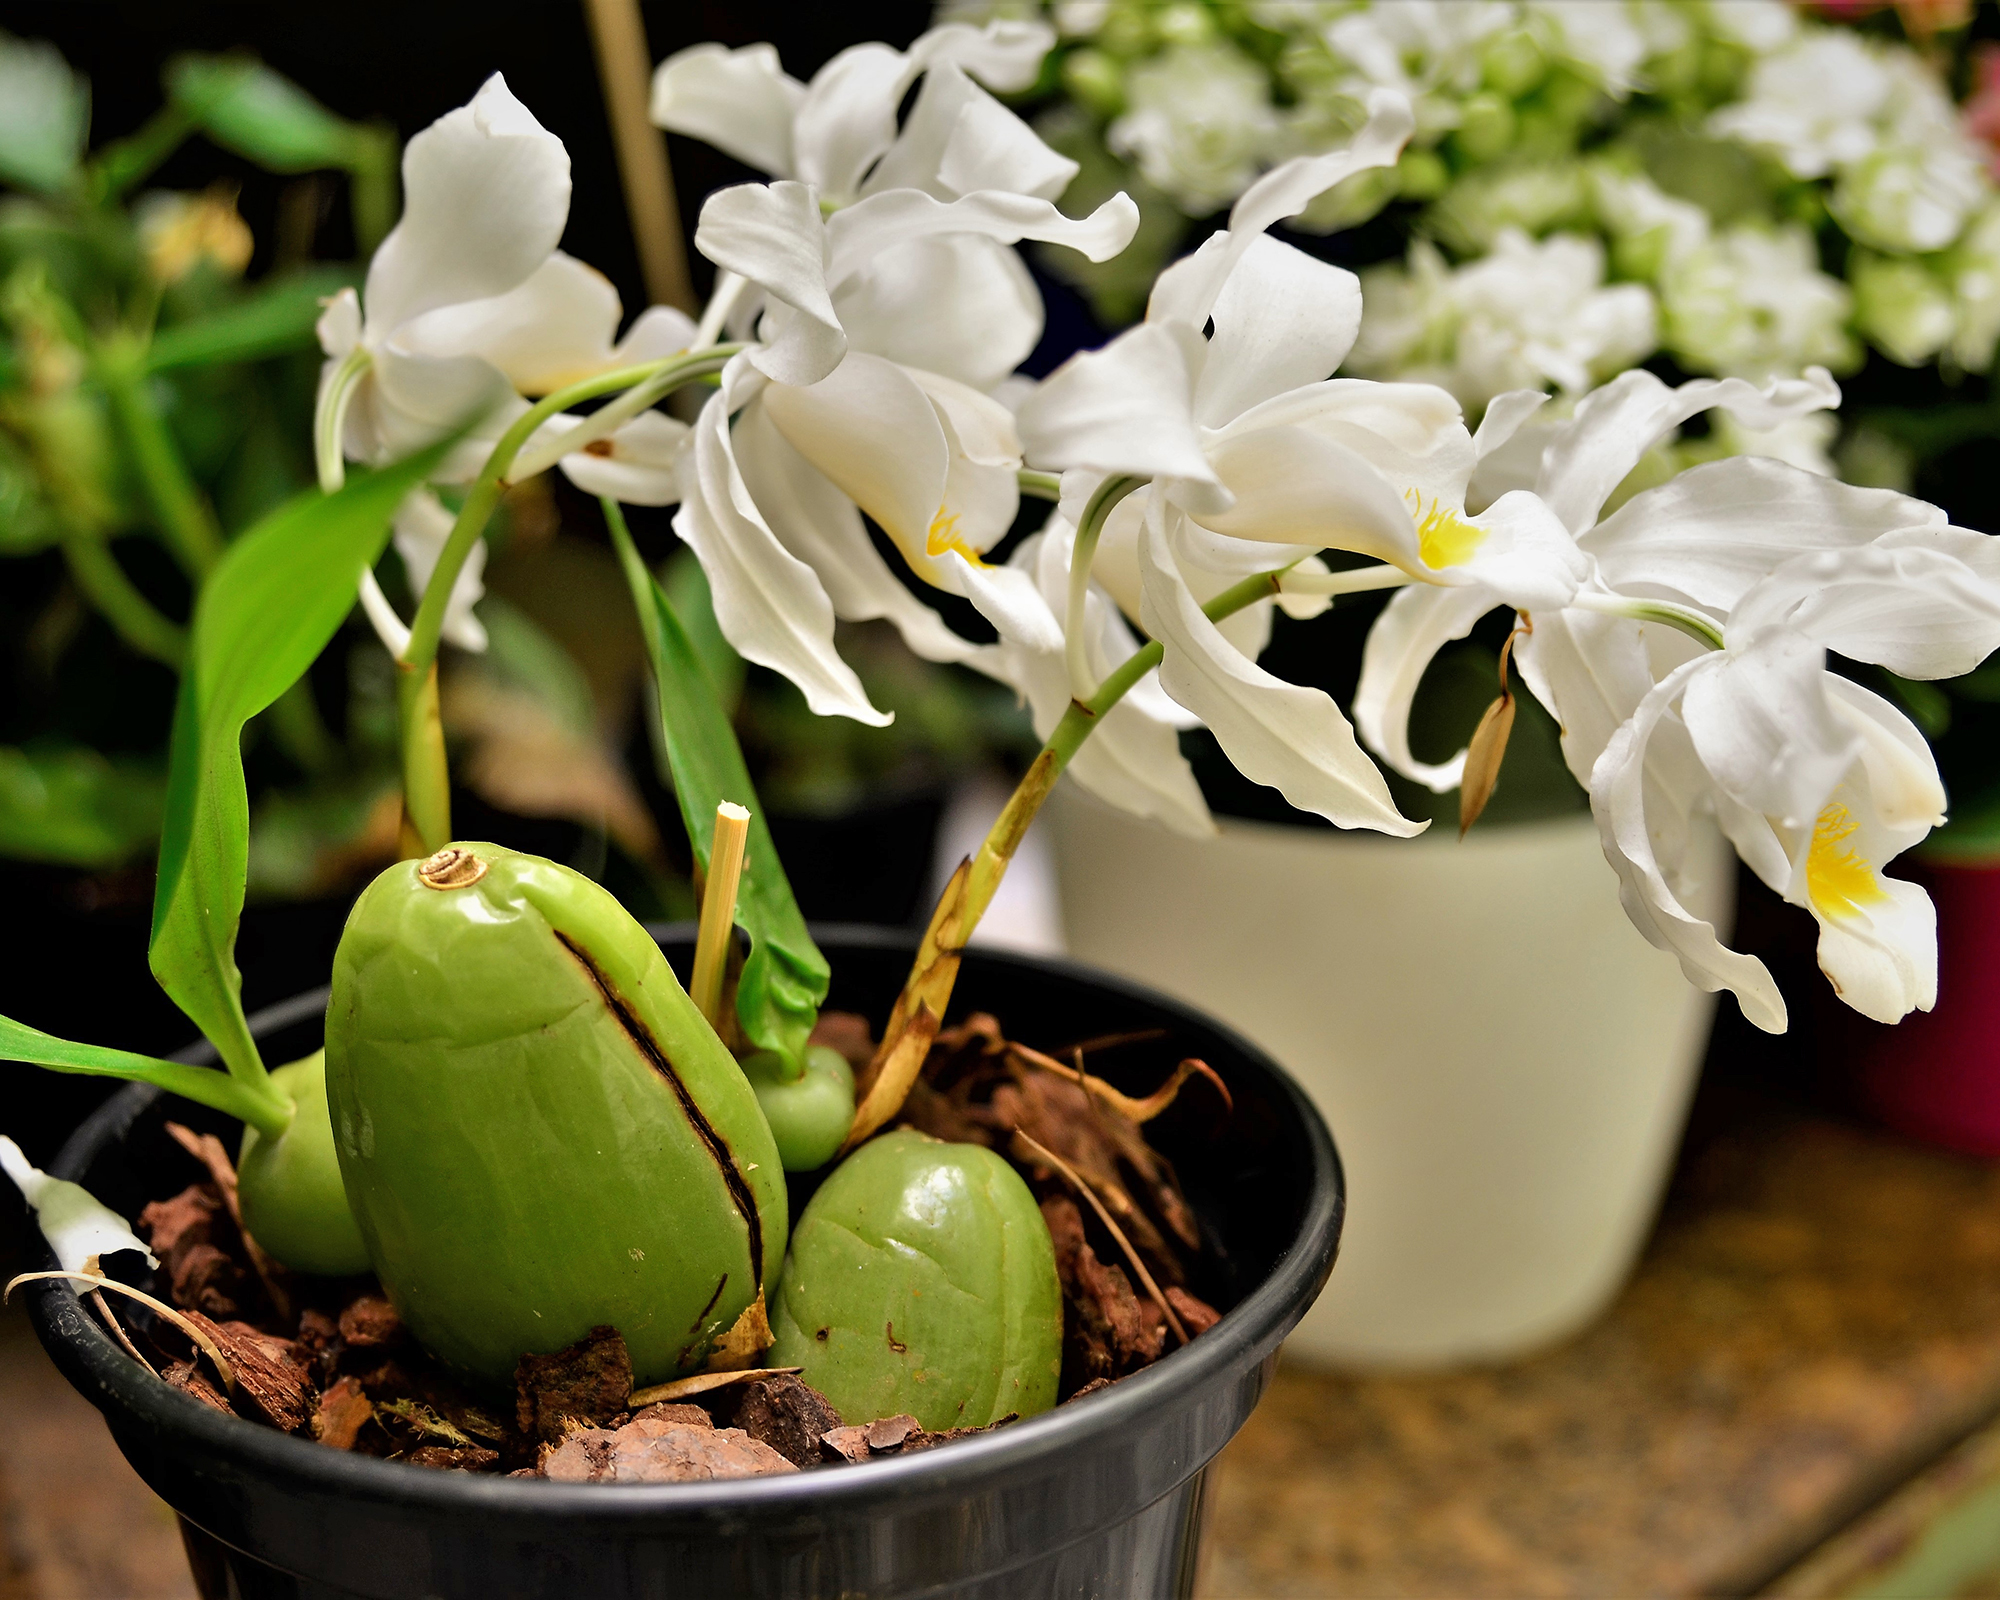
You can purchase an orchid mix or make your own. Either way, the medium should be a mix of shredded or small pieces of fir bark along with perlite, vermiculite, and sphagnum moss. The medium may also have coconut coir (husk) instead of moss.
A good DIY orchid medium is four parts finely shredded fir bark, coconut coir, and redwood bark. To this add one part fine charcoal and one part perlite. Mix it up in a container and you’re ready to plant.
Some growers prefer to soak the potting mix in boiling water before use, to kill any pests or diseases. This is not usually necessary unless you have particular concerns.
Choosing A Pot
Choose a new pot that's an inch or two (2.5-5cm) larger than the one before. Orchids like to be somewhat confined so your container size should just fit the root system, not necessarily the size of the foliage.
Specialized orchid containers have holes all around the surface to increase air circulation. They are usually clear plastic, to enable you to monitor the health of the roots
For a more decorative option, a traditional unglazed terracotta pot works well as it absorbs moisture, helping to minimize waterlogging.
One of the most important things to learn about how to repot an orchid is that they are very sensitive when it comes to bacteria and germs. Make a solution of ½ cup (120ml) of household bleach and 1 gallon (4L) of water. Soak the planter in this, as well as any tools you use.
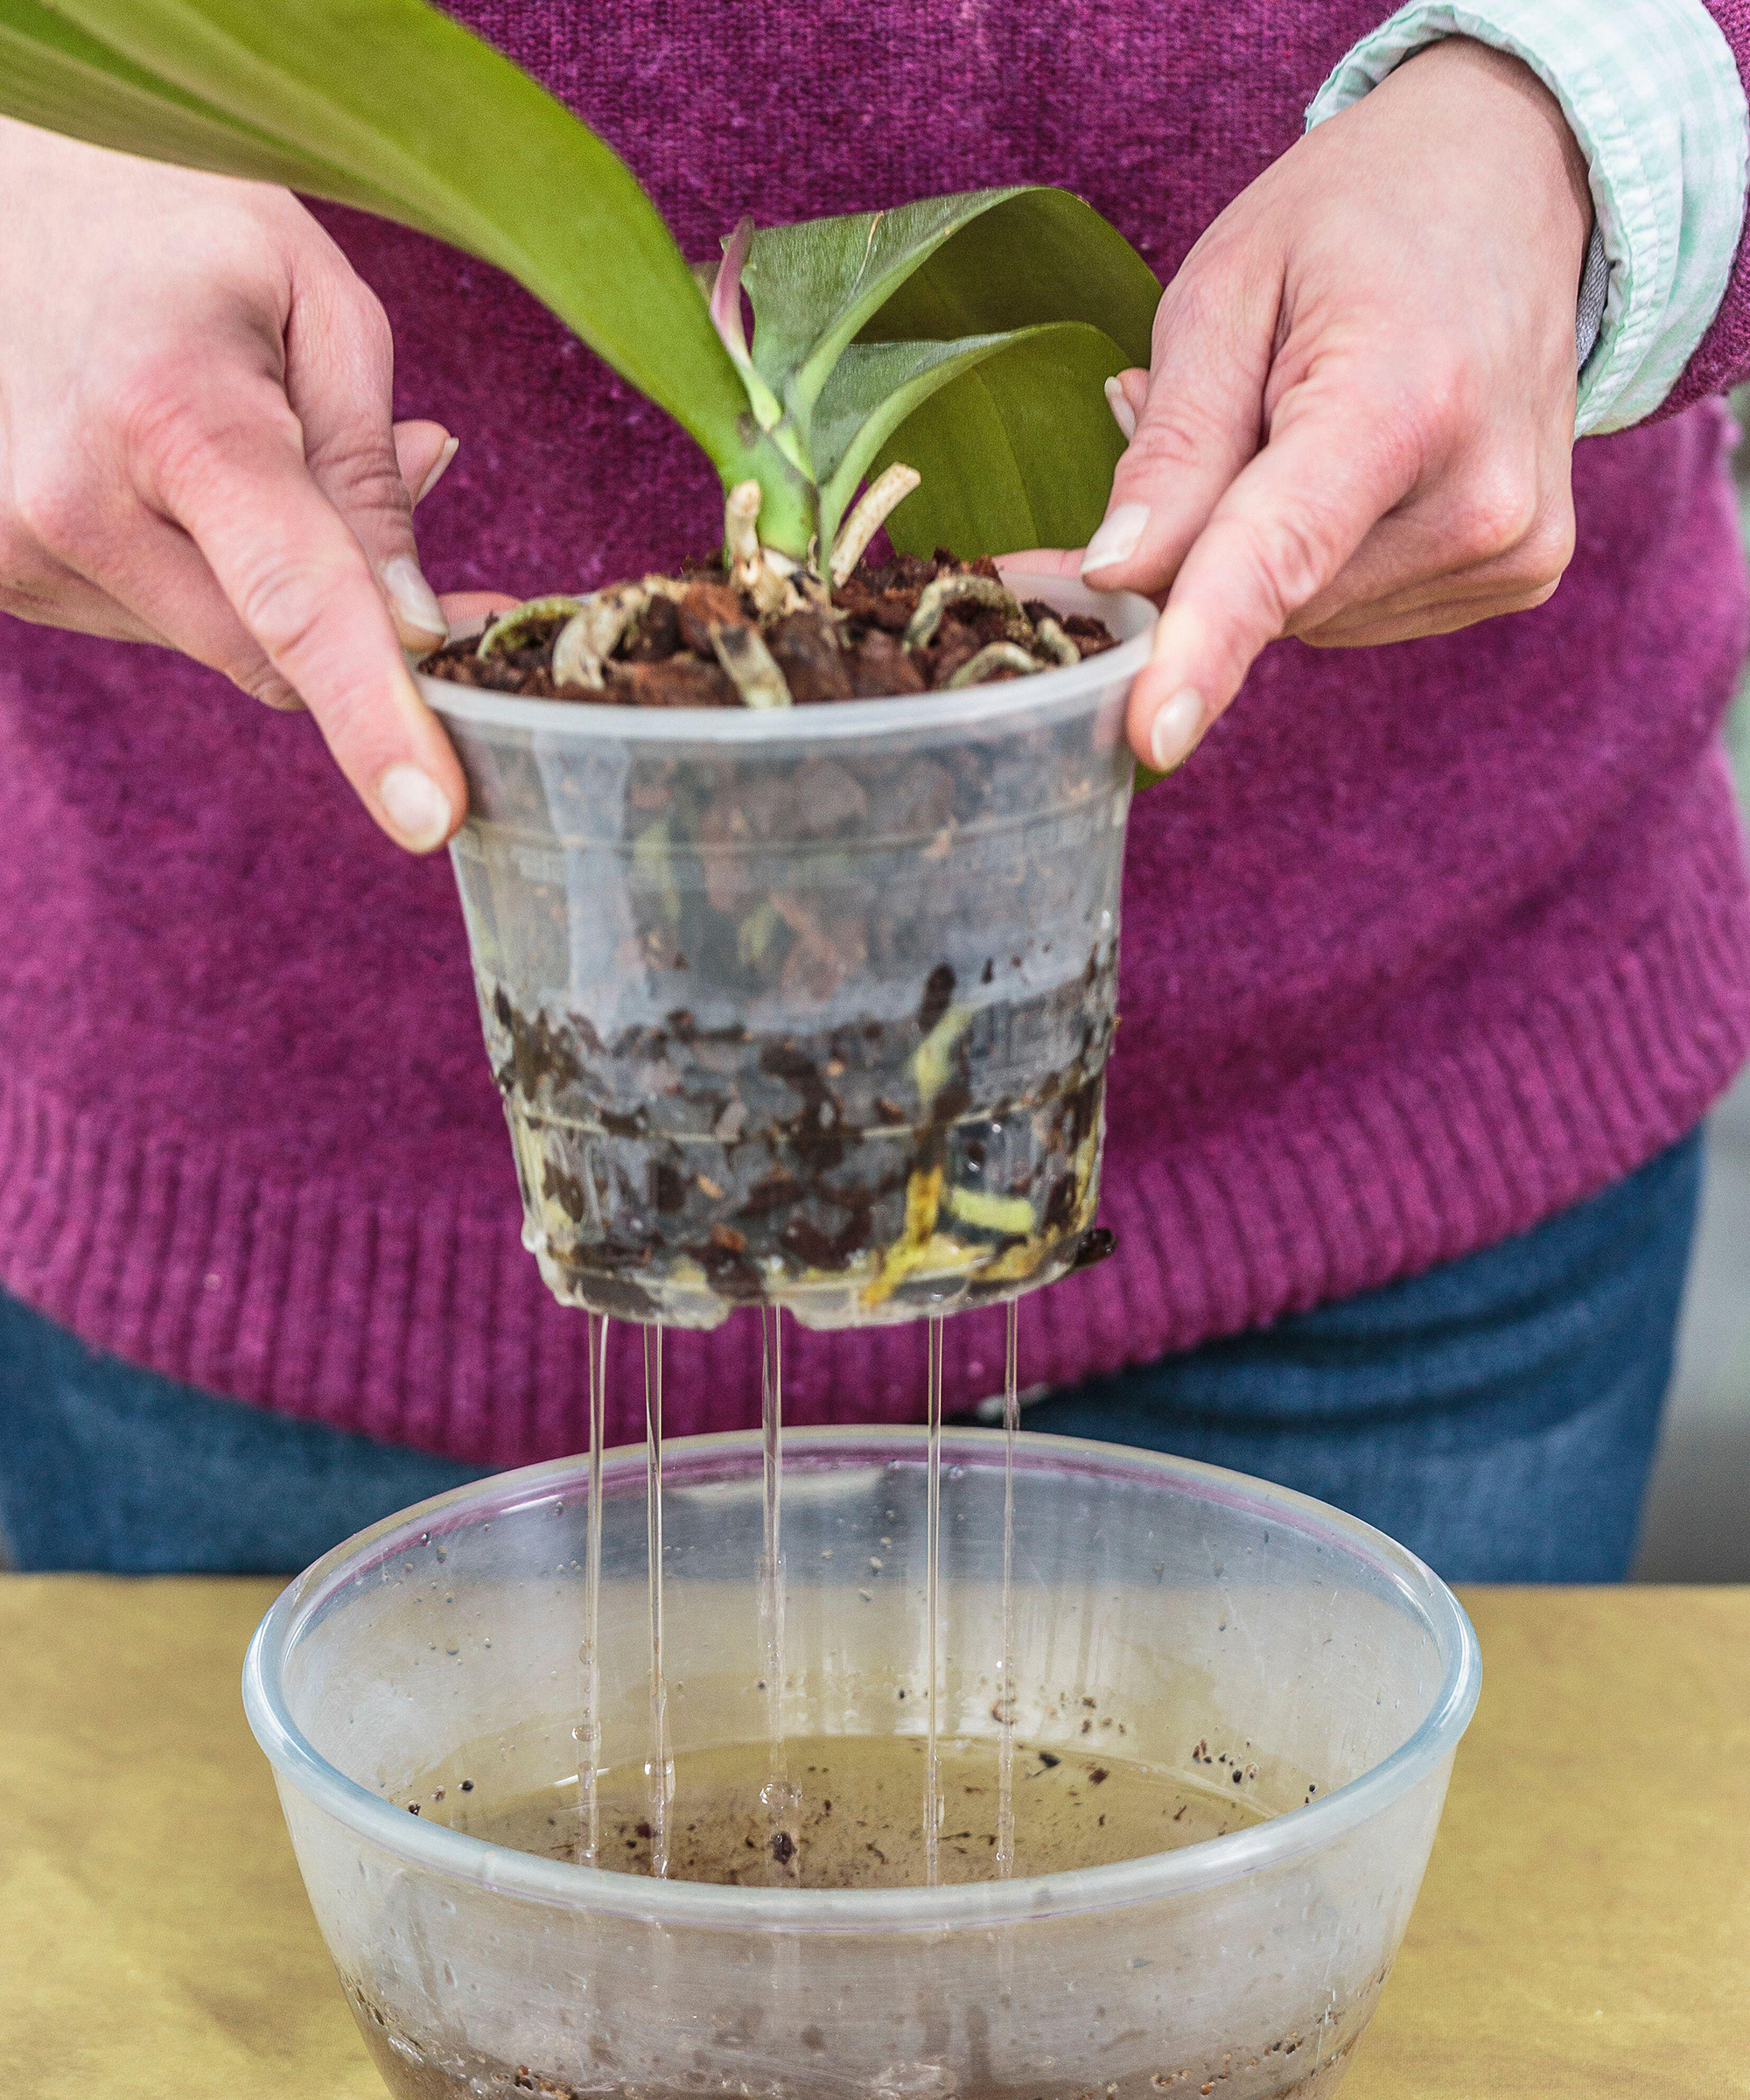
How To Repot An Orchid – Step By Step
Repotting an orchid doesn't have to be intimidating. Just pay attention to the timing and ensure proper growing conditions so your beloved plant will thrive.
- Wash your hands before you proceed, to avoid bacterial contamination.
- Prune old flower spikes, making a clean, sharp cut. This will help to encourage the formation of new stems.
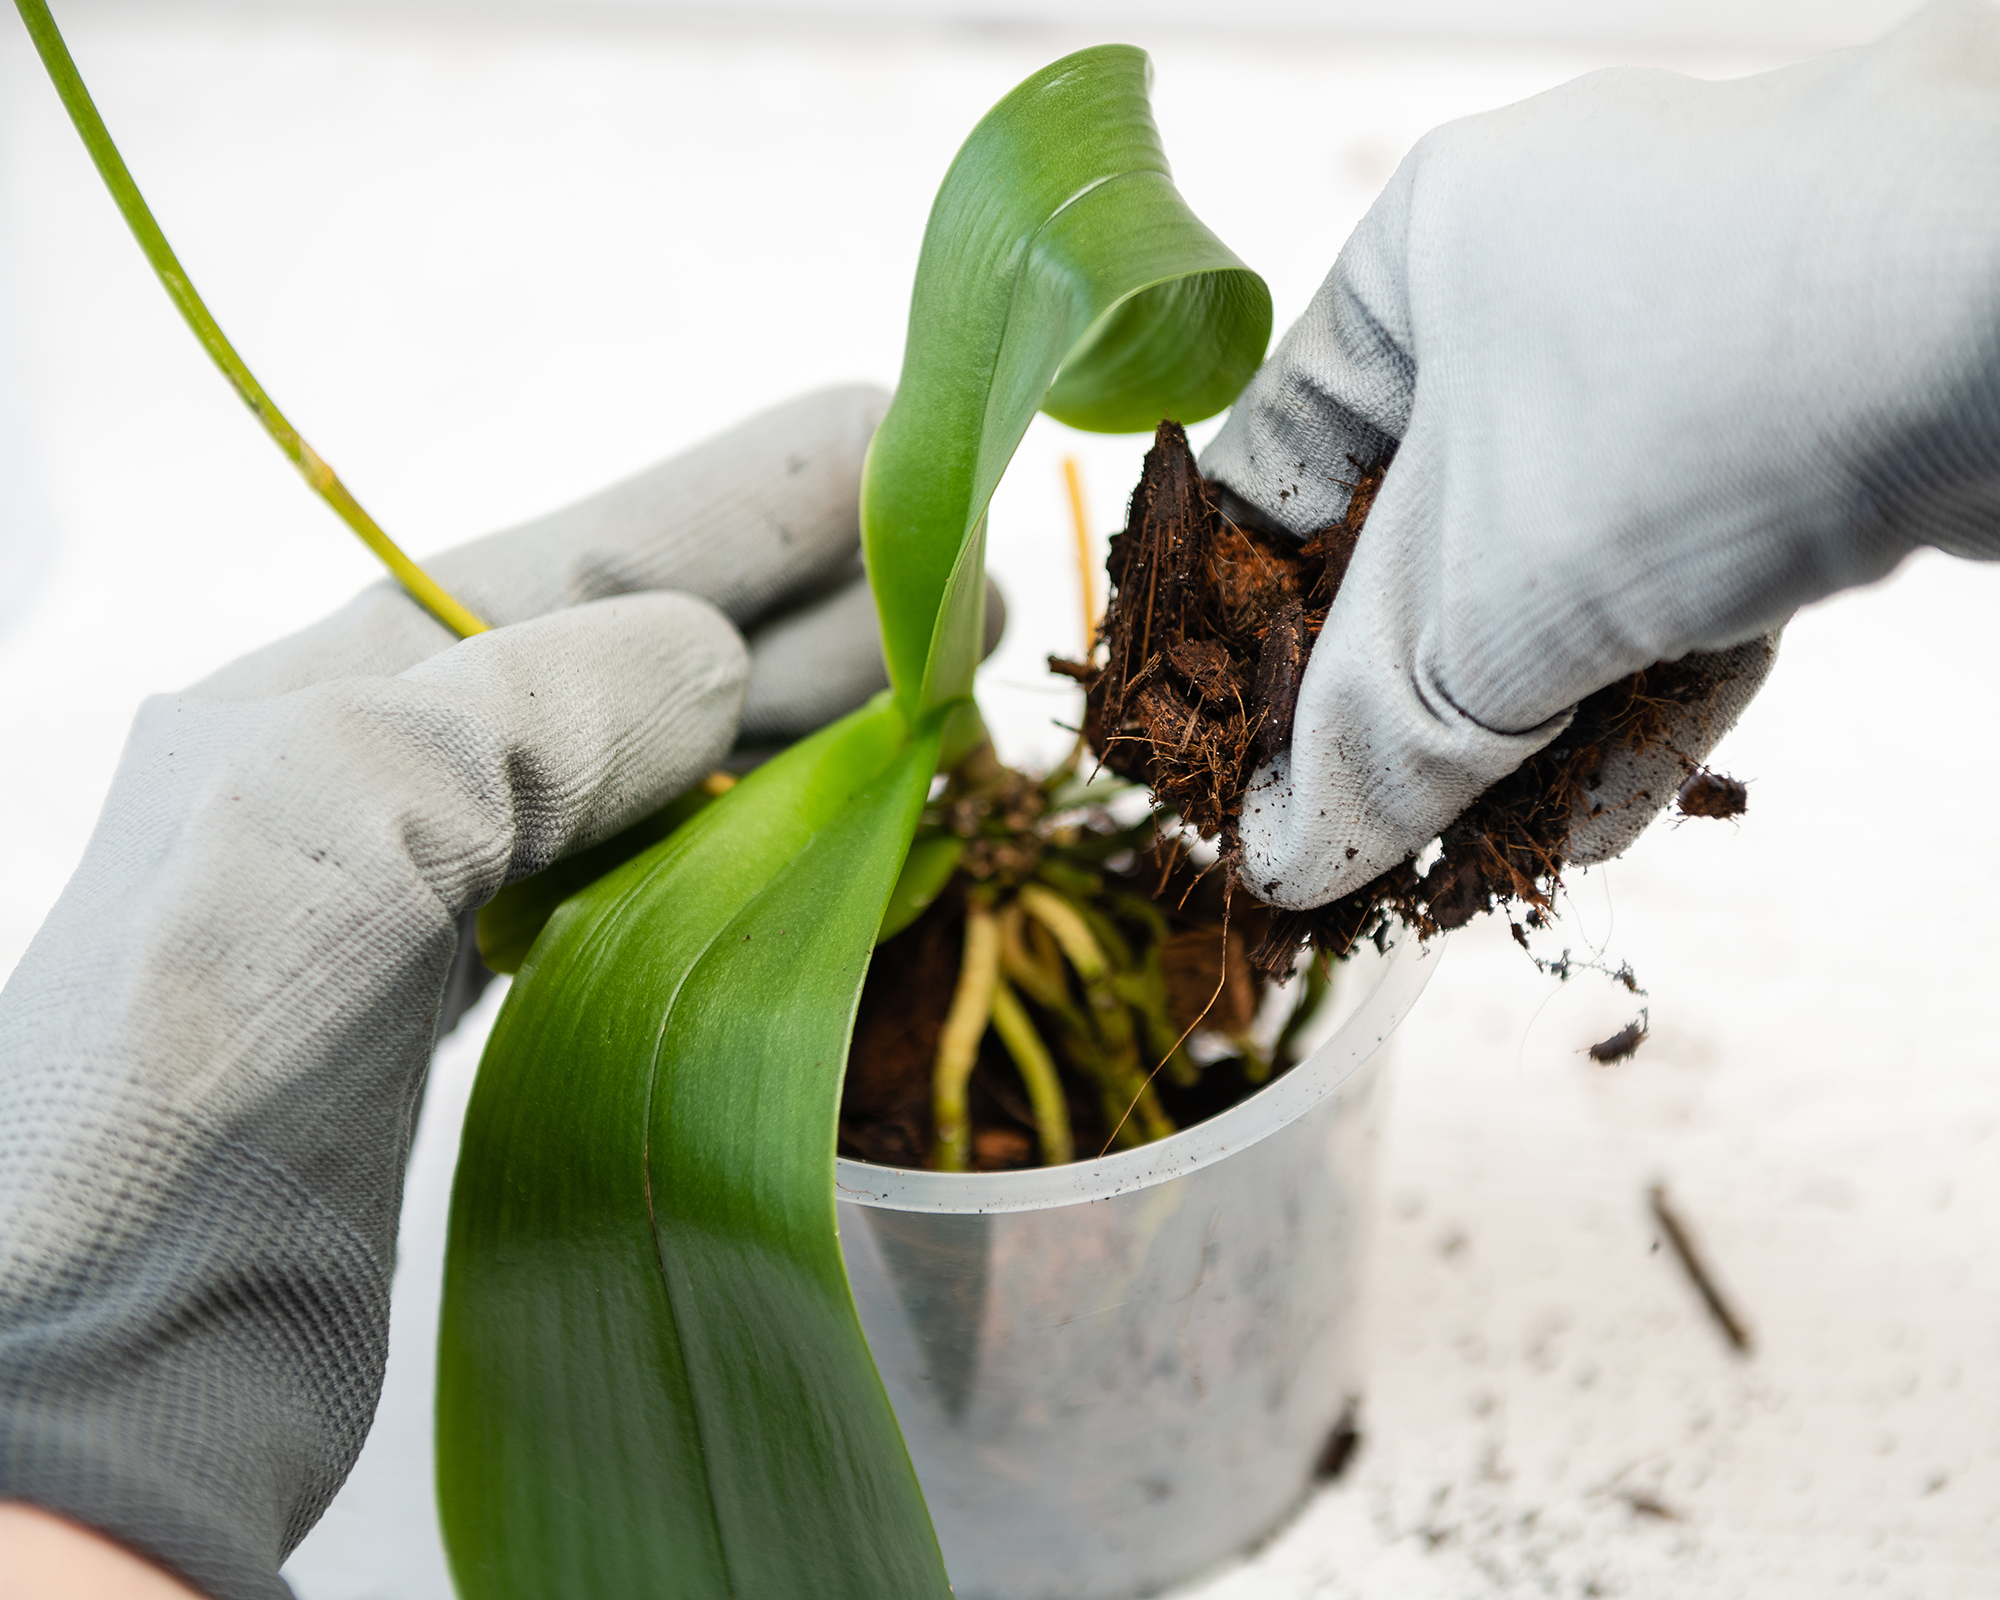
- Tease the orchid out of its container. If this isn’t as easy as it sounds, squeeze the container from the outside or run a sterile knife around the inside of the container.
- Remove all the old medium from the pot and from among the root system. If the roots seem dry, soak them in room-temperature water for a few minutes. Then gently untangle the roots.
- If you see any black, soft, or hollow roots, remove them with sterile pruners or a knife. Don’t panic if you break some roots. As long as you have a few healthy roots, the plant will likely survive.
- Add some potting mix to the new container, then position the plant so that the base is right at the top of the medium.
- Holding the orchid in the container with one hand, fill in around, under, and atop the roots. You need to pack it in fairly densely while maintaining air gaps. It might help to use a chopstick or small dowel to push the medium between the roots. Be careful though.
- Water orchids after repotting, and mist regularly until new roots begin to grow. Do not put ice cubes in the plant to water it! These are tropical plants. Cold water is not a good idea, as it can shock the plant. Use room temperature water. I water over the sink and then allow the plant to drain well.
Frequently Asked Questions
Do you bury air roots when repotting orchids?
No, do not bury air roots in the soil medium. They are aerial and should stay out in the air. You can trim any that are brown and soft, otherwise leave healthy air roots out of the container.
Can I use regular potting soil for orchids?
No, regular potting soil is not adequate for orchids. It retains too much water and not enough air for the orchid’s root system. Instead, use a commercial orchid medium or make your own out of four parts finely shredded pine bark, coco coir, redwood bark, and one part perlite and one part fine charcoal.

Amy Grant has been gardening for 30 years and writing for 15. A professional chef and caterer, Amy's area of expertise is culinary gardening.
-
 Looking For Plants To Give You The Soft And Fuzzies? Try These 5 Fuzzy Leaf Plant Options
Lovers of texture, drama, silver foliage and tactile plants will adore these special sensory garden additions. These fuzzy leaf plant options will leave you all aglow
By Susan Albert
-
 Get Ready For A Summer Of Hummers! Grow These Full Sun Hummingbird Plants and Flowers
If you’re lucky enough to enjoy a sunny backyard, make sure you are maxing out on your pollinator opportunities and grow these full sun hummingbird plants and flowers
By Tonya Barnett
-
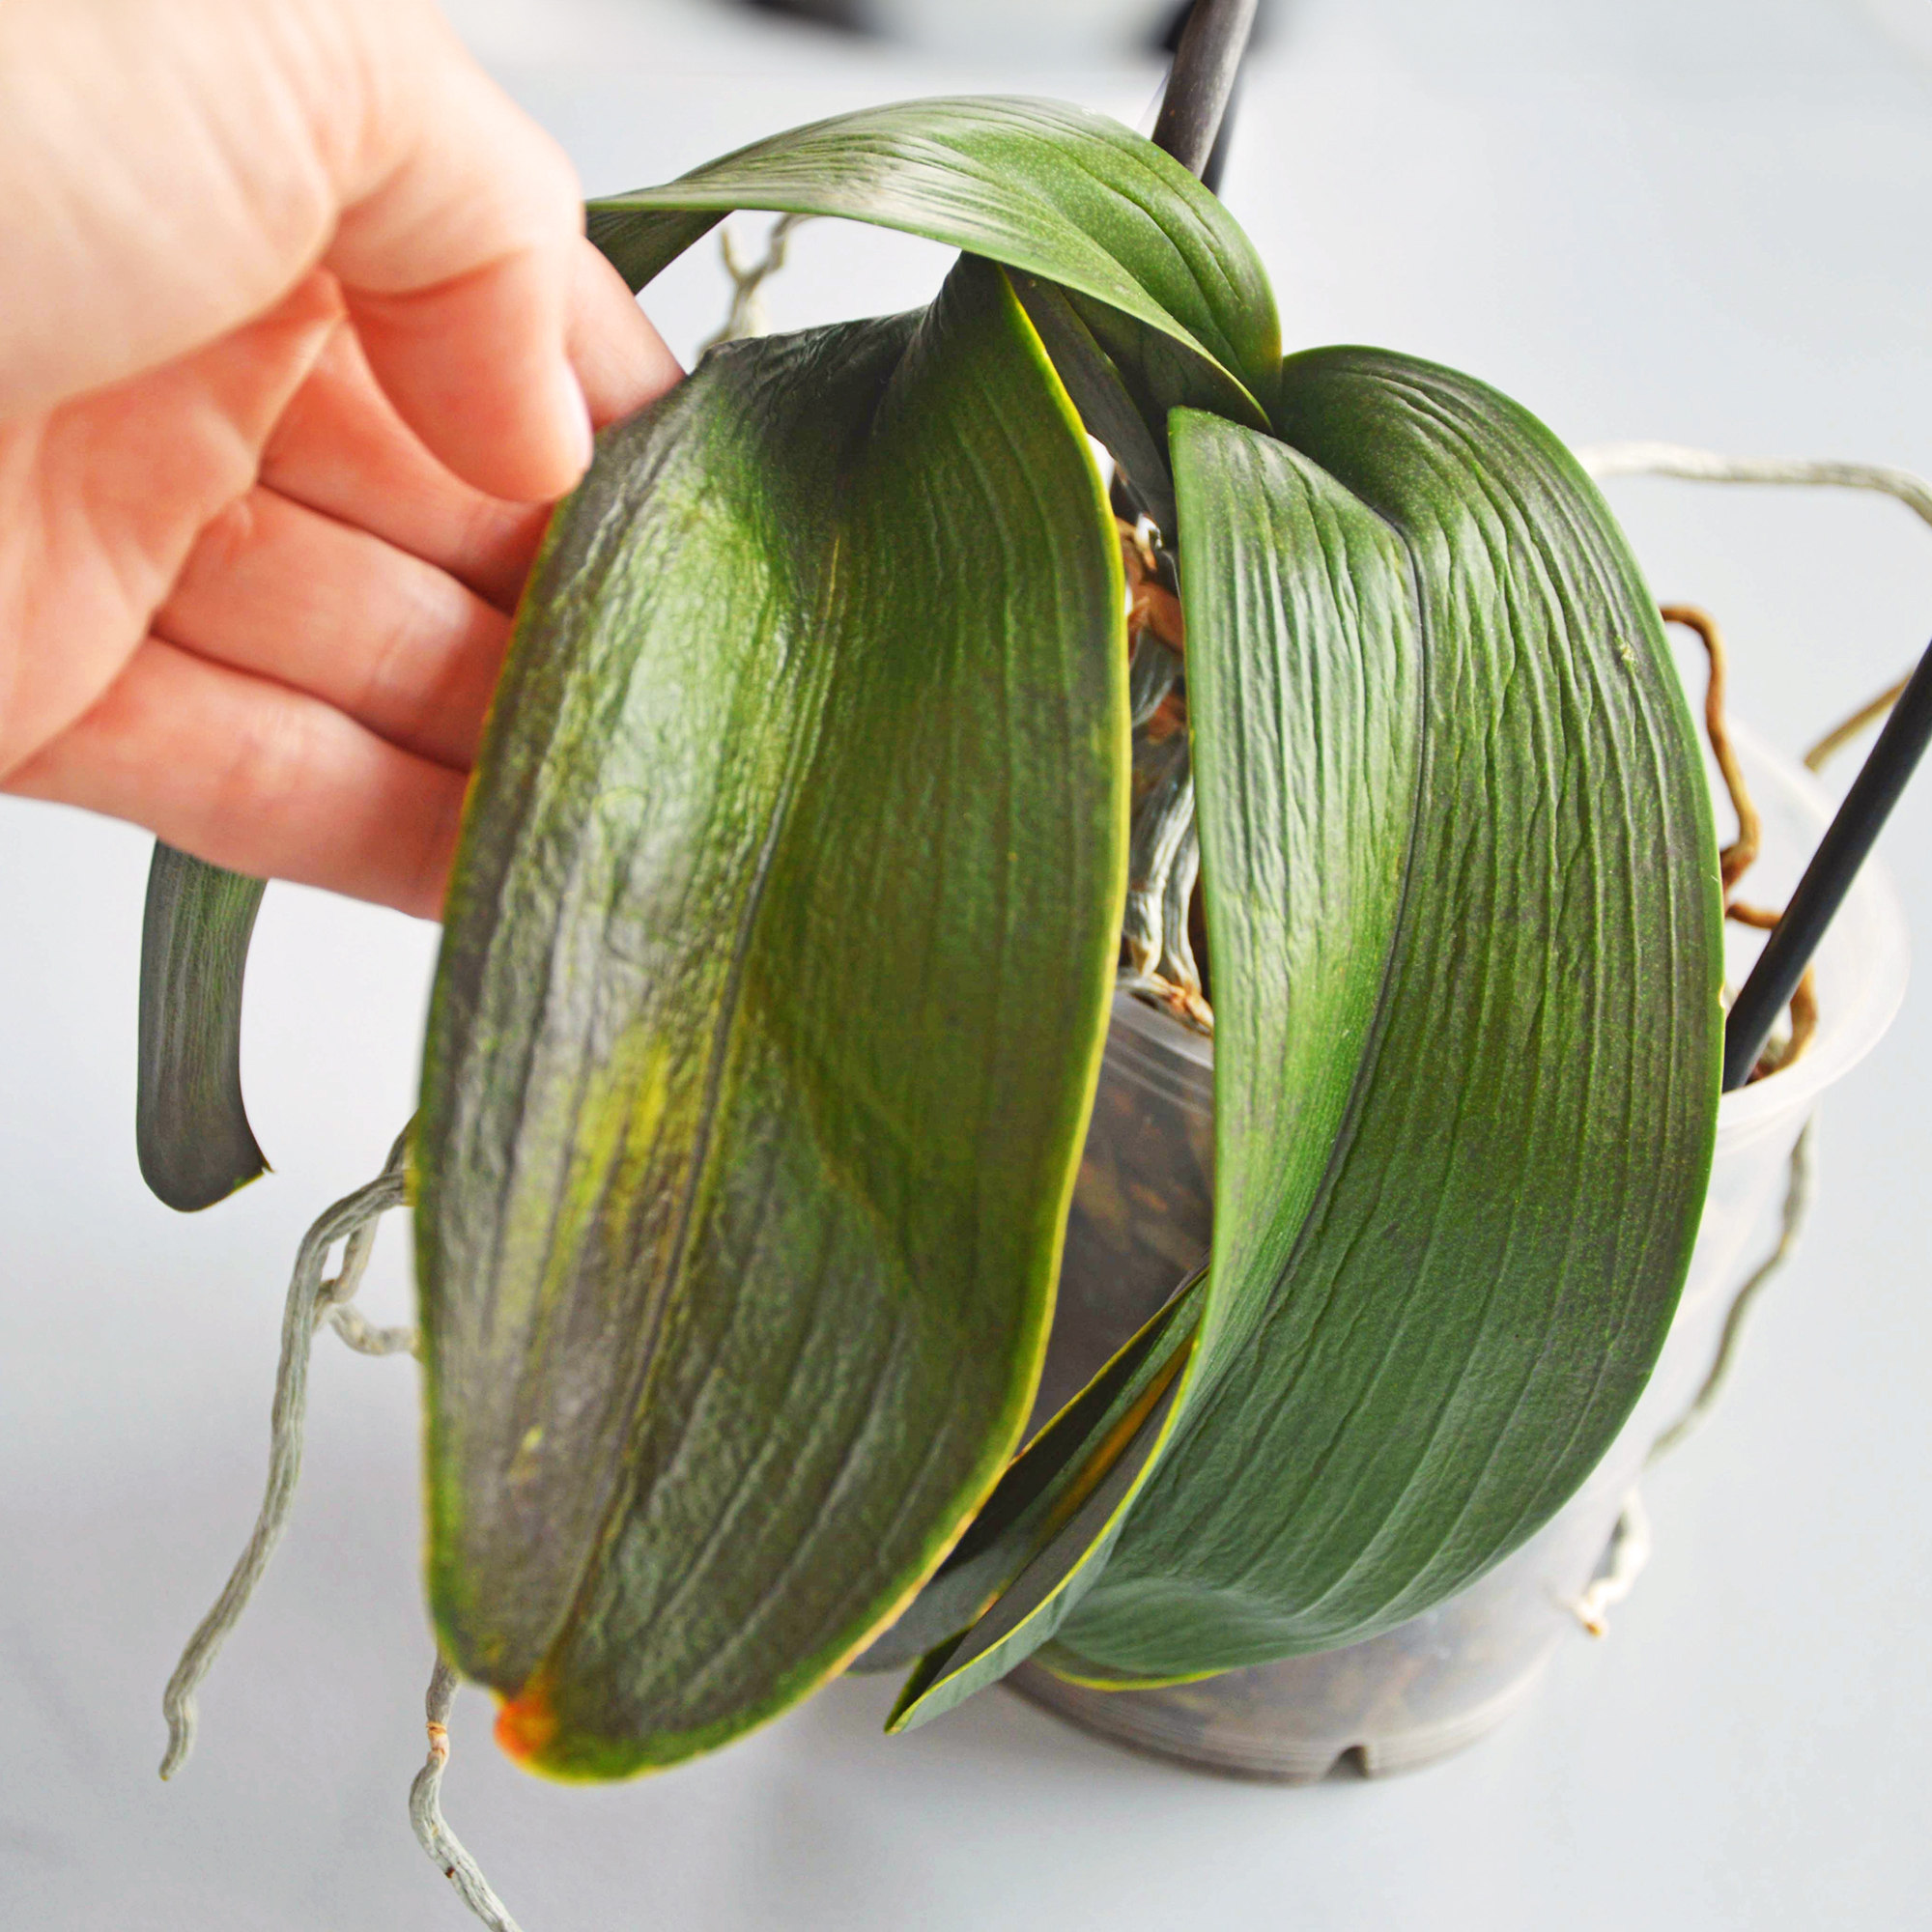 Orchid Leaves Wrinkled? 5 Common Causes & How To Restore Their Vitality
Are your beloved orchid's leaves wrinkled? Worry not! Here are the most common causes for puckered orchid foliage, plus how to plump them back up.
By Tonya Barnett
-
 8 Rare Orchids That Make Stunning Houseplants – Some Are Surprisingly Easy To Grow
Discover unique orchids that will add exotic beauty to your home. Some make easygoing houseplants, while others offer a challenge for more seasoned growers.
By Melanie Griffiths
-
 Why Is My Orchid Dying? 5 Common Causes & How To Save It Before It's Too Late
Struggling to keep your orchid alive? Learn the top mistakes that cause orchids to decline – and the simple fixes to bring yours back to life.
By Bonnie L. Grant
-
 Warm Up Your Winter With Indoor Reds! 8 Red Amaryllis Varieties For Sizzling Seasonal Interest
Well loved as a bold decorative holiday bloomer, the red amaryllis is a hot favorite for winter displays. These red amaryllis varieties are guaranteed to fire up the season
By Tonya Barnett
-
 Dendrobium Nobile Orchid: How To Care For This Graceful, Easy-Going Houseplant
Learn how to care for elegant dendrobium nobile orchids. These undemanding plants make a stunning addition to any orchid collection and are ideal for beginners.
By Bonnie L. Grant
-
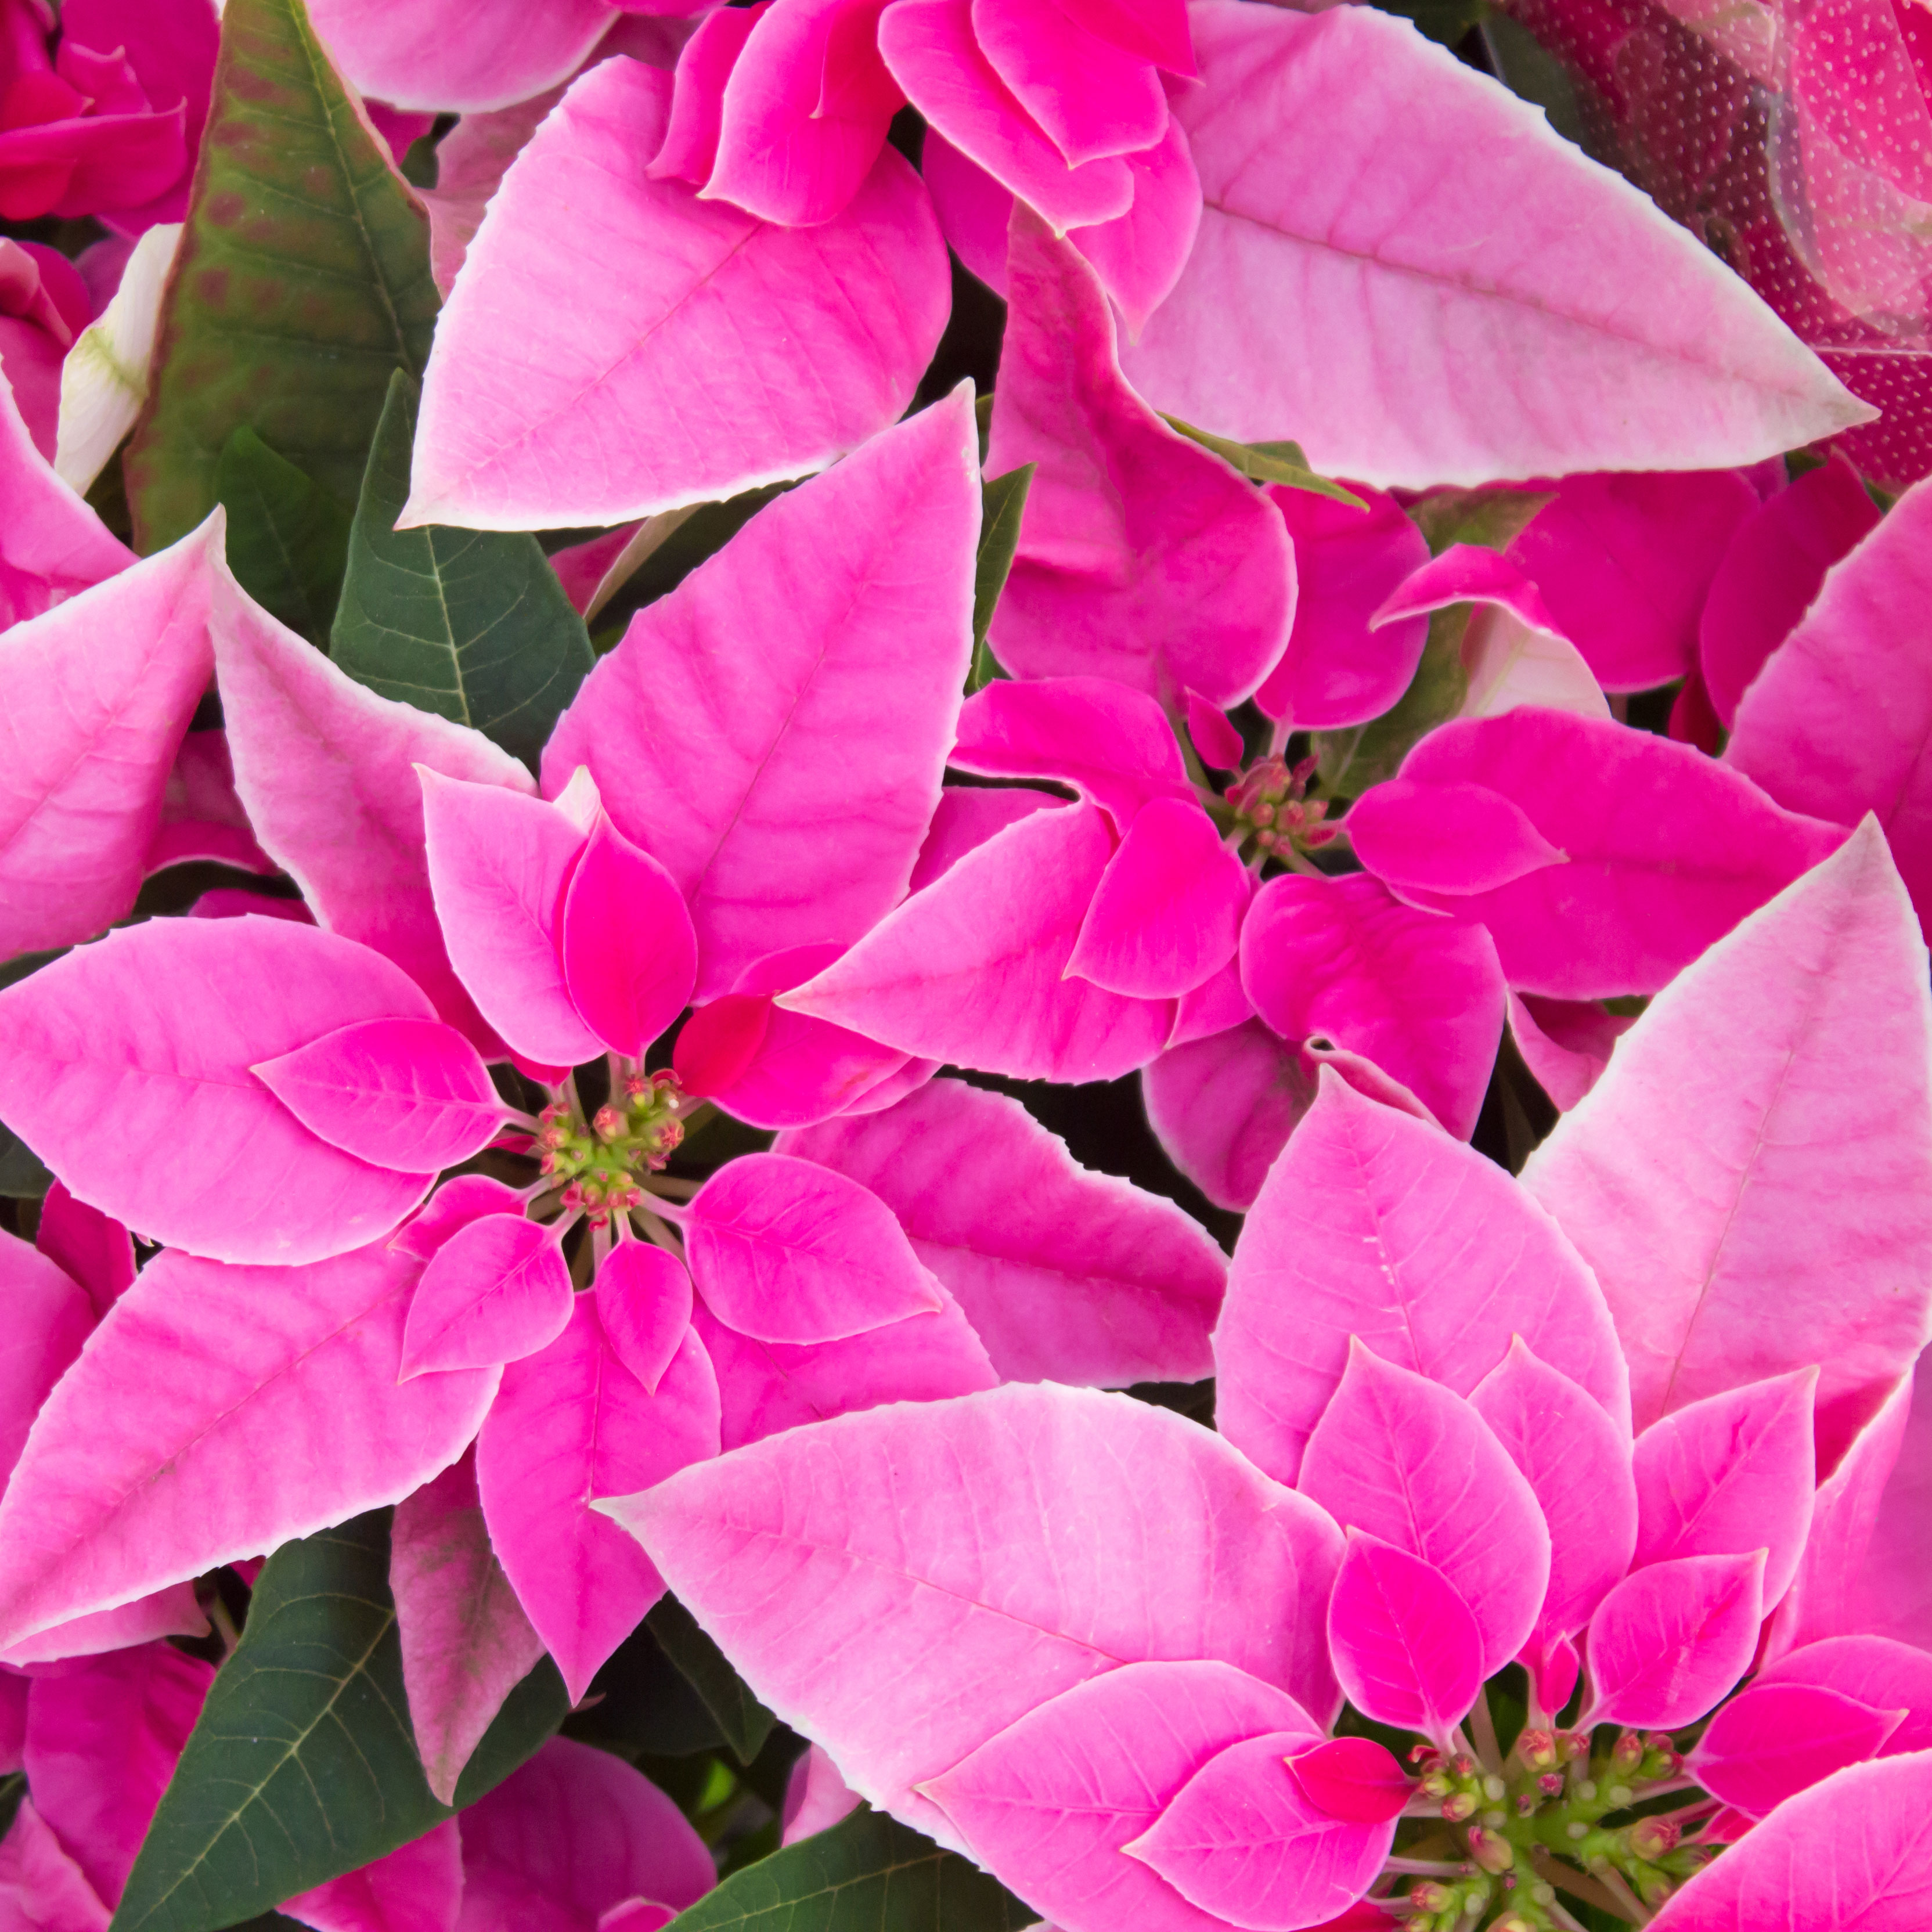 Poinsettia Pinks: 7 Pink Poinsettias To Grow For Neon Hot Tones And Cool Pretty Pastels
While the traditional red poinsettia is a staple of many homes over the holiday period, they are not your only option. For cheerful brights or pastels, why not grow pink poinsettias?
By Tonya Barnett
-
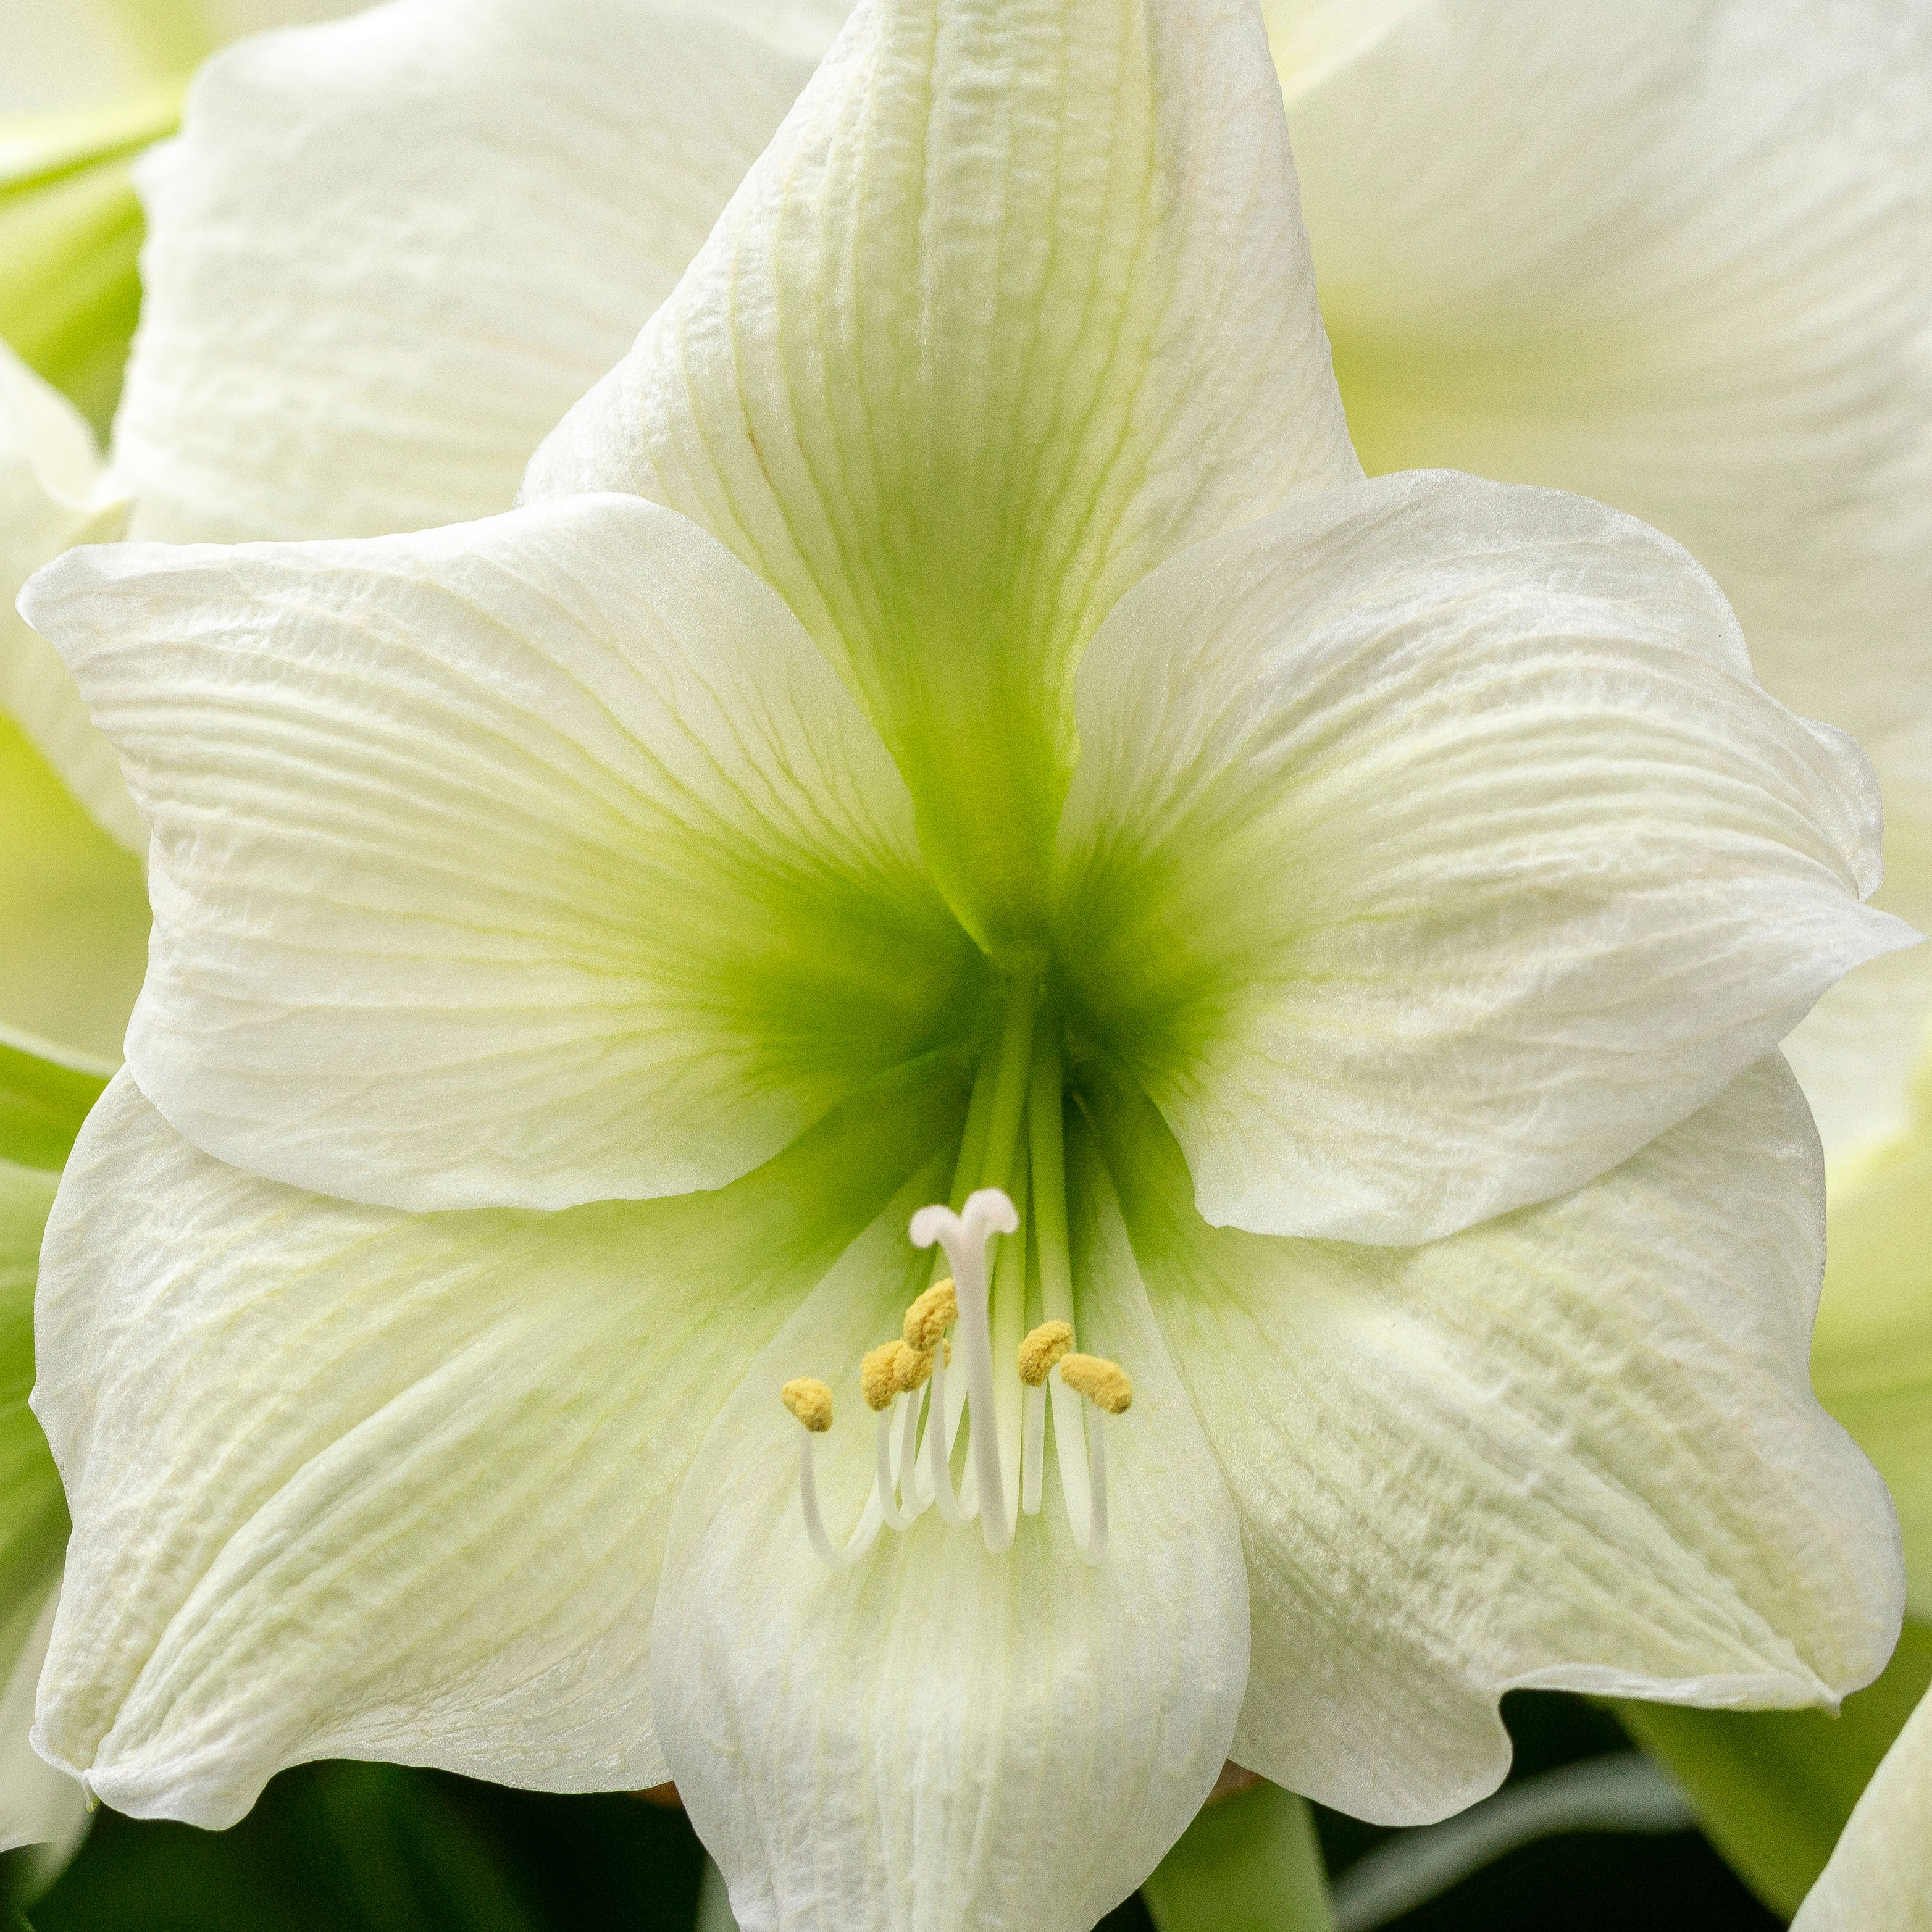 Want Amaryllis But Not Red? Try These 8 White Amaryllis Varieties For The Ultimate Elegance
You’re probably familiar with the crisp red blooms of the traditional amaryllis – but if you feel like something more unusual and elegant, why not try white amaryllis?
By Mary Ellen Ellis
-
 Are Poinsettias Poisonous To Cats? What You Need To Know For Happy, Healthy Felines
They have the potential to brighten up homes long after the holidays, but are poinsettias poisonous to cats? Make sure you read this before mixing the two!
By Susan Albert