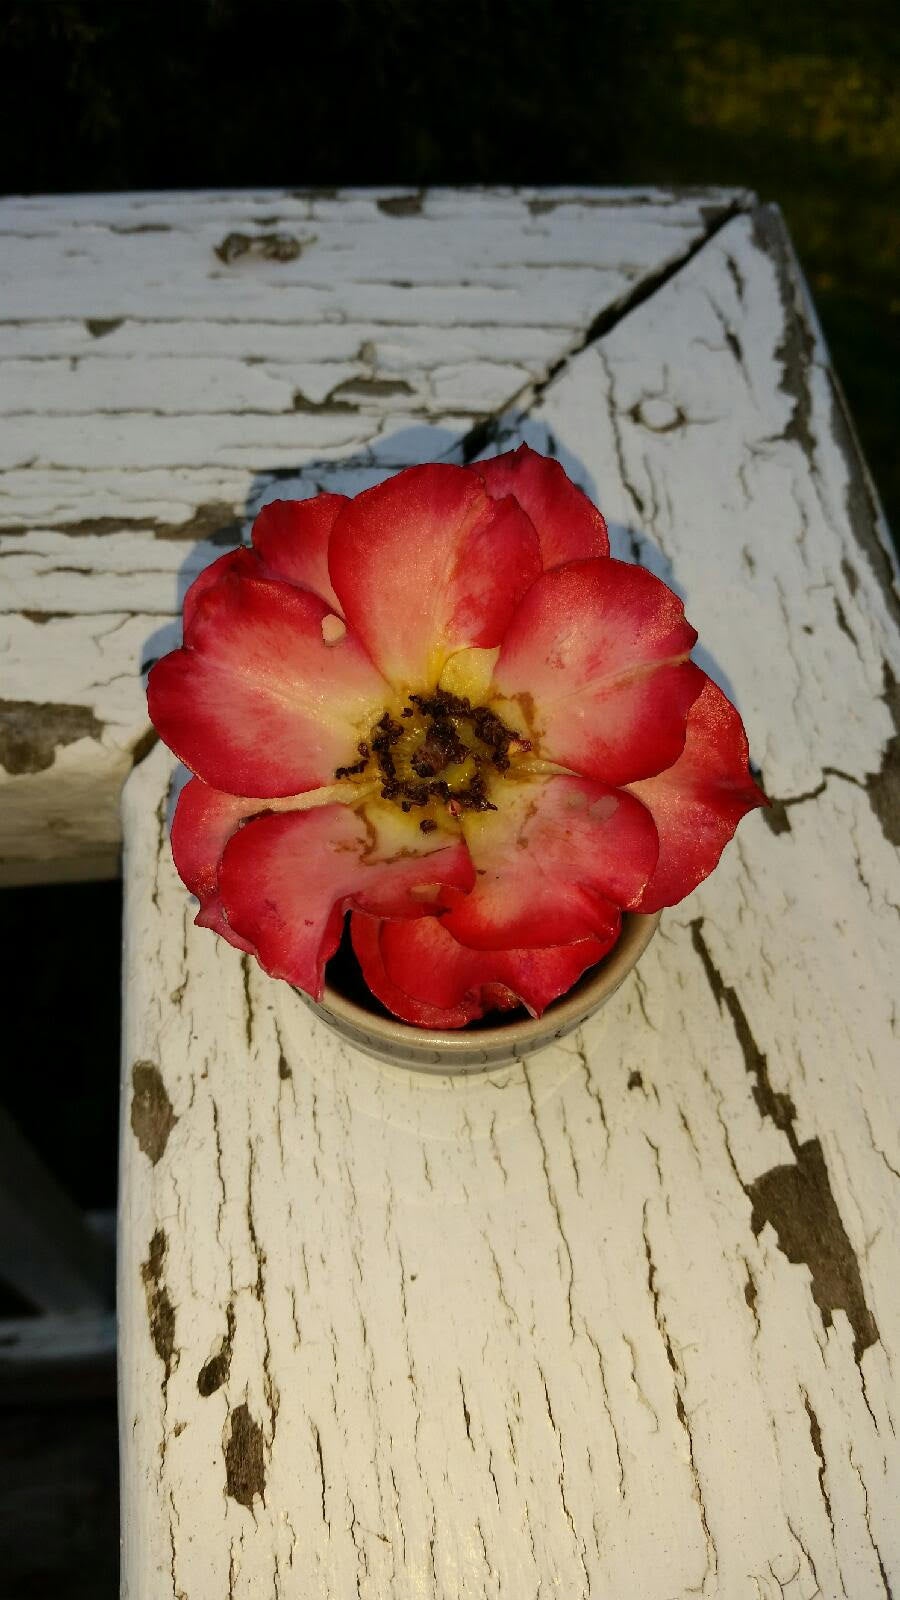
Wax Dipped Roses: Tips On Preserving Rose Flowers With Wax


There are times when a special rose bloom needs to be preserved longer than their typical vase life. Special moments in life such as weddings or anniversaries, birthday bouquets, the birth of a child, and the passing of a loved one’s spray of roses are items that we wish to hold onto for as long as possible. One way to preserve them is with wax dipped roses. Let’s take a look at how to preserve roses with wax.
Rose Preservation with Wax
Preserving rose flowers with wax isn’t too complicated but before you take this project on, you’ll want to get everything you need together. Below you will find the items necessary for rose preservation with wax:
- Paraffin, bees wax, or soy wax (Paraffin and soy wax work well)
- Roses of choice (Leave the stems on the roses 8 to 9 inches (20-23 cm.) long for finished vase displays)
- A double boiler or other means to melt the wax
- Clothespins
- Toothpicks
- Q-tips
- Wax paper (optional)
- Narrow necked bottles or vases (glass soda pop bottles work great)
- Candy thermometer (to heat the wax to just the right temperature)
How to Preserve Roses with Wax
Melt the wax in your container of choice and bring it to a temperature between 120 and 130 degrees F. (48-54 C.) on the candy thermometer. Remove the double boiler or other means from the heat source. Take the rose of choice and place a clothespin on the stem well below the bloom to prevent burning your fingers. Dip the rose into the wax far enough that it covers the entire bloom and onto the stem a bit. Lift the rose bloom immediately out of the wax and tap the stem or shake the rose over the wax container to remove excess wax droplets. Holding the rose out horizontally, slowly spin/turn the rose in a circular manner over the container of melted wax so that the wax will run over and down into all of the rose surfaces. Some wax may catch or puddle in the small nooks between the petals, so using a Q-tip or cotton swab, carefully blot away these excess wax puddles. Separate and straighten the petals carefully with a toothpick as desired before the wax dries. Place the rose upright in the narrow necked vase or bottle until the wax has dried and hardened. Leave plenty of space between each rose in its vase or bottle so that they do not stick together. Wax dipped roses that are still wet may be laid out on some wax paper to dry too, however, this will deform the blooms from all the weight being on one side. Thus, allowing them to dry in the vases or glass bottles is preferable. If you wish to use plastic bottles, fill them at least ¼ full of water before use to keep them from falling over with the weight of the freshly dipped rose. Once dried and hardened, the rose may be re-dipped if desired to get complete wax coverage of any areas missed. Note: You will be able to tell if your wax is getting too cool, as it will start to have a cloudy appearance in the container. If this happens, reheat. When done with the dipping and re-dipping, let the roses sit until totally dry and the wax is hardened. Afterwards, a single rose in a vase or bouquets in larger vases may be created for sitting in a special display place of your home or office. Once dried, the waxed roses may be sprayed ever so lightly with a rose perfume or air freshening spray to give them some fragrance as well. The colors of the roses dipped in the wax may soften a bit after having been dipped into the hot wax but are still quite beautiful, and the memories preserved priceless.
Sign up for the Gardening Know How newsletter today and receive a free copy of our e-book "How to Grow Delicious Tomatoes".

Stan V. Griep contributed to Gardening Know How for many years and has been a Colorado Native Rosarian for over four decades. He is an American Rose Society Certified Consulting Master Rosarian in the Rocky Mountain District, and a member of the Denver Rose Society, the Loveland Rose Society, and the American Rose Society. He is Gardening Know How's in-house expert on all things roses.