
Dividing Shasta daisy plants is an excellent way to spread beauty and ensure that the good natured plants thrive in every corner of your landscape. When can I divide Shasta daisies? This common question has a simple answer, but there is more to dividing a Shasta daisy then timing. Knowing how to divide Shasta daisies will guarantee a bounty of these mood lifting charmers.
Why Dividing Shasta Daisy Plants is Good
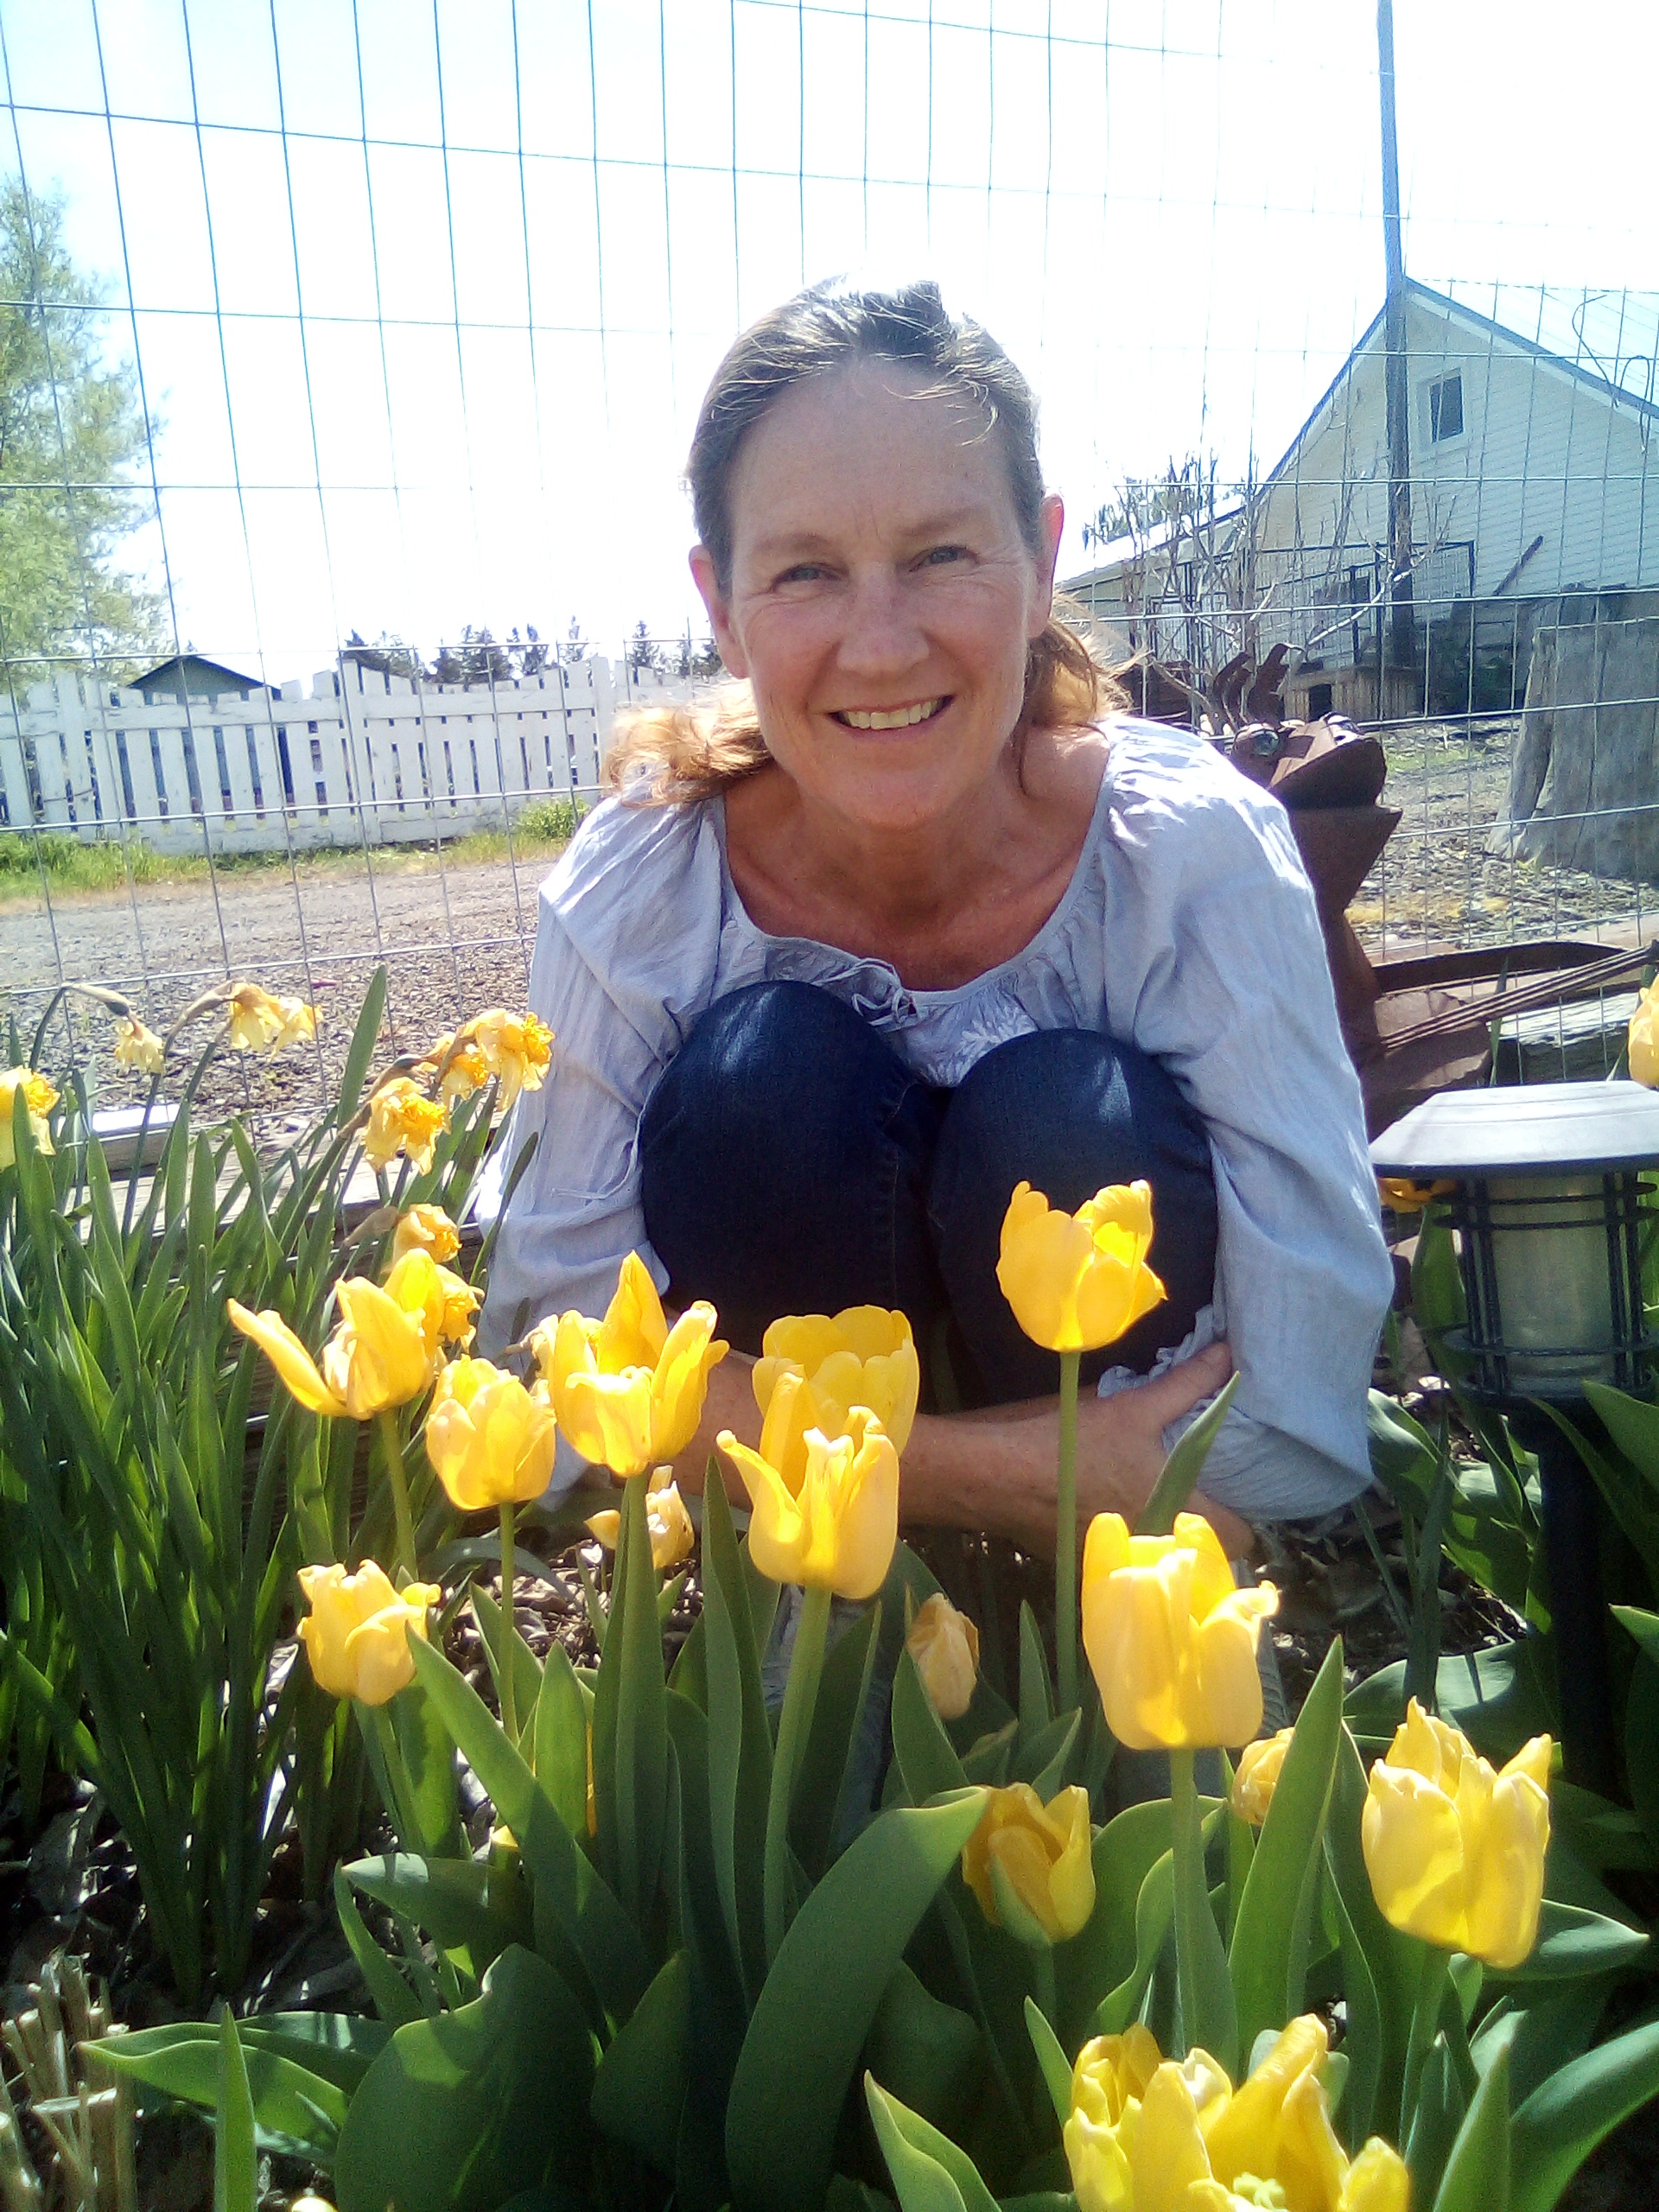
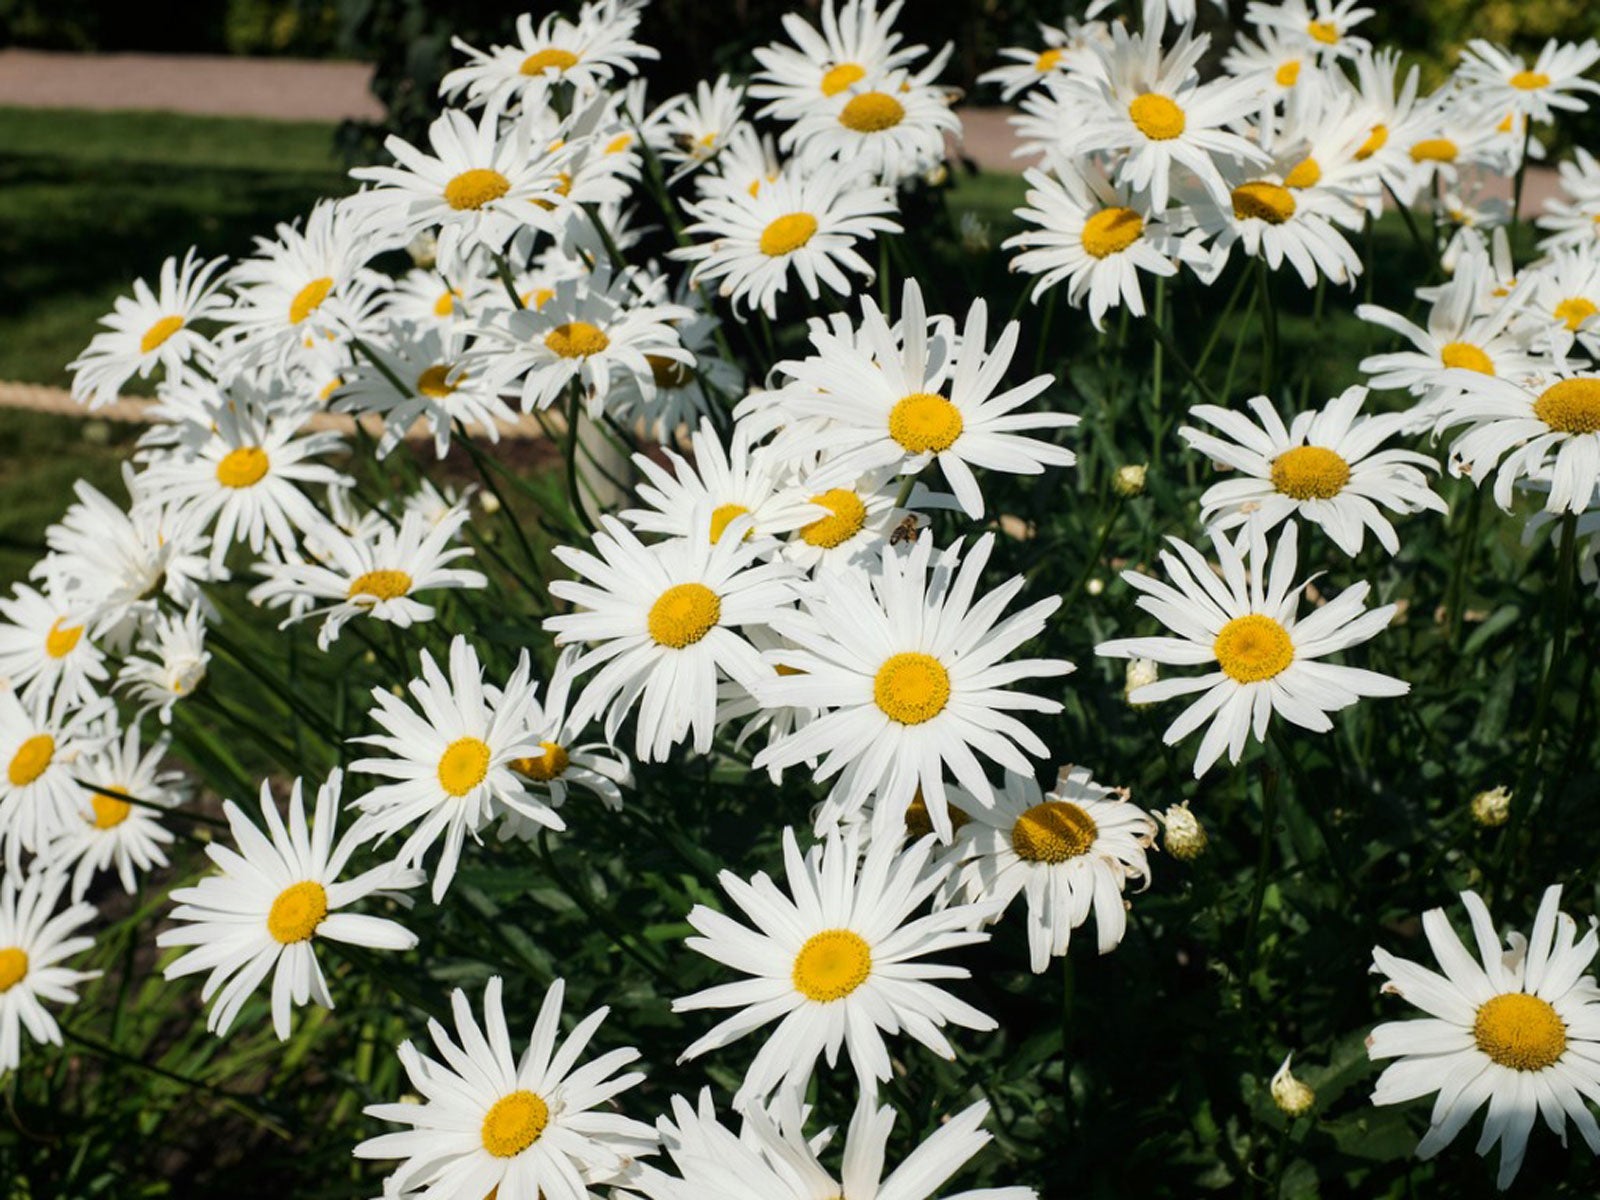
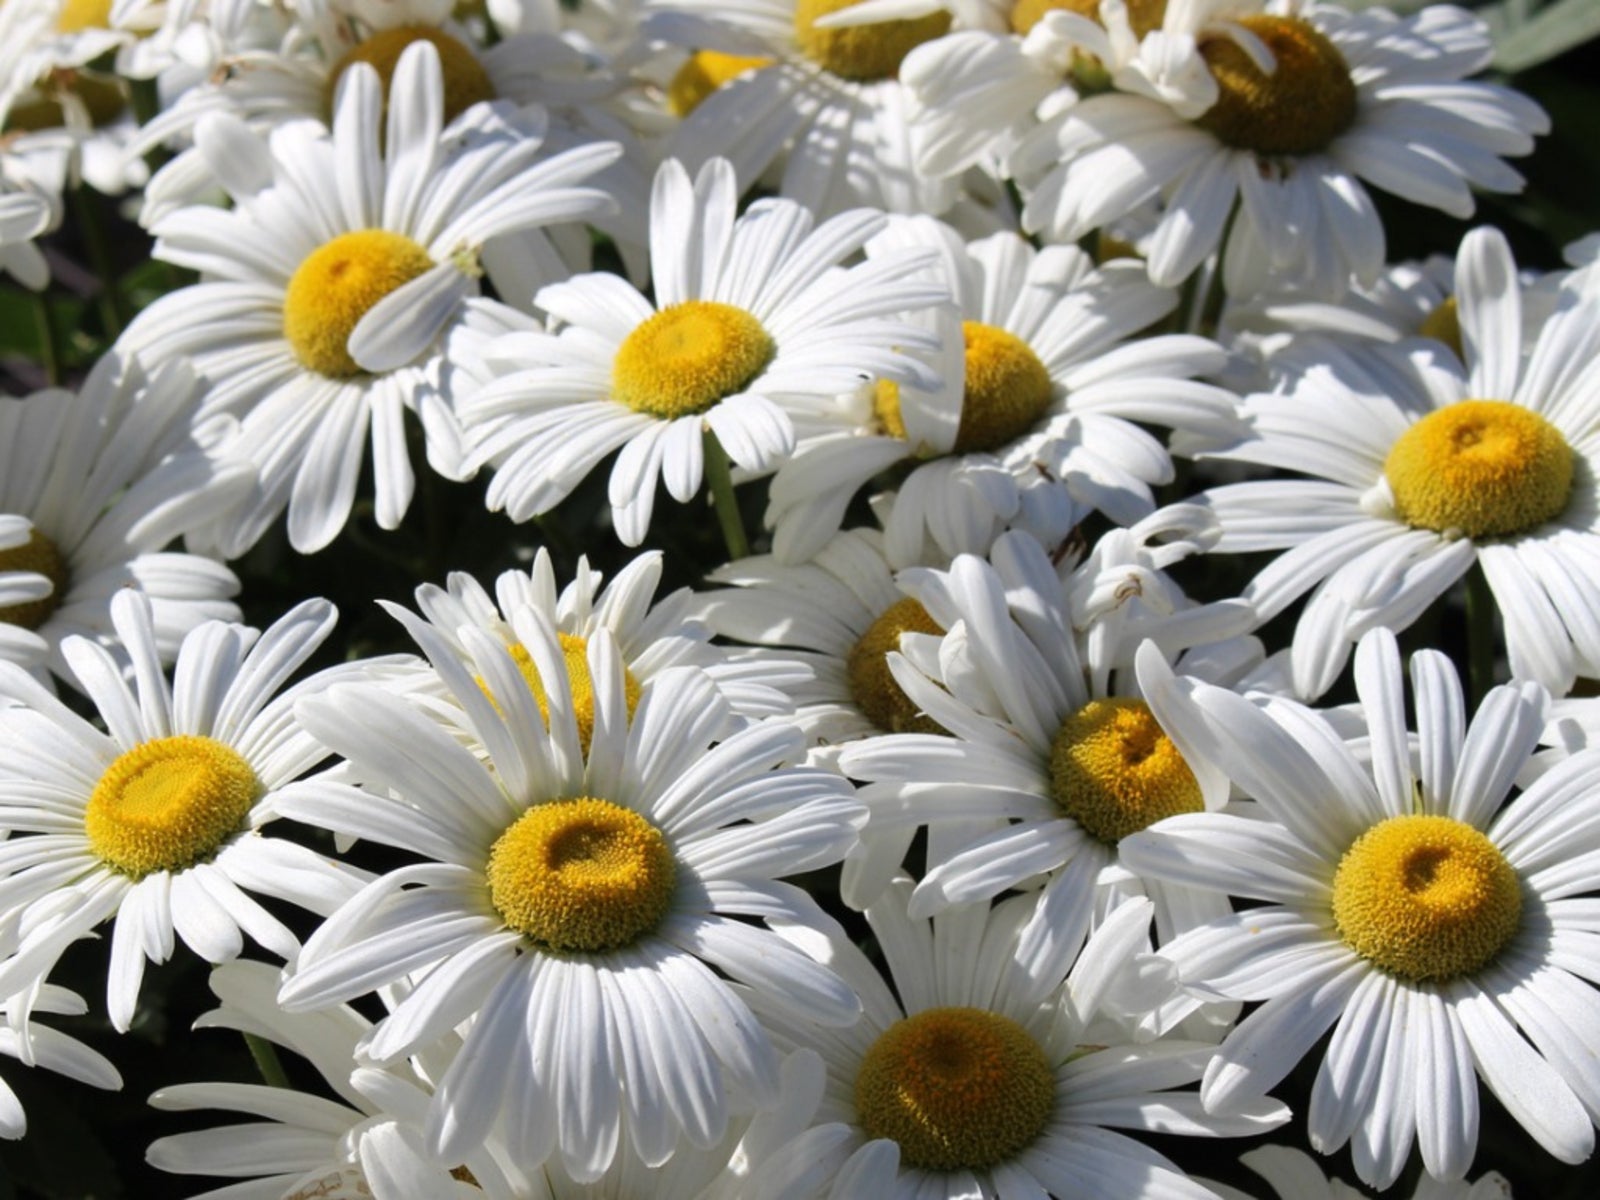
Daisies are one of nature's messages of cheer and bonhomie that reaffirm our notion of the restorative powers of plants. The Shasta daisy is one of these harbingers of good will and has an easy-to-grow reputation with a wide range of tolerances. Can you divide Shasta daisies? Division is not only good for the plant but the best and fastest way to increase the numbers of these fun flowers. Shasta daisies grow well from seed but can take a full year to become a blooming plant. Over time a mature clump of the flowers can become sparse at the center and leggy and unruly. To prevent this and increase the number of flowers, dividing forces thicker, more productive clumps. Division is also the quickest way to establish a colony elsewhere in the garden as compared to seeding. Division provides you with mature roots and plantlets. For this reason, dividing a Shasta daisy every three to five years to rejuvenate the colony and promote more vigorous growth and blooms is recommended by plant experts.
When Can I Divide Shasta Daisies?
The best rule of thumb for dividing perennials is to dig up spring and summer bloomers in autumn and fall bloomers in spring. This gives the plant time after bloom to collect energy which will be used in its sprouting and blooming period. It also allows the new clumps to establish some roots before the primary growth season. Division is more successful when undertaken on a cool, cloudy day where extra stress on the plants won't occur. Wait until the blooms have faded and the plant is experiencing some signs of dormancy, such as leaf drop. To make division easier, cut the spent stems back 6 inches (15 cm.) from the ground. Not only will the clumps be easier to handle but the removal of the stems diminishes moisture loss during the process.
How to Divide Shasta Daisies
If ignorance is bliss, knowledge is power. Having the right know how and tools will greatly increase the chances of success when removing clumps and transplanting them. Once stems have been cut back, use a spade and excavate carefully around the root zone of the plant. Generally, this is 4 to 6 inches (10-15 cm.) from the active growth. Dig under the root mass and lift the entire clump. On older plants, this can be quite a feat and may require some teamwork. Shake off as much dirt as possible and gently begin to tease apart the edges of the clump. Include several plants in each divided clump with a good amount of healthy root. The center of the clump is often quite woody and unproductive and may be discarded. Dig holes about a foot (31 cm.) deep and 10 inches (25 cm.) wide. Mix in compost, peat, or composted manure to enhance porosity and nutrient content. Plant three to four stems per hole and water in well. Mulching around the plants will conserve moisture, prevent some weeds, and protect the roots during any freezes. In spring, your new clumps should sprout and bloom quite quickly.

-
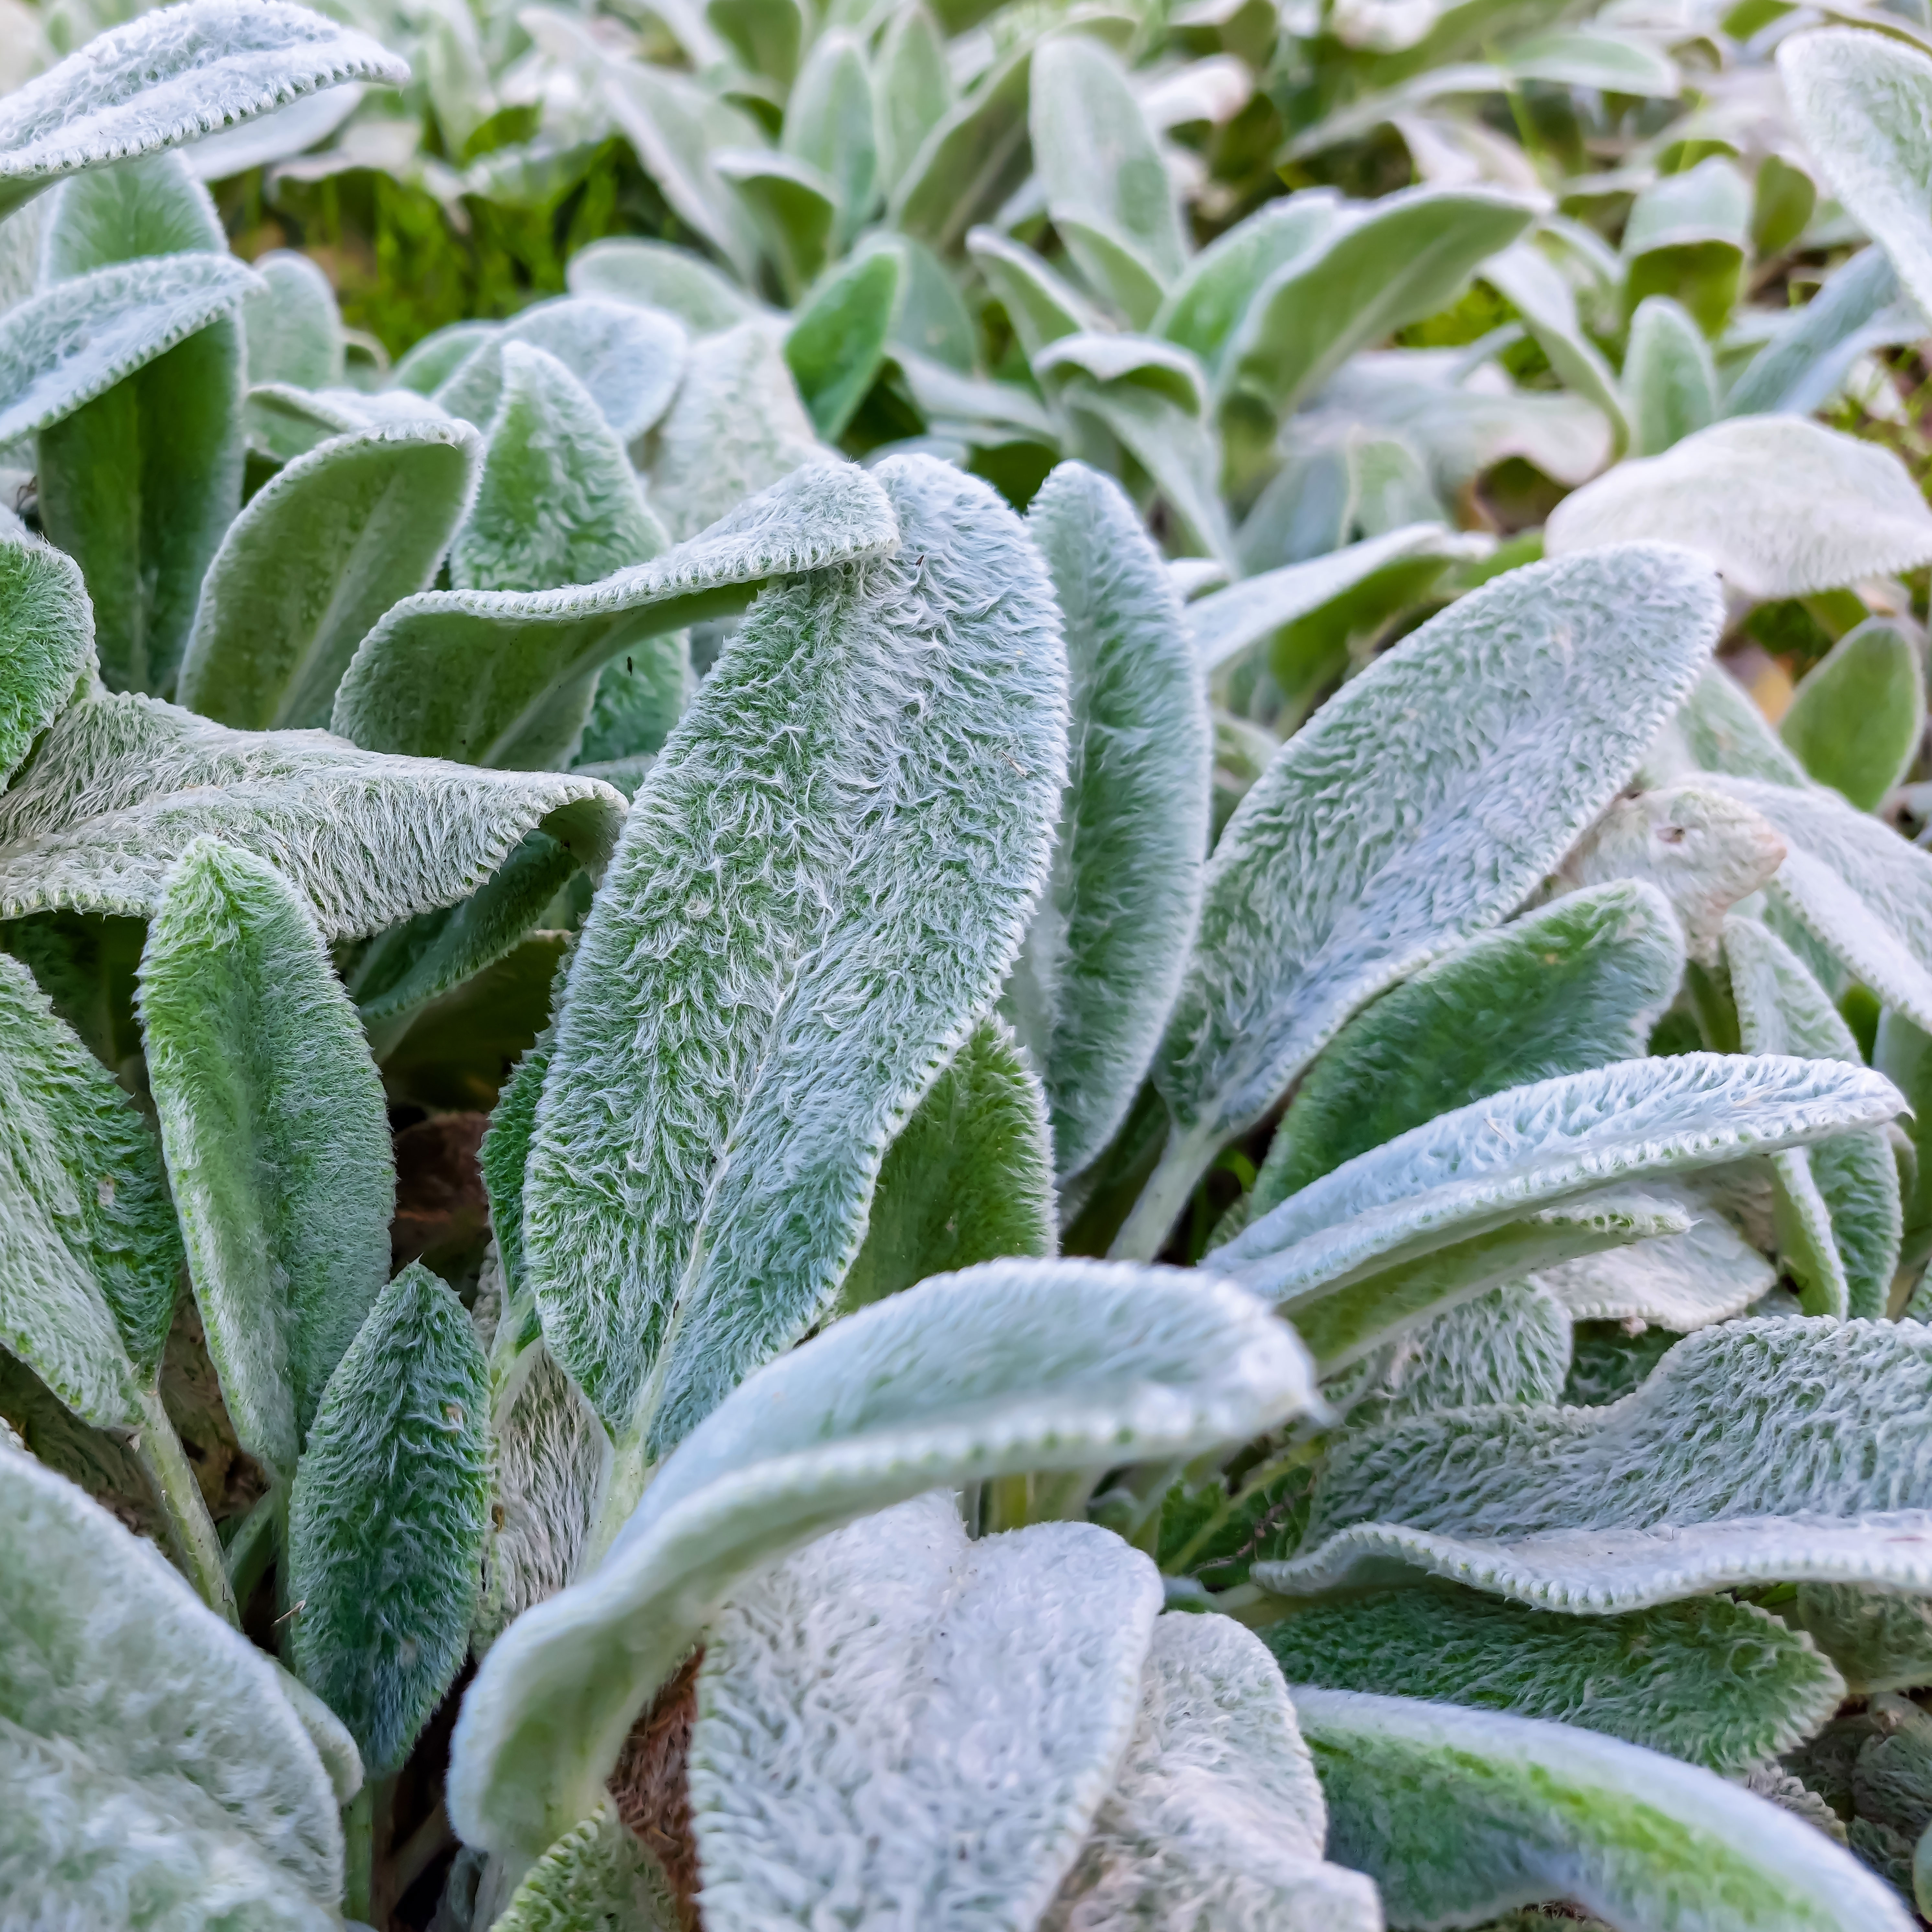 Looking For Plants To Give You The Soft And Fuzzies? Try These 5 Fuzzy Leaf Plant Options
Lovers of texture, drama, silver foliage and tactile plants will adore these special sensory garden additions. These fuzzy leaf plant options will leave you all aglow
-
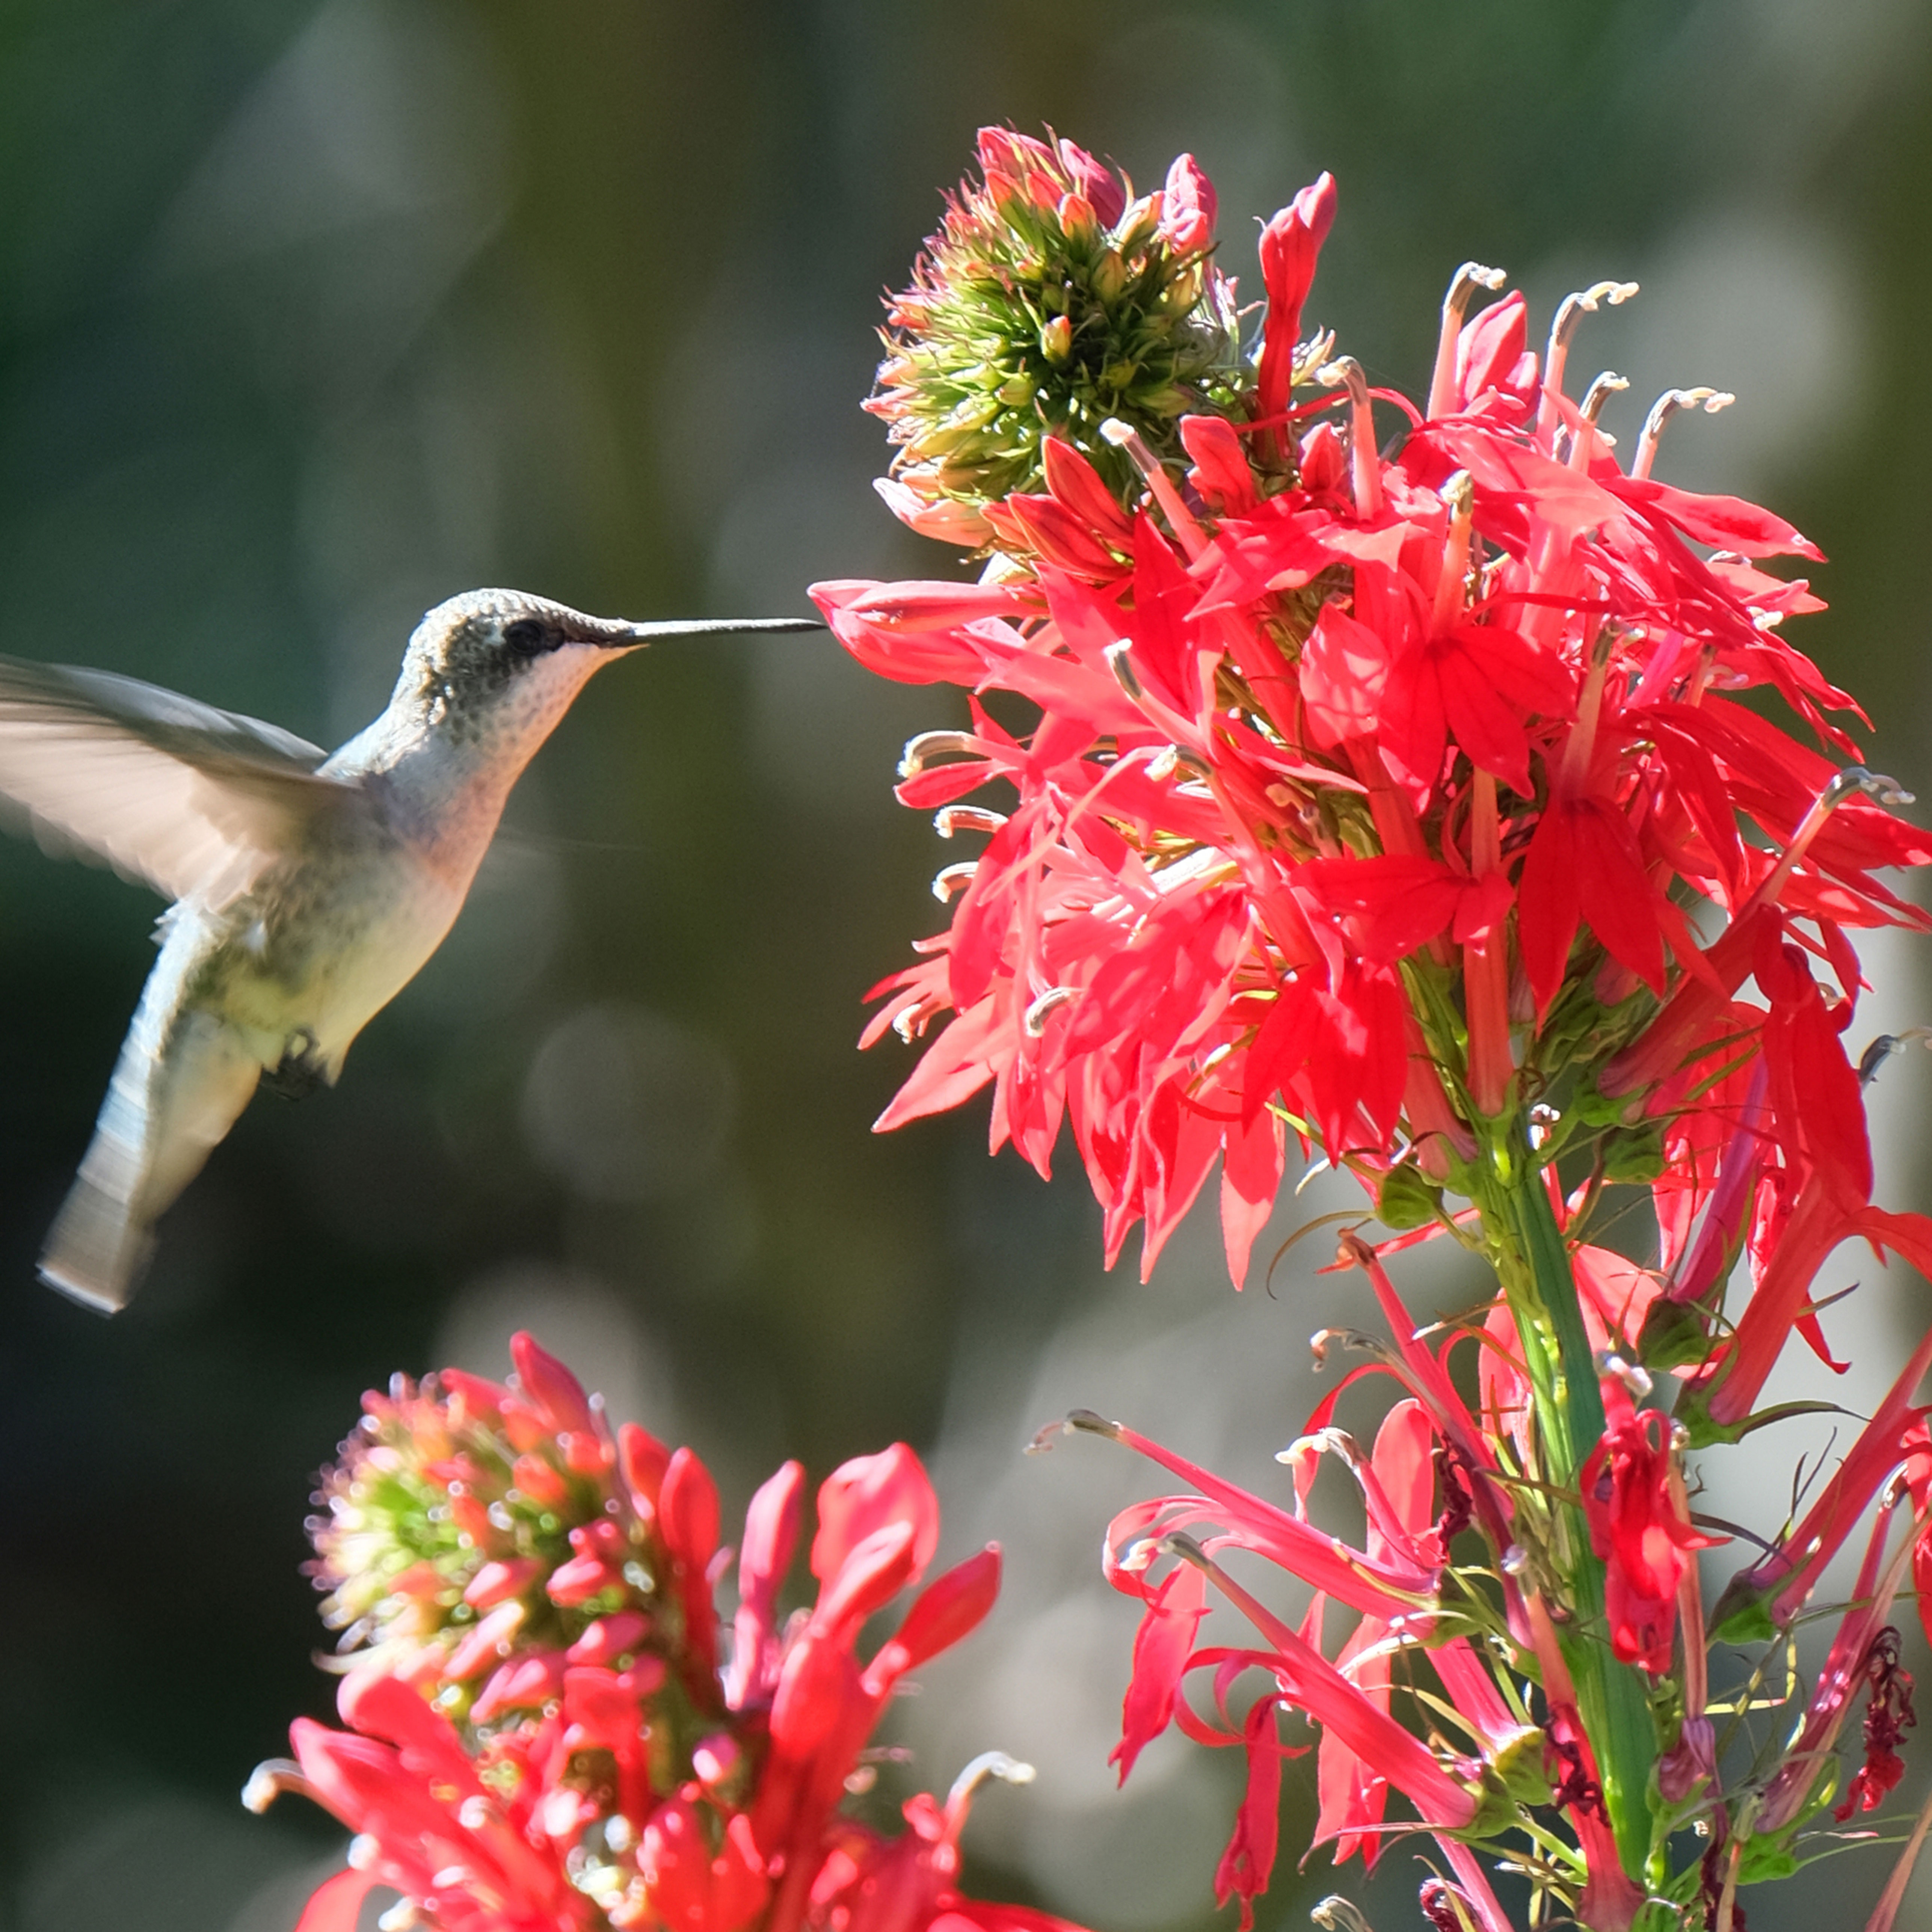 Get Ready For A Summer Of Hummers! Grow These Full Sun Hummingbird Plants and Flowers
If you’re lucky enough to enjoy a sunny backyard, make sure you are maxing out on your pollinator opportunities and grow these full sun hummingbird plants and flowers


-
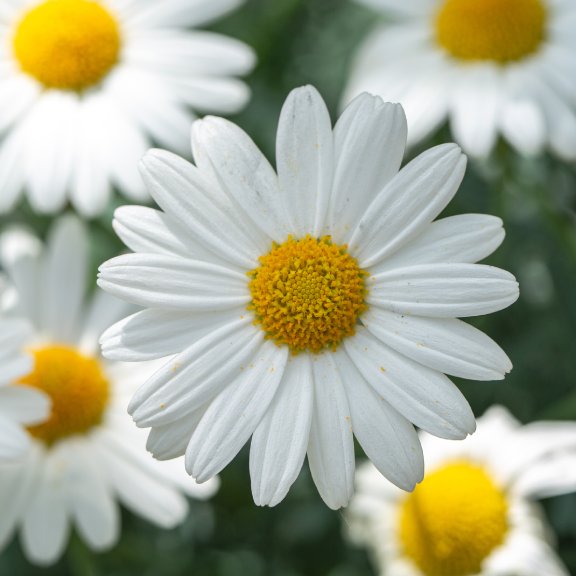 Top 10 Daisy Varieties
Daisies are about the friendliest flowers you can find. Here are our top ten varieties to bring some cheer to your garden.
-
 Daisy Garden Design – Tips For Planting A Daisy Garden
Few flowers are as cheery as daisies. Imagine the happiness brought on by creating a daisy garden. Click here to get started on planning your own.
-
 Container Grown Shasta – Caring For Shasta Daisy Plants In Pots
While they look great in garden borders, container-grown shasta daisies are easy to care for and very versatile. Want to learn more? Click on the following article for information about how to grow shasta daisies in containers.
-
 Shasta Daisy Pruning – Tips On Cutting Back Shasta Daisies
Proper year end care of your plants will ensure a bountiful supply of rayed blooms, and this includes cutting back Shasta daisies. You should know when to prune Shasta daisy and some tips on the method for healthiest plants. This article will help with that.
-
 Shasta Daisy Not Flowering: Reasons Why Shasta Daisies Won’t Bloom
Shasta daisy bloom time extends from early spring to late autumn. There are a number of reasons for a Shasta daisy not flowering and most can be rectified with improved care and maintenance. This article will help.
-
 Planting Shasta Daisies - The Growing And Care Of Shasta Daisy
Shasta daisy flowers provide perky summer blooms. When you learn how to grow Shasta daisy, you?ll find it perfect for naturalizing and filling in bare spots. Read more about the plant in this article.
-
 Deadheading Shasta Daisies - How To Deadhead Daisies
The world of daisy plants is diverse, all with different needs. However, one thing common to nearly all daisy varieties is deadheading, or removal of their spent blooms. Read here to learn how it's done.


