How And When To Transplant Hostas


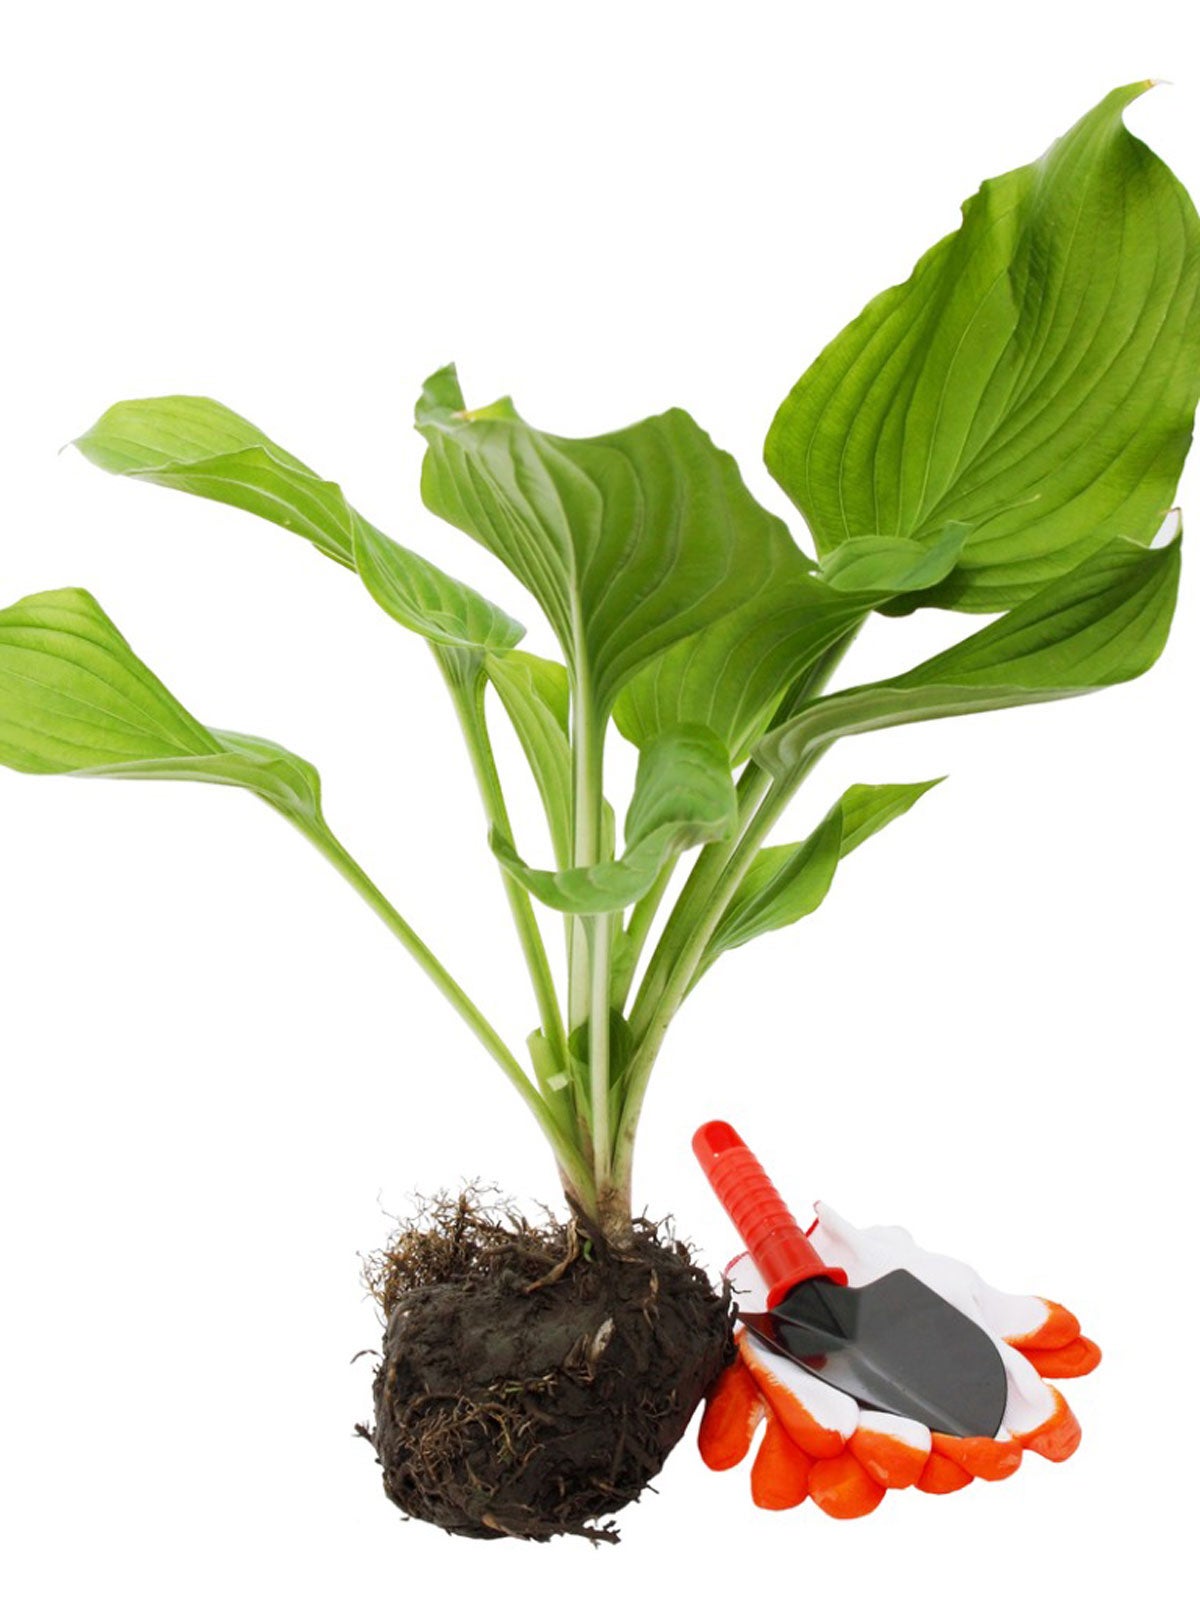
Hostas are a perennial favorite among gardeners and with 2,500 varieties to choose from, there's a hosta for every garden need, from ground cover to giant specimen. They come in leaf colors that range from almost white to a deep, dark, blue-green. They reach their full maturity in four to eight years and given good care and the right growing conditions can outlive their owners. They're a great plant to share with neighbors and friends and are prime candidates for transplanting. Hostas are easily moved once you know how to. To transplant hosta plants, you'll need a good shovel, nutritious additives for the soil, and, for larger specimens in particular, a means to move your plant.
When to Transplant Hostas
Before we discuss how to transplant hostas, we need to talk about when to transplant hostas and that involves both the time of day and time of year. The best time to transplant hostas is in the spring, but that's really because it's easier on you, the gardener, than on the transplant. Hosta plants always need plenty of water and the trauma of transplant, no matter how slight, increases that need. So, the best time to transplant hostas is when Mother Nature is more likely to do the watering for you. It's also easier to see the new shoots, without the risk of leaf damage. If you have a choice in deciding when to transplant hostas, don't do it in high summer when the ground is hard and the air is dry.
How to Transplant Hostas
Before transplanting hostas, it's best to prepare their new home. Remember, when you're thinking about the best time to transplant hostas, you should also be thinking about the best place to transplant hosta plants. They could be living there for the next fifty years. Dig the new hole wider and deeper than the old. Mix plenty of organic enrichments into the refill dirt and add some time-release fertilizer, not only to help get your plants off to a good start but to give them a healthy future as well. Dig all around the hosta clump and, using a garden shovel or fork, pop the clump out of the ground. Rinse as much of the old soil off as you can without damaging the roots and then move your hosta to its new home. Beware, hosta clumps are heavy! If you're thinking about dividing your plants, now's the time to do it. Have a wheelbarrow handy or a tarp that you can use to drag the clump to its new home. Keep the roots damp and shaded, particularly if there will be a delay in when to transplant. Hosta plants depend on their root's rapid adjustment to their new environment. Set the clump in its new home a little above the depth it was in the old. Fill in around it with the enriched soil, mounding the soil around the clump until it's covered to a little over the depth it was before. When the soil settles over time, the clump will rest at its original depth. Keep the clump well watered for the next six to eight weeks and watch it carefully in the weeks thereafter for signs of wilt due to lack of moisture. Be aware that the first season after transplanting hosta may yield smaller leaves due to trauma, but the following year will see your plant happy and healthy once again.
Sign up for the Gardening Know How newsletter today and receive a free copy of our e-book "How to Grow Delicious Tomatoes".

Jackie Rhoades began writing for Gardening Know How in 2010.