How To Propagate Orchids: 4 Techniques To Grow Your Plant Collection
Propagating orchids is a fascinating way to make duplicates of your favorite plants. Discover how to grow new orchids through division, cuttings, and from seed.

Melanie Griffiths
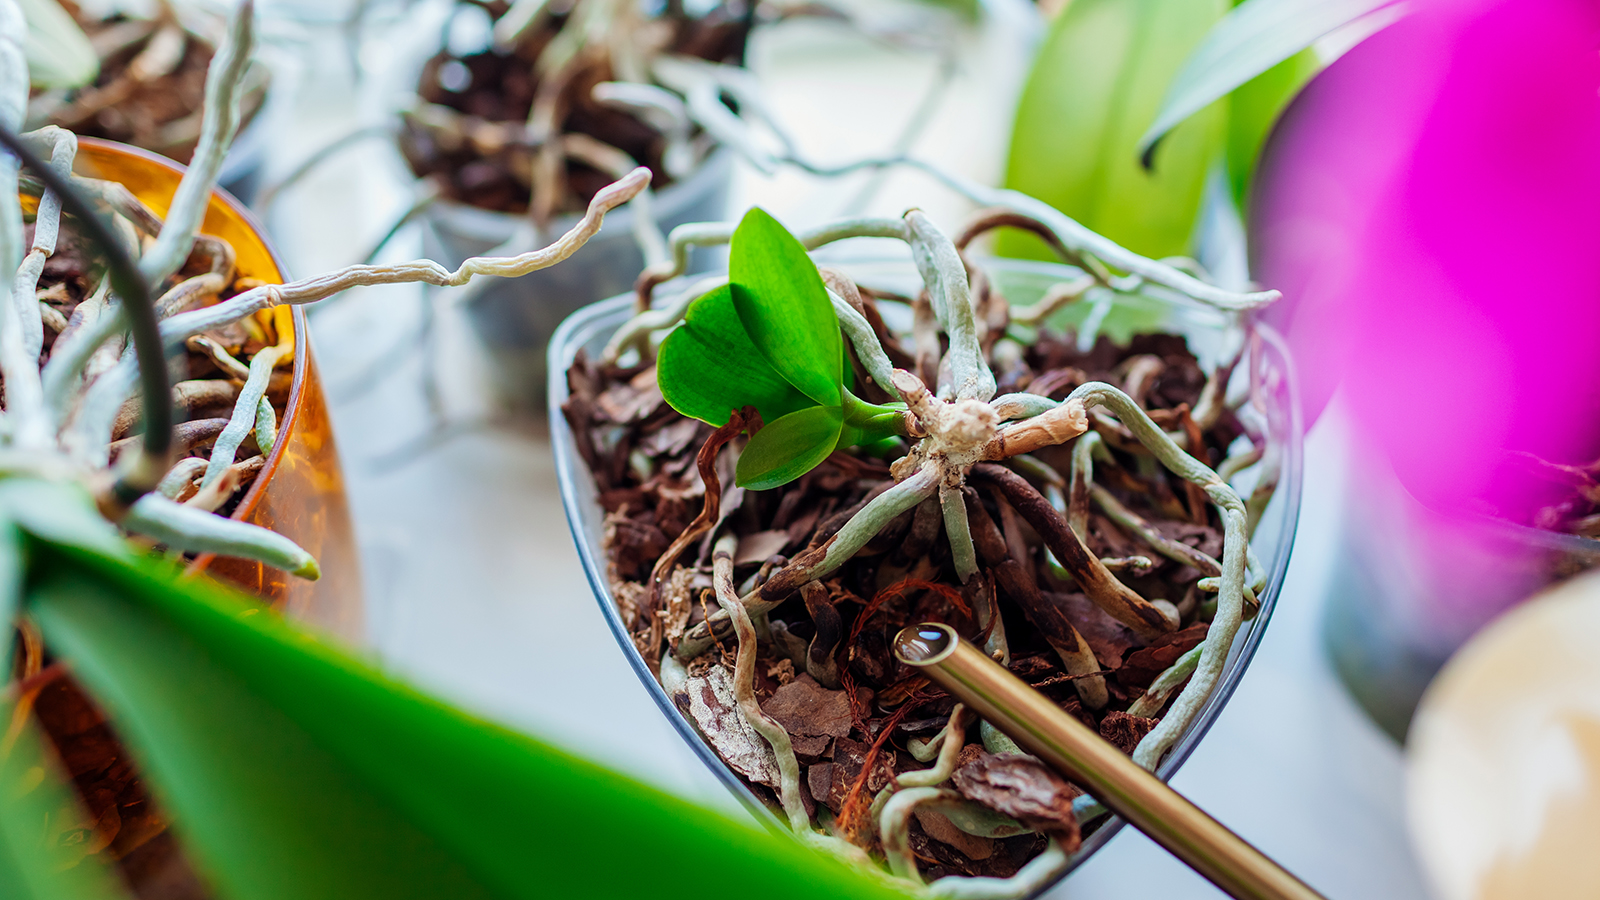
Learning how to propagate orchids is a fun, inexpensive way to grow your houseplant collection. Several tried-and-tested techniques will enable you to produce more of your favorite varieties or to grow beautiful gifts. However, there is no one-size-fits-all solution.
Orchids are an extraordinarily large group of plants encompassing around 28,000 identified species, across 800 genera. The best method of orchid propagation varies by species – each type has a couple of different ways of reproducing.
In home cultivation, orchids are most often propagated vegetatively, through cuttings or division. They may also be grown from seed in specific conditions – but this can be a slow process.
Proper orchid care is essential in nurturing both the seedlings and the parent plants, which must be in good health to produce new plants.
Which Type Of Orchid?
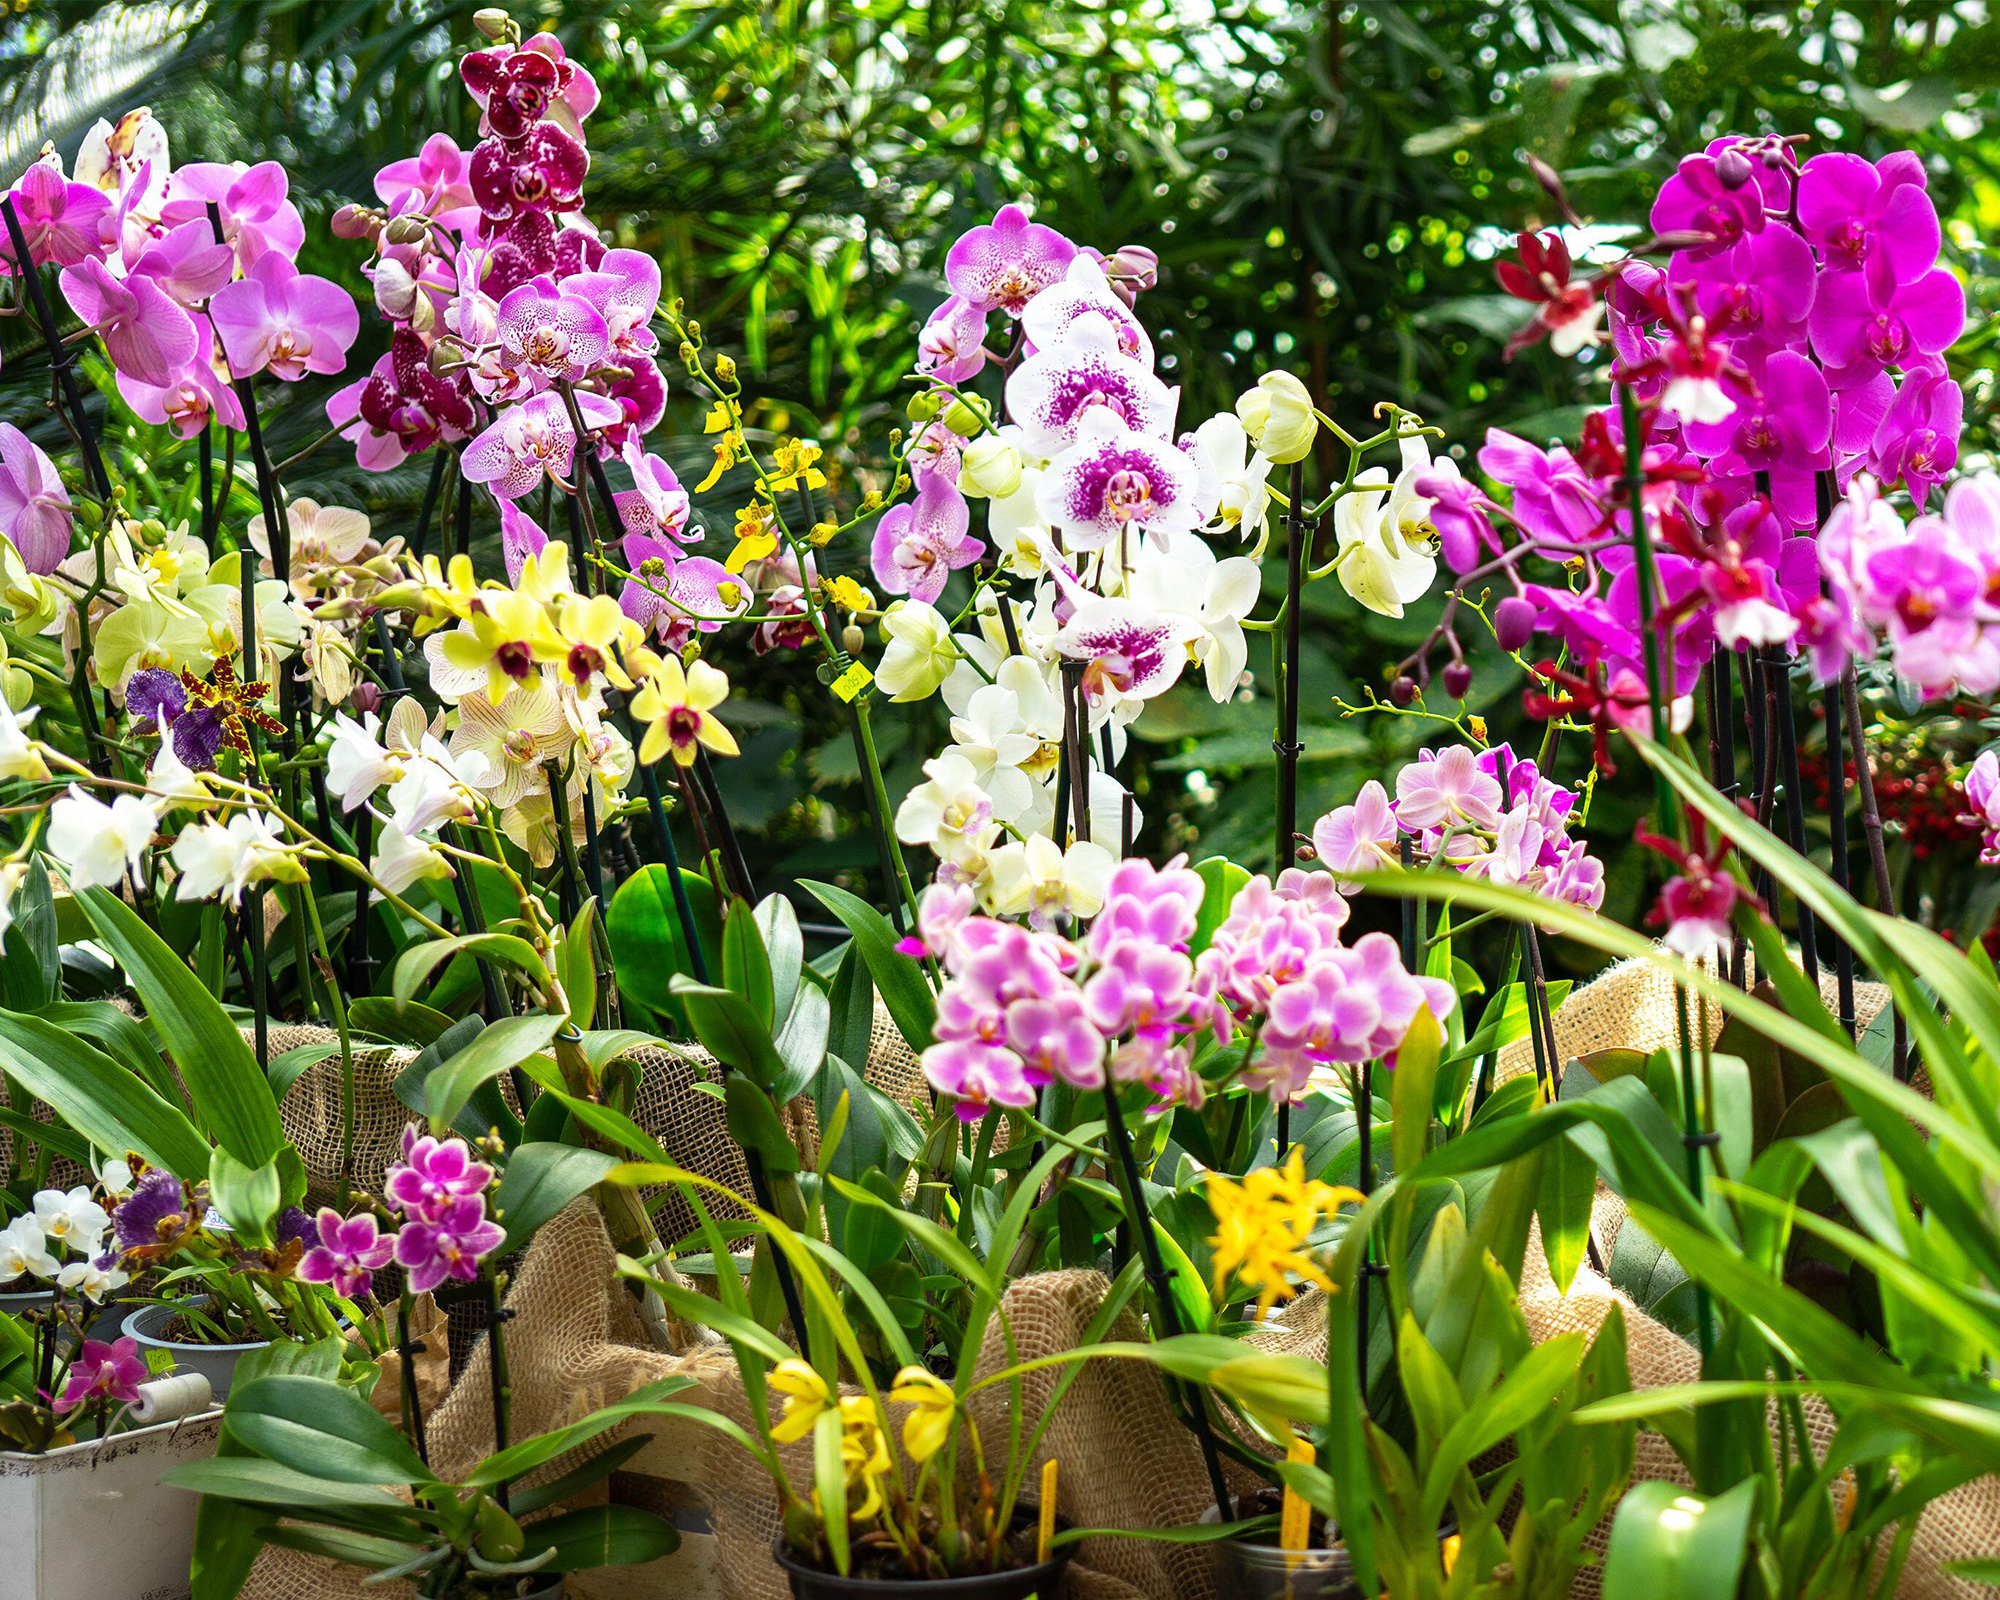
Despite the many different types of orchids, they only have two main growth patterns: monopodial or sympodial. Before you begin propagation you need to know which type it is.
- Monopodial plants have a single root system that cannot be divided. They are commonly propagated through keikis, which are plantlets that grow from the flowering stem. However, some growers are successful at taking stem cuttings.
- Sympodial plants produce pseudobulbs, which are similar to rhizomes and can be broken apart and repotted separately in a new container.
In this article we reveal the main orchid propagation methods suitable for different species.
1. Divide Pseudobulbs
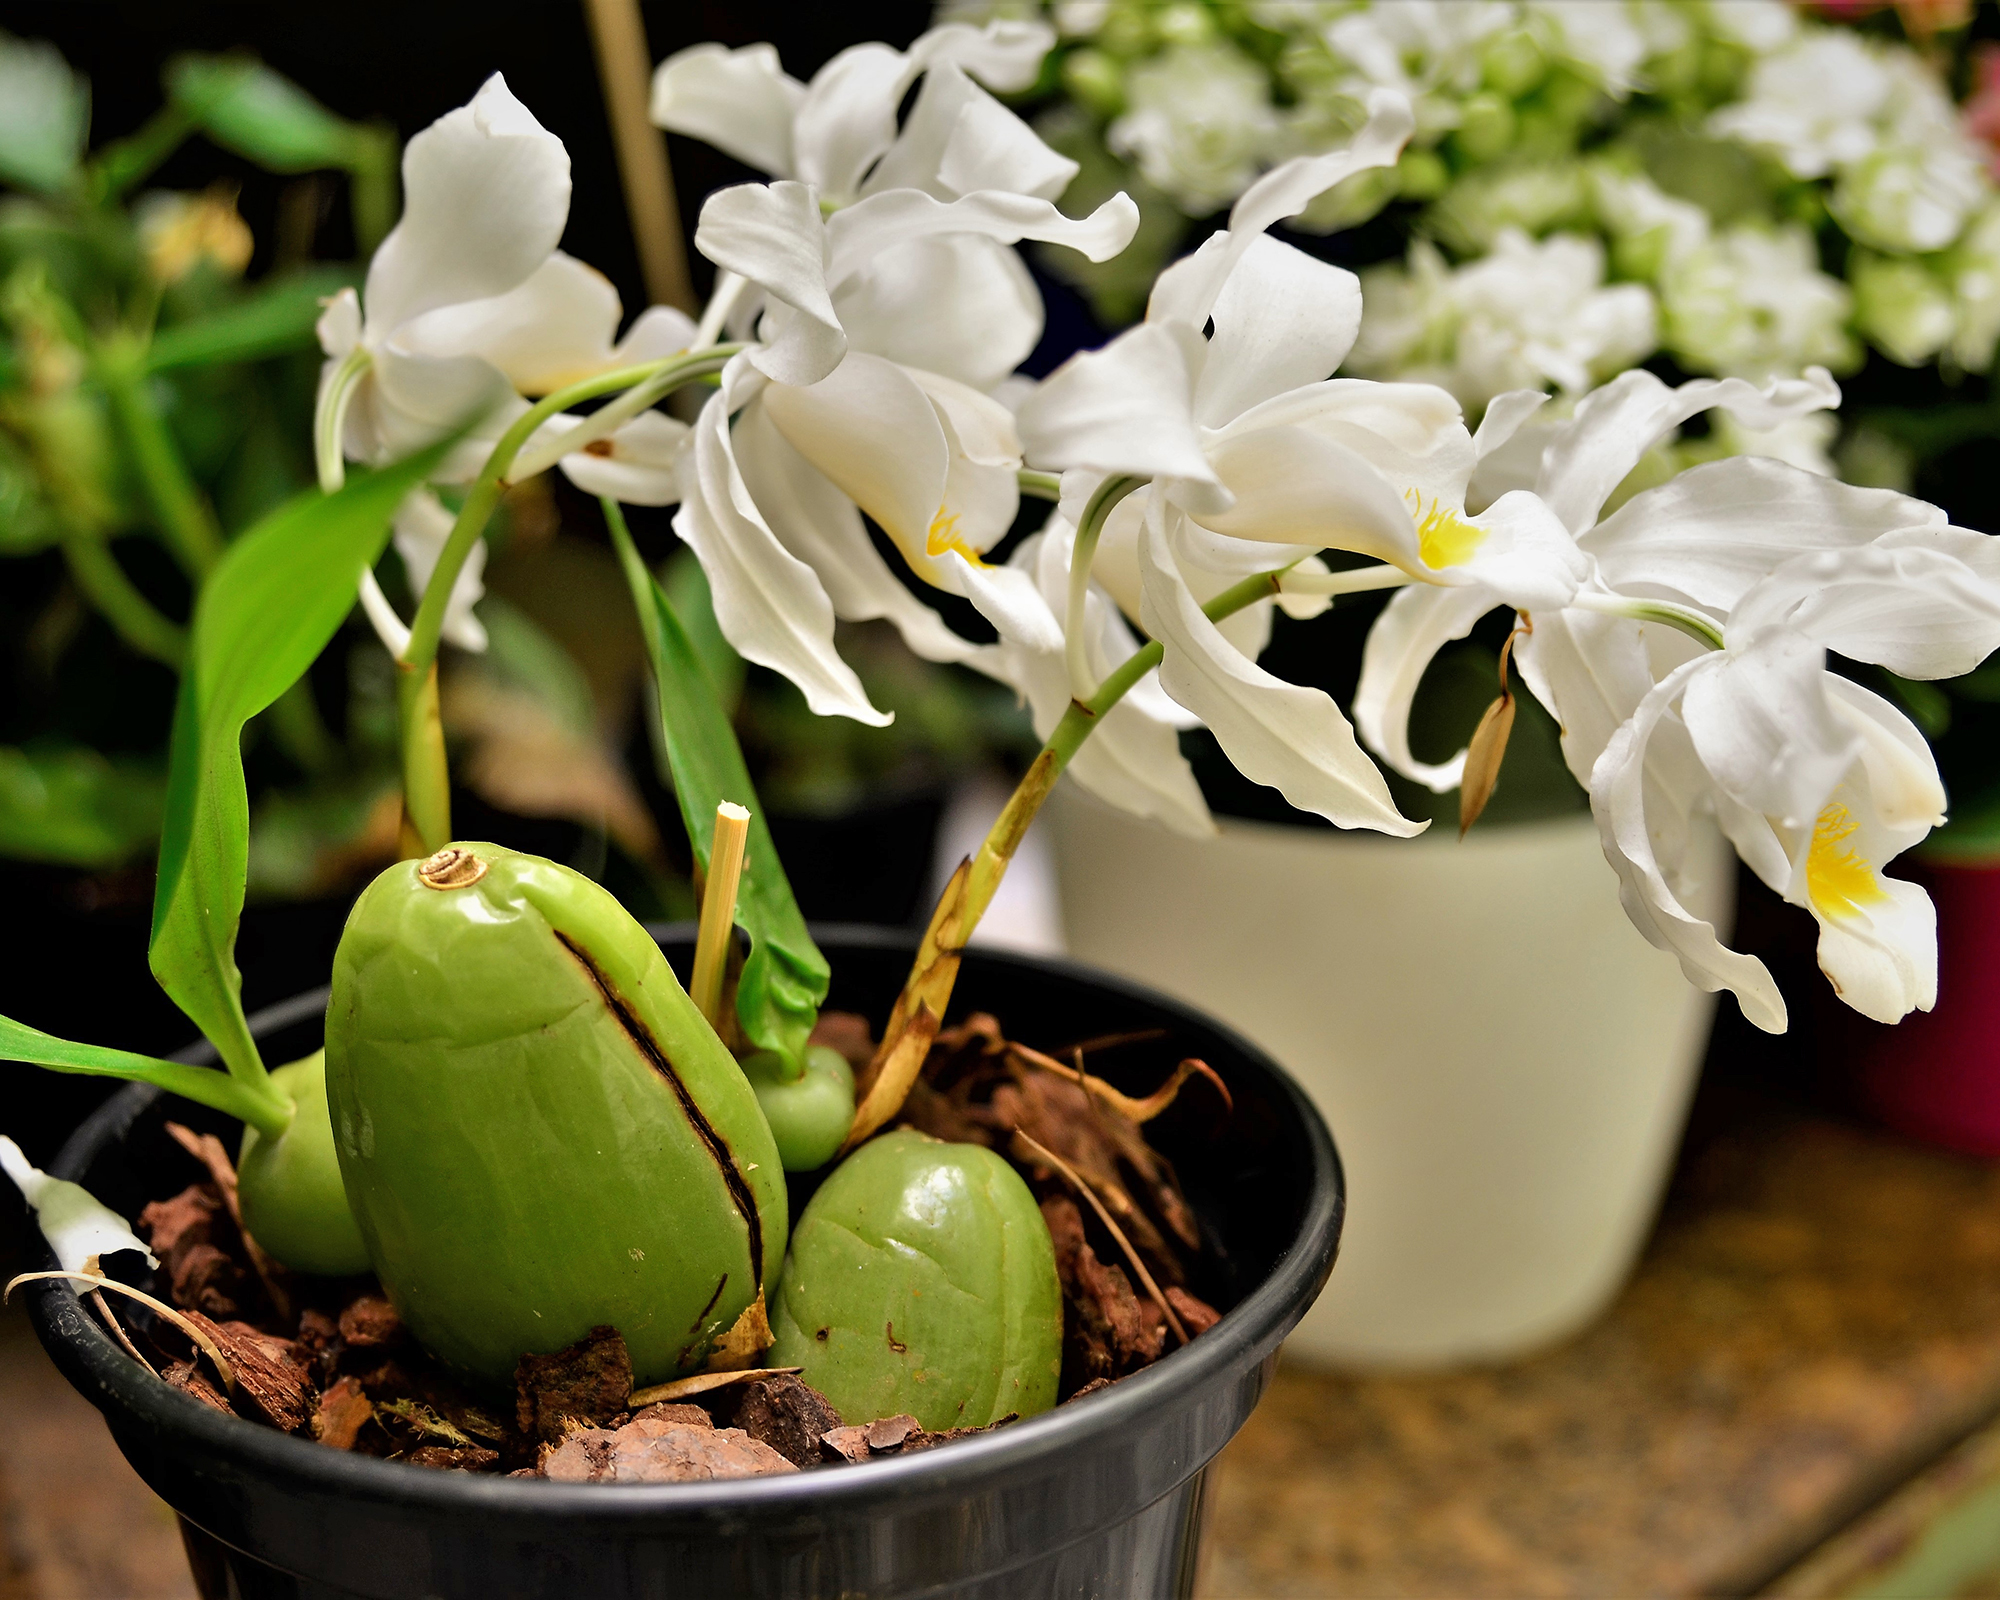
Sympodial orchids develop pseudobulbs – green, bulbous growths at the base of the plant that form on lateral or terminal rhizomes. The bulbs hold water and nutrients, acting as a storage unit during periods of dry weather.
Sign up for the Gardening Know How newsletter today and receive a free copy of our e-book "How to Grow Delicious Tomatoes".
Each pseudobulb has the potential to become a new plant, and dividing them is a fairly easy way to grow your orchid collection. It is also the quickest solution because the little plant already has roots and can begin to grow into its container.
Examples of commonly grown orchids with pseudobulbs are Cattleya, Oncidium, Dendrobium, Epidendrum, and Laela. Unfortunately, this is not a suitable method for propagating orchids without pseudobulb organs, such as the ever-popular Phaeleonopsis.
Don't harvest pseudobulbs from an orchid unless your plant is mature and healthy.
- Remove the plant from the potting medium and take a good look at the roots. If the plant has been stuck in a container for a long time, the roots are likely tightly wound and will need to be gently teased apart.
- Locate the pseudobulbs along the main stem and identify your divisions. You need to ensure each section will have 2-4 pseudobulbs.
- Using sterilized pruners or a sharp knife, cut away the sections.
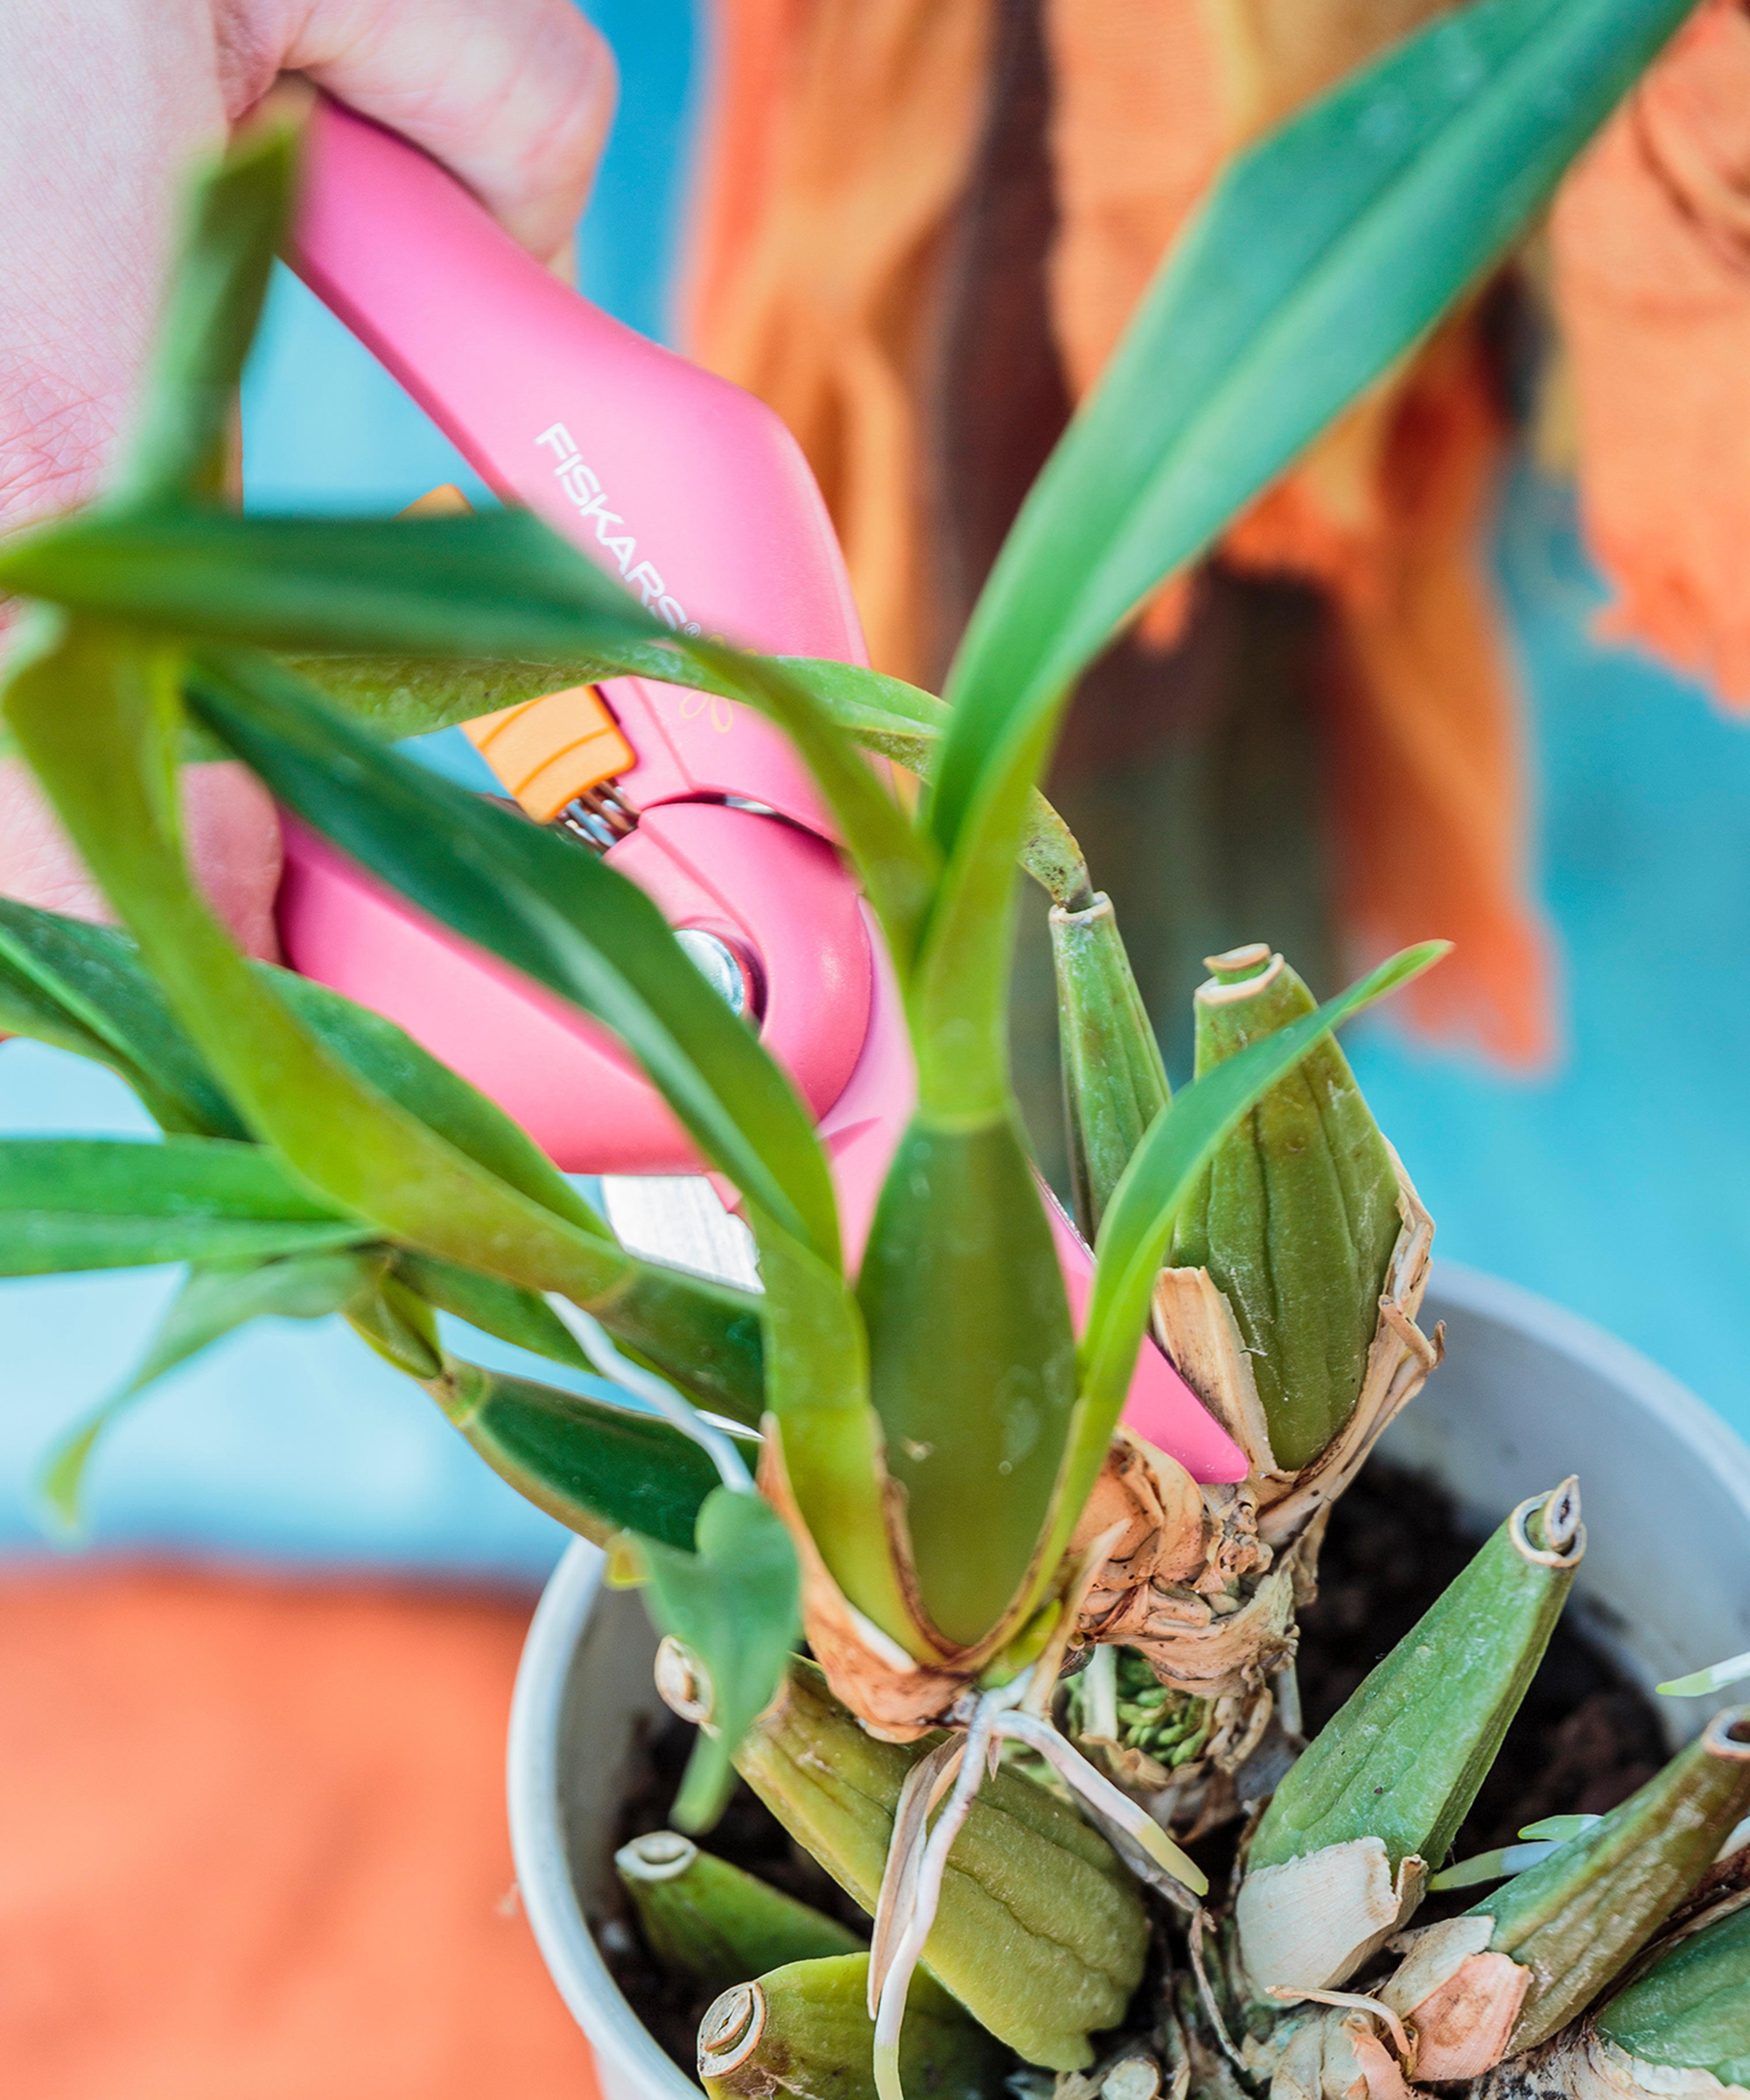
- Many gardeners suggest dusting the divisions with fungicide powder to prevent disease. Cinnamon is an effective natural fungicide.
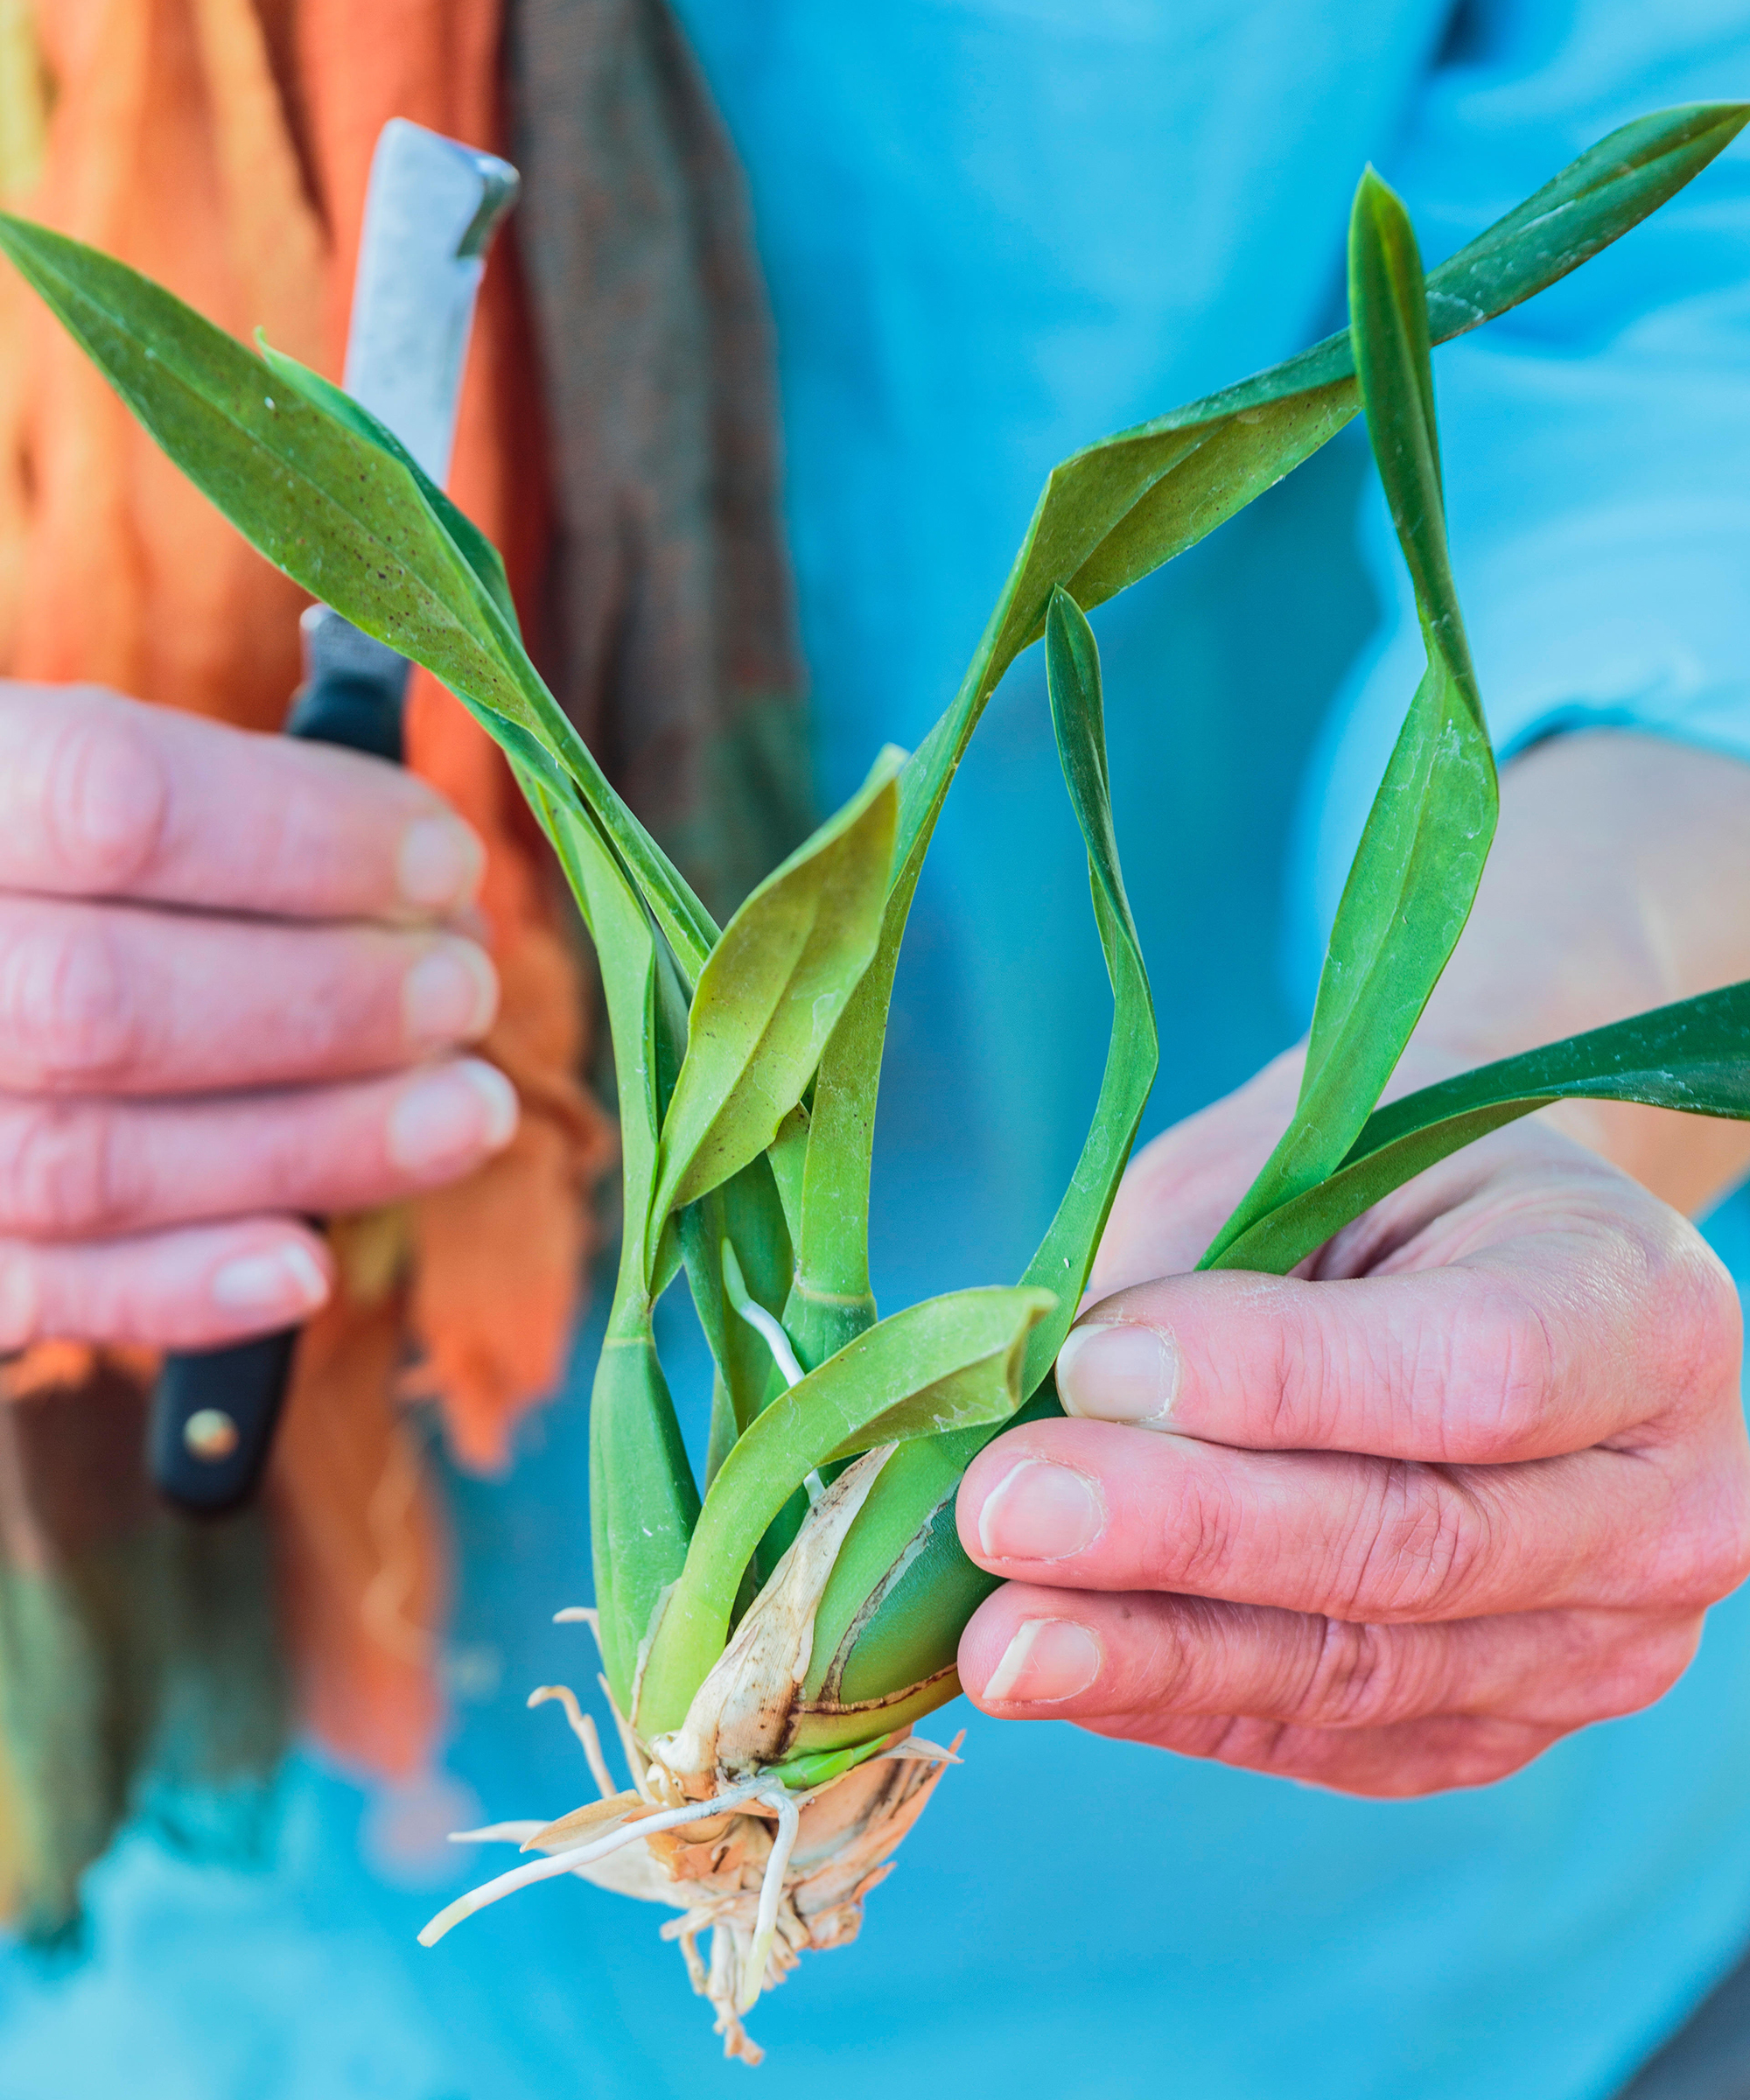
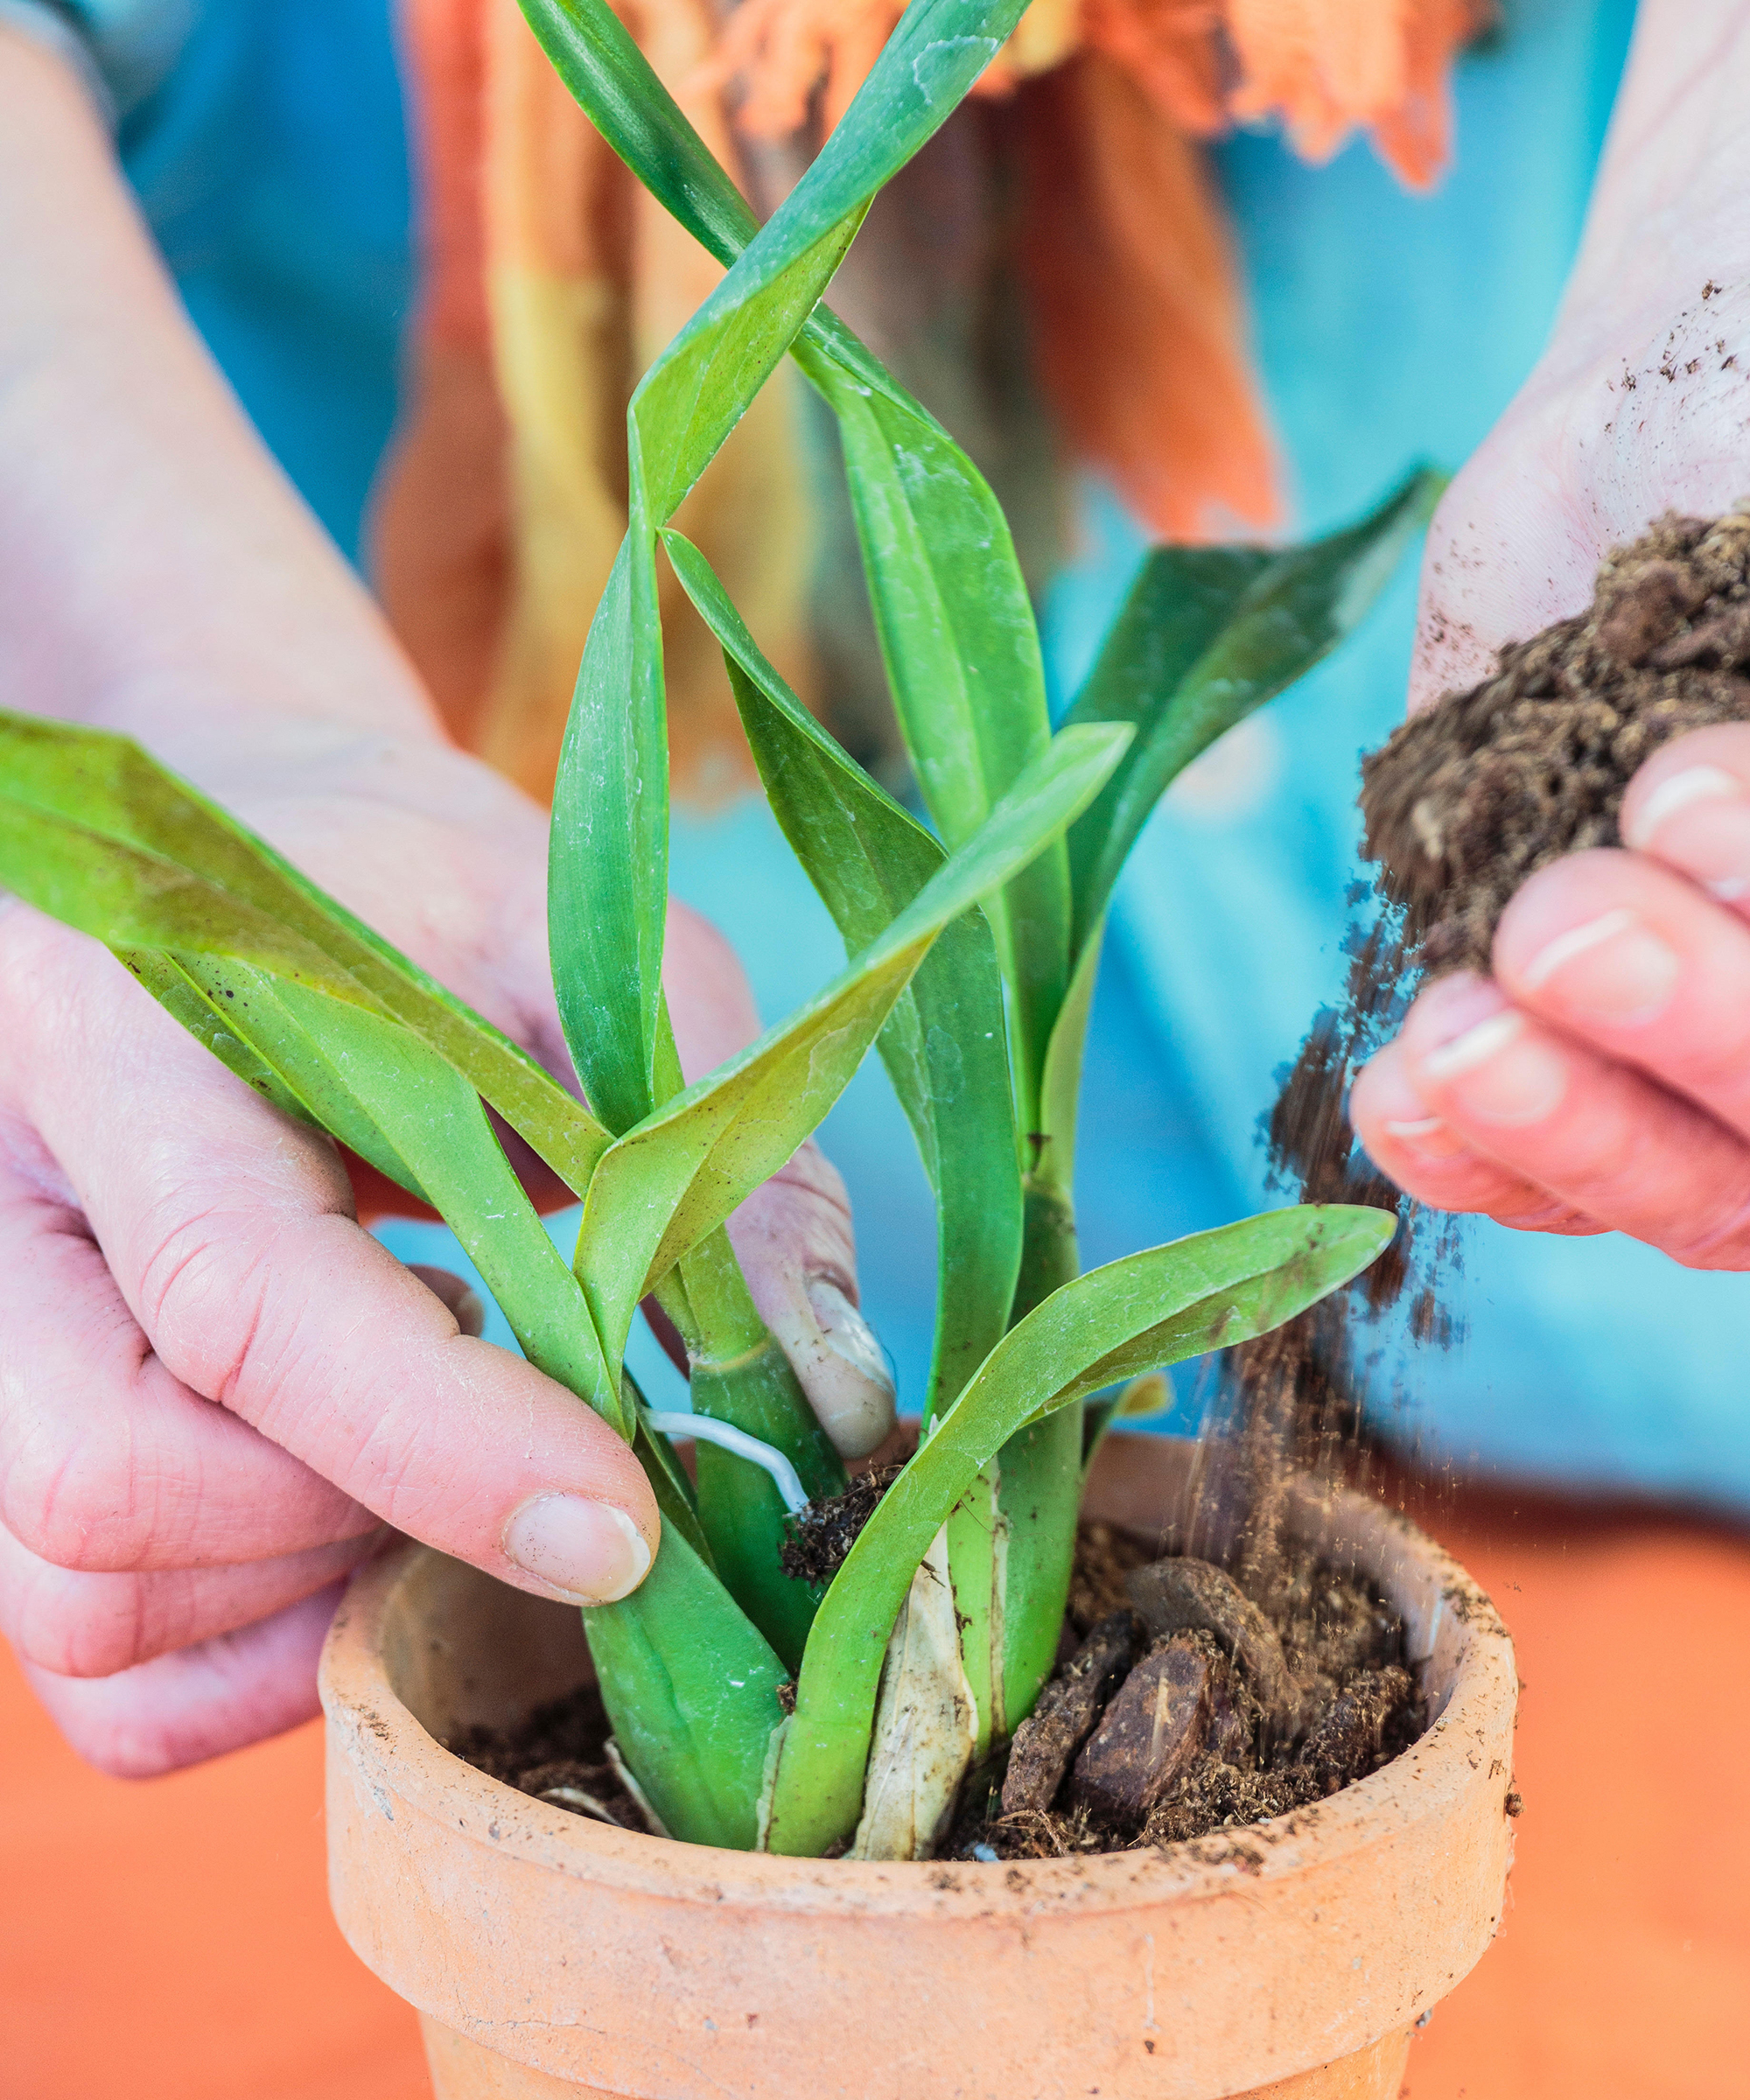
- Pot up the divisions into containers with fresh orchid mix.
- The buds should develop fresh growth within a month or two, and the new plants should flower the following year.
2. Encourage Keikis
Certain types of orchids produce keikis – which is Hawaiin for "children". They are baby plants, or offshoots, of the mother plant. Cultivating keikis is one of the easiest methods of propagating orchids.
Dendrobium, Phalaenopsis, Oncidium, and Epidendrum orchids may all produce keikis. These baby orchids can be encouraged to form by cutting a spent stem back. This encourages a second stem to grow. Keikis look like a flower spike initially, but they will soon form leaves and aerial roots.
If they are left on the plant, the parent is stressed from diverting energy to this emerging new plant, so if you spot a keiki, it is best to remove and repot it.
- To encourage a keiki, cut the spent stem above a stem internode and move the plant to a slightly dimmer location.
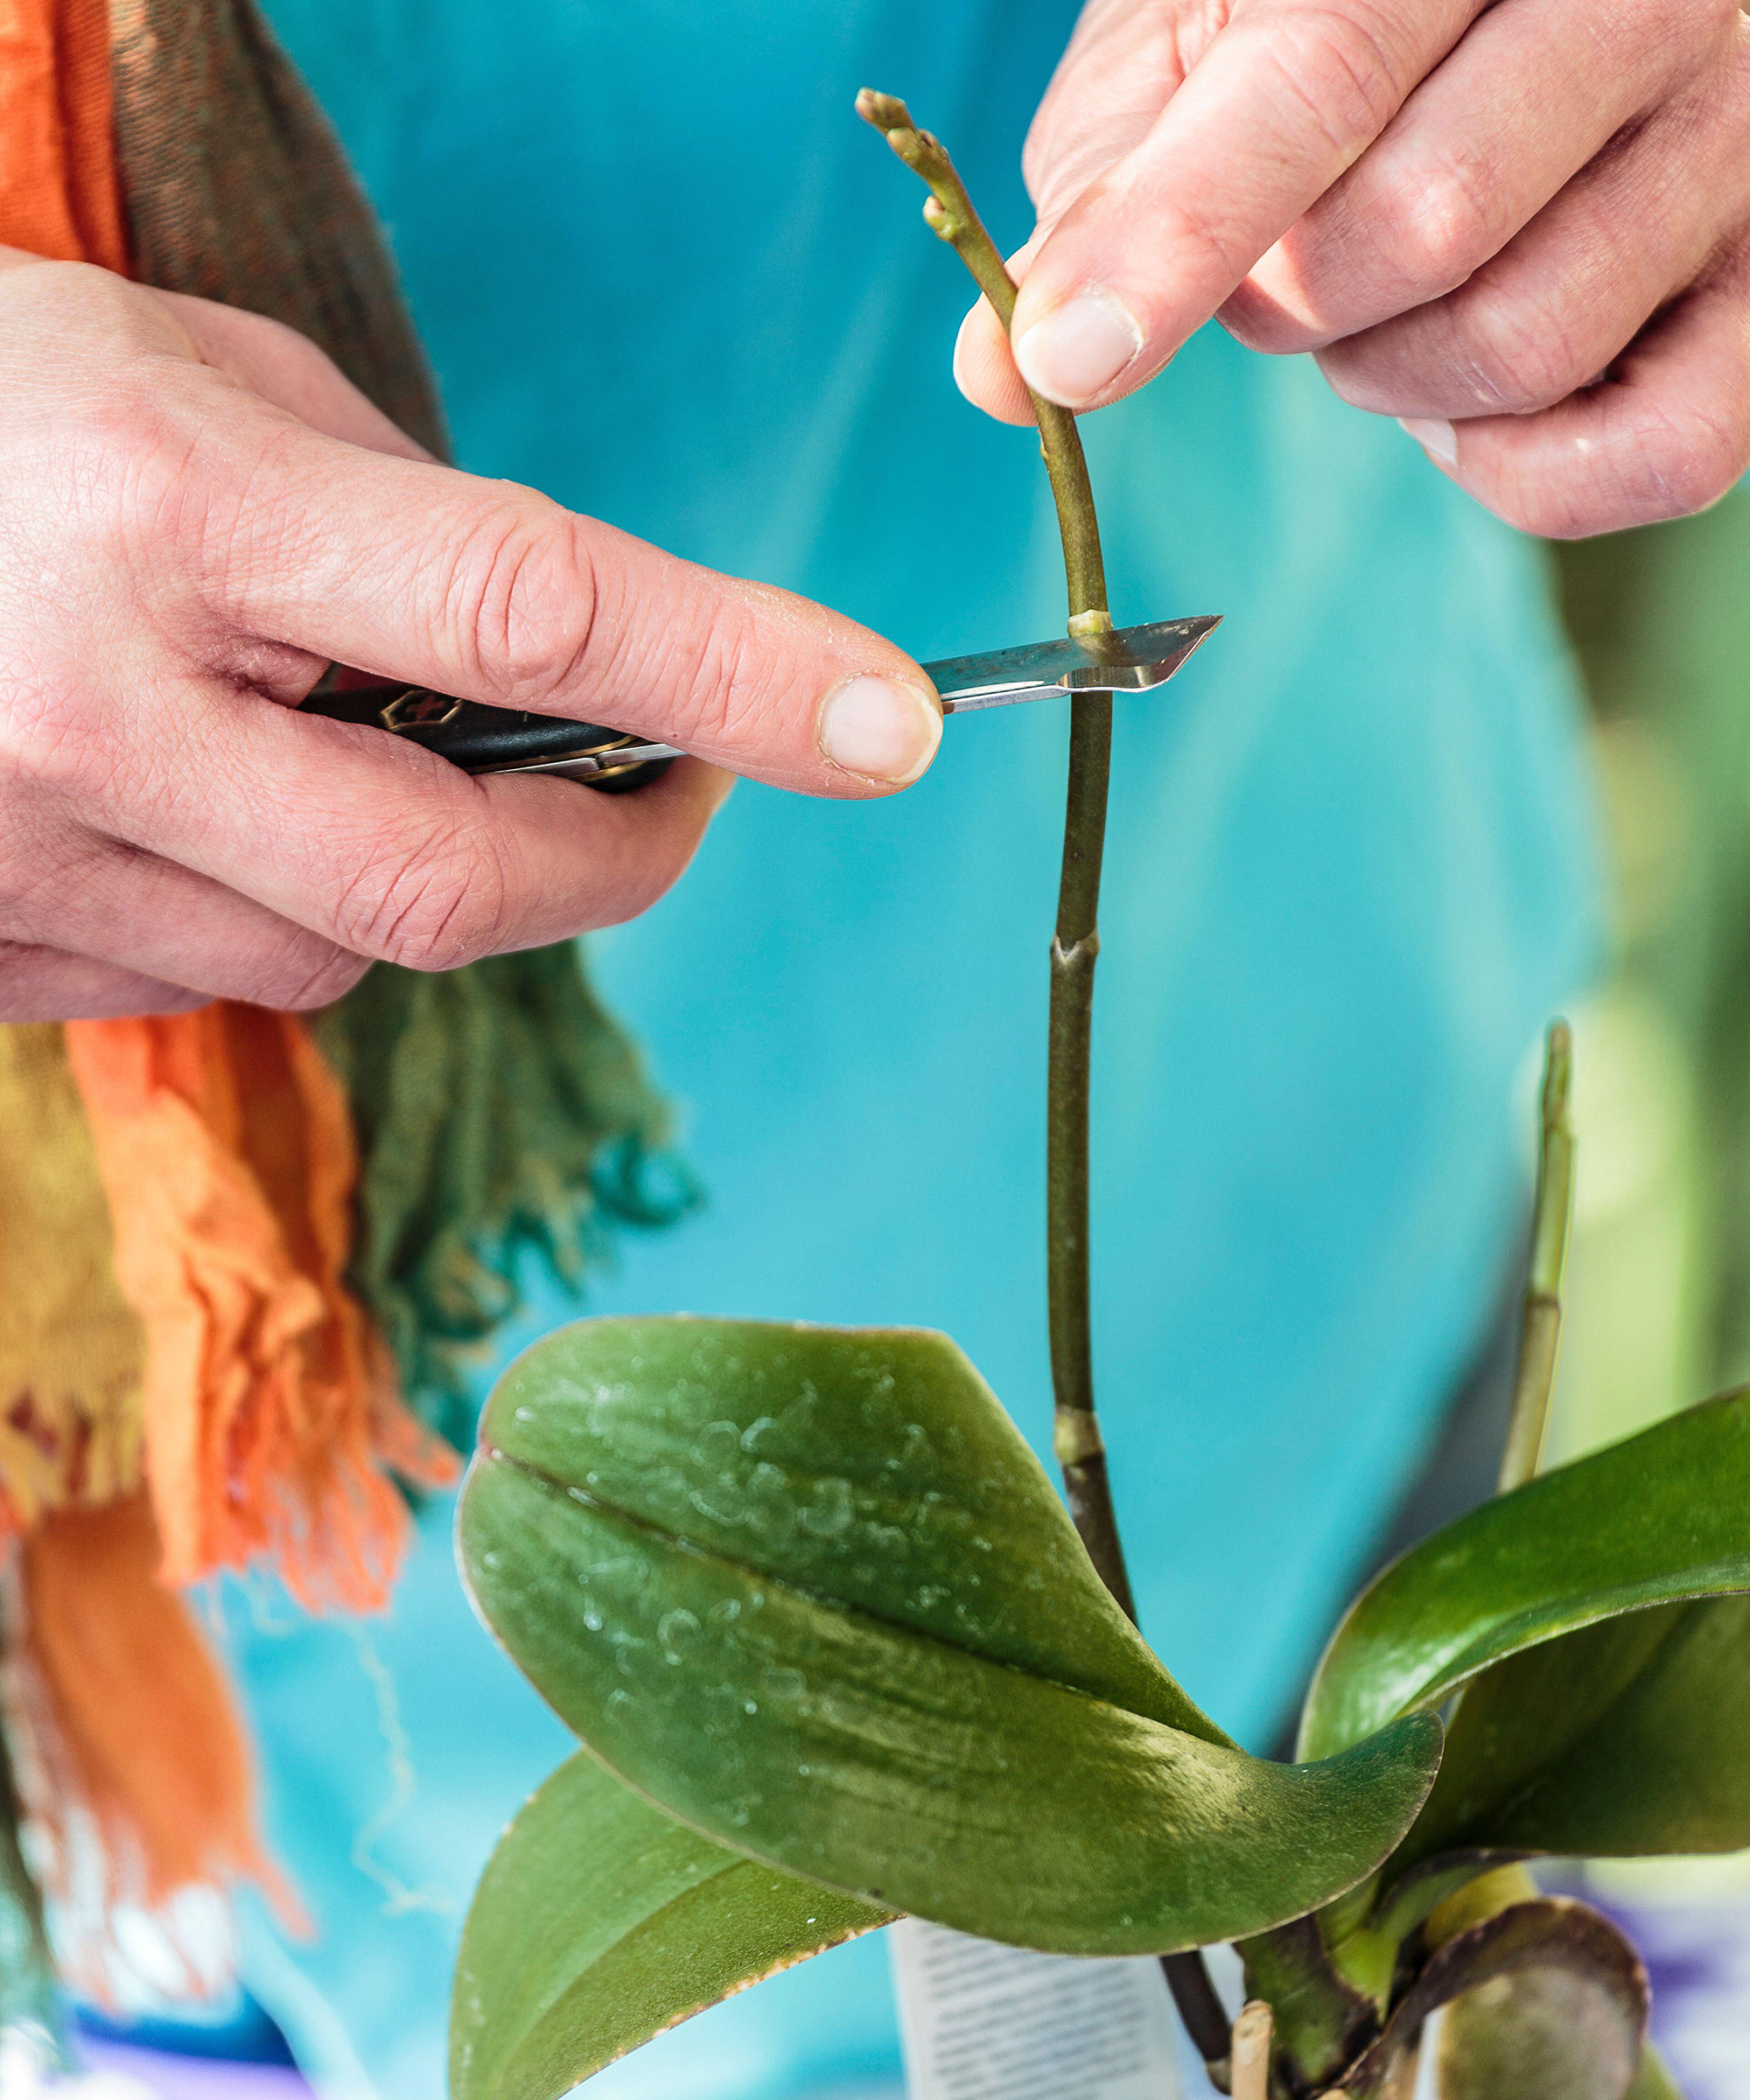
- In time keikis will form. Move the main plant back to normal light and wait until the keikis have 2-3 roots.
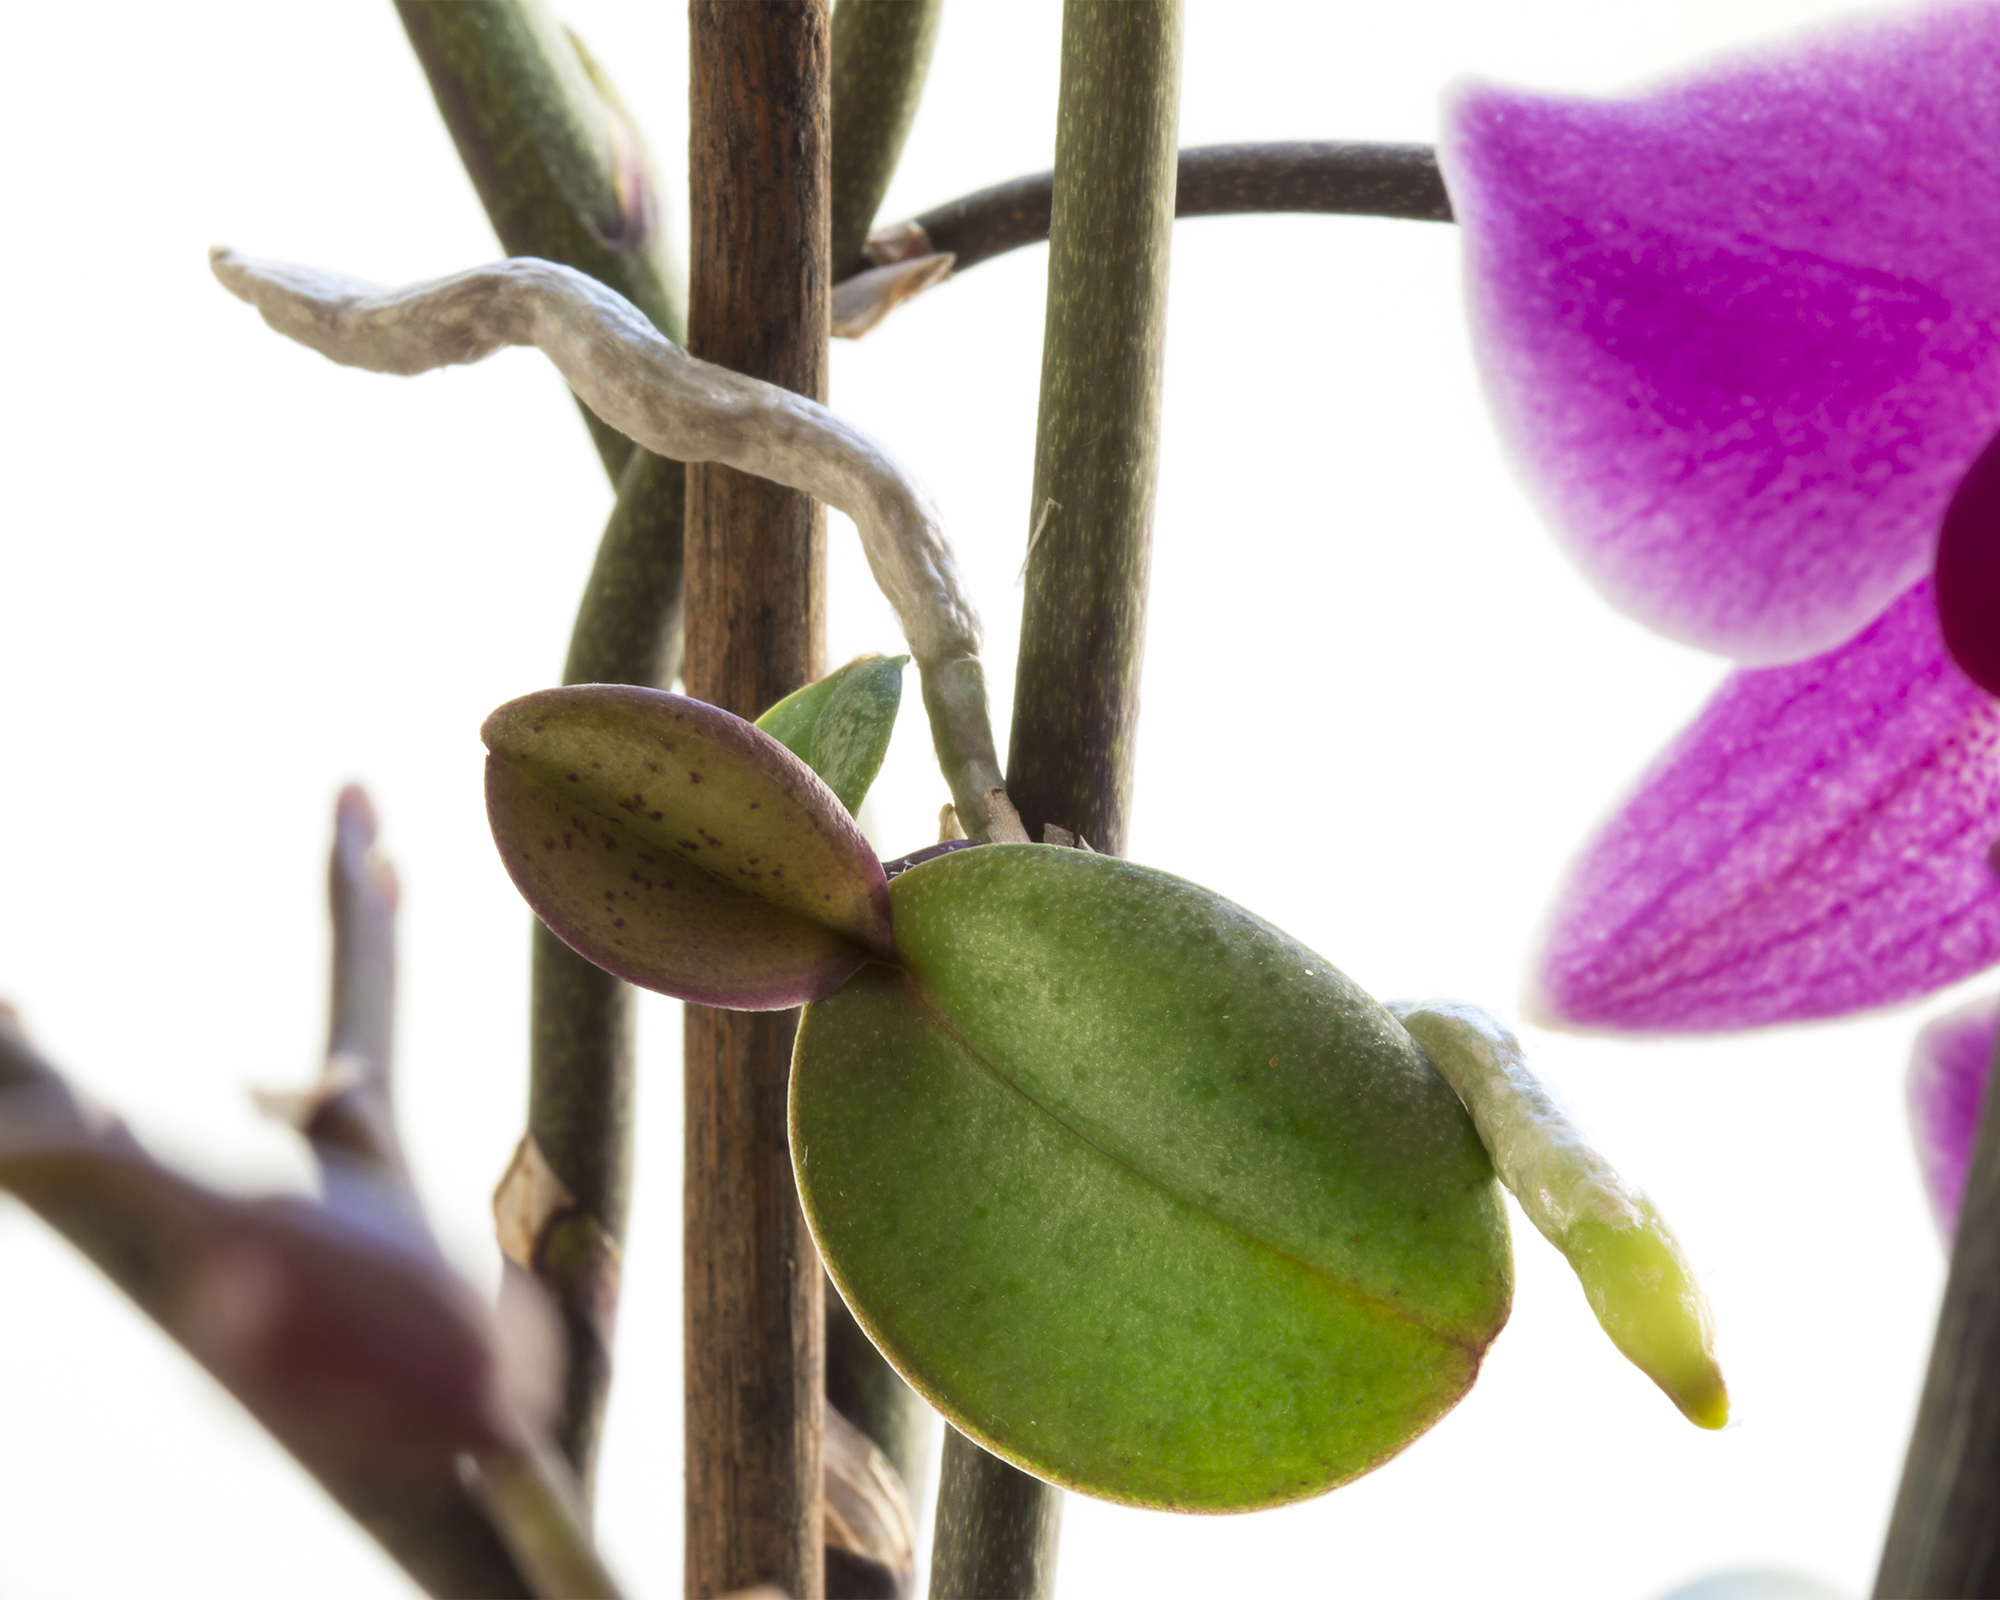
- Slice away the baby orchids by cutting between the stem and the keiki, using sharp, sterilized equipment.
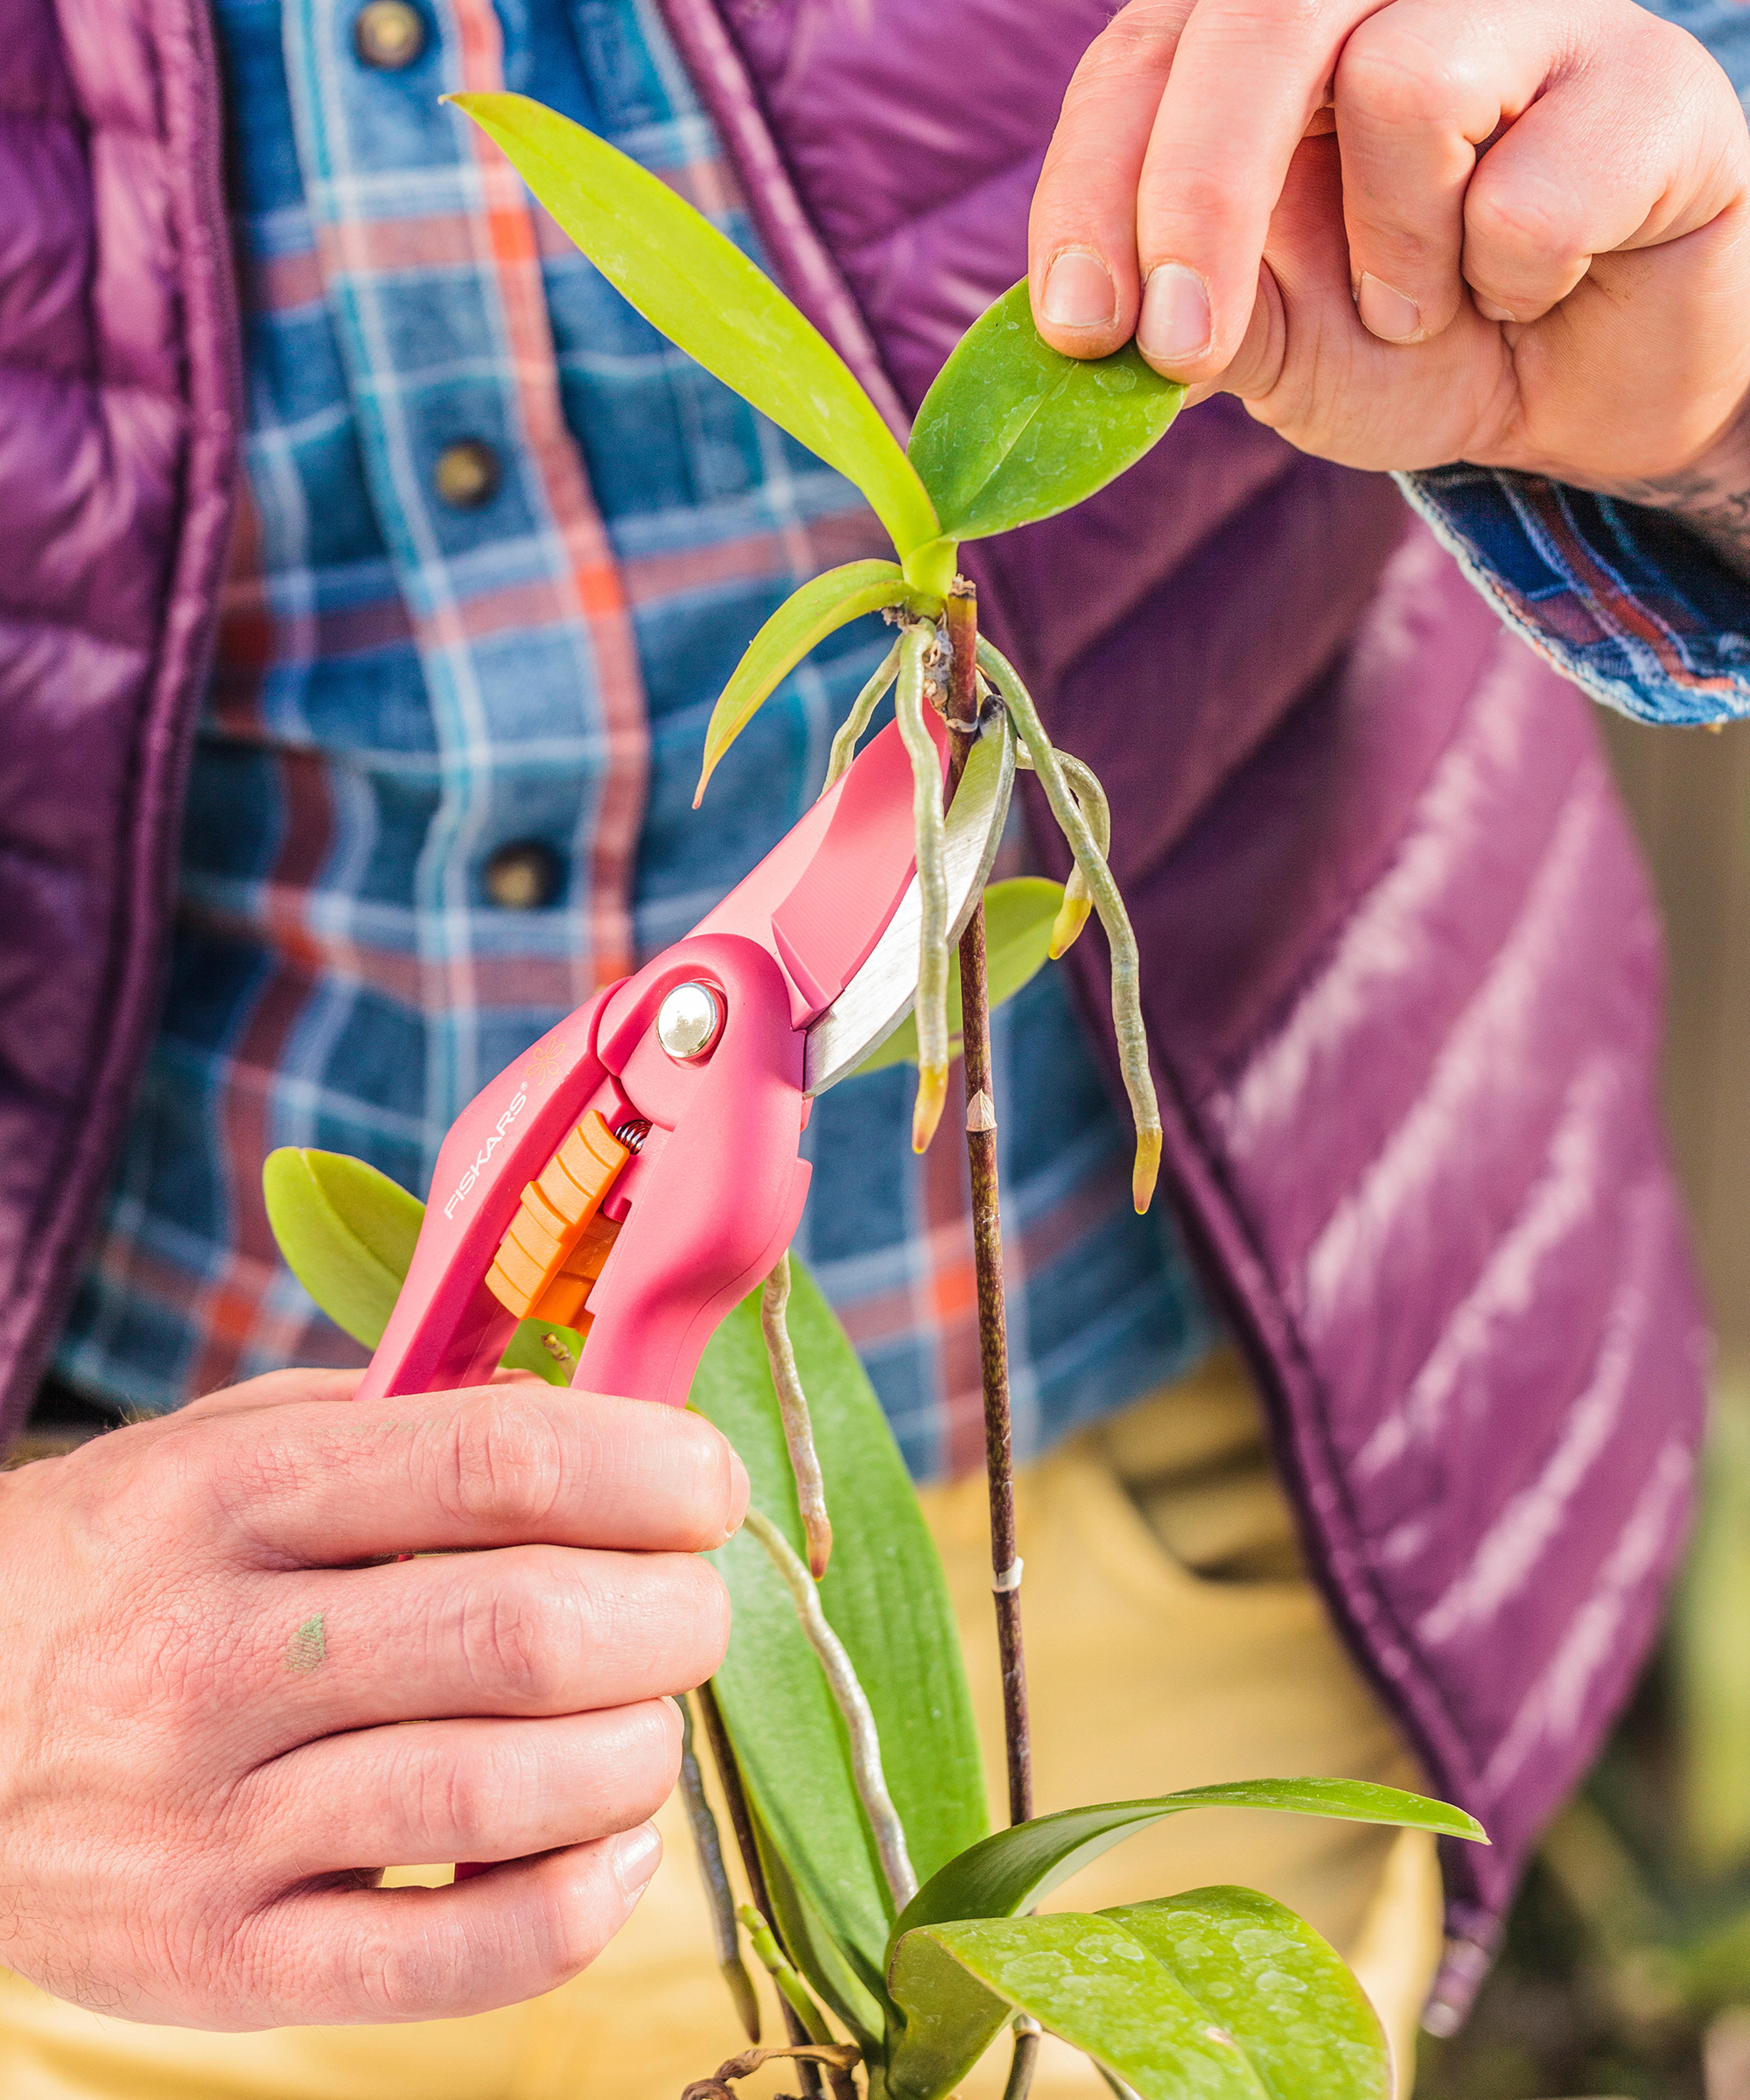
- Pot the young plants up separately and give them the same care as the parent plant.
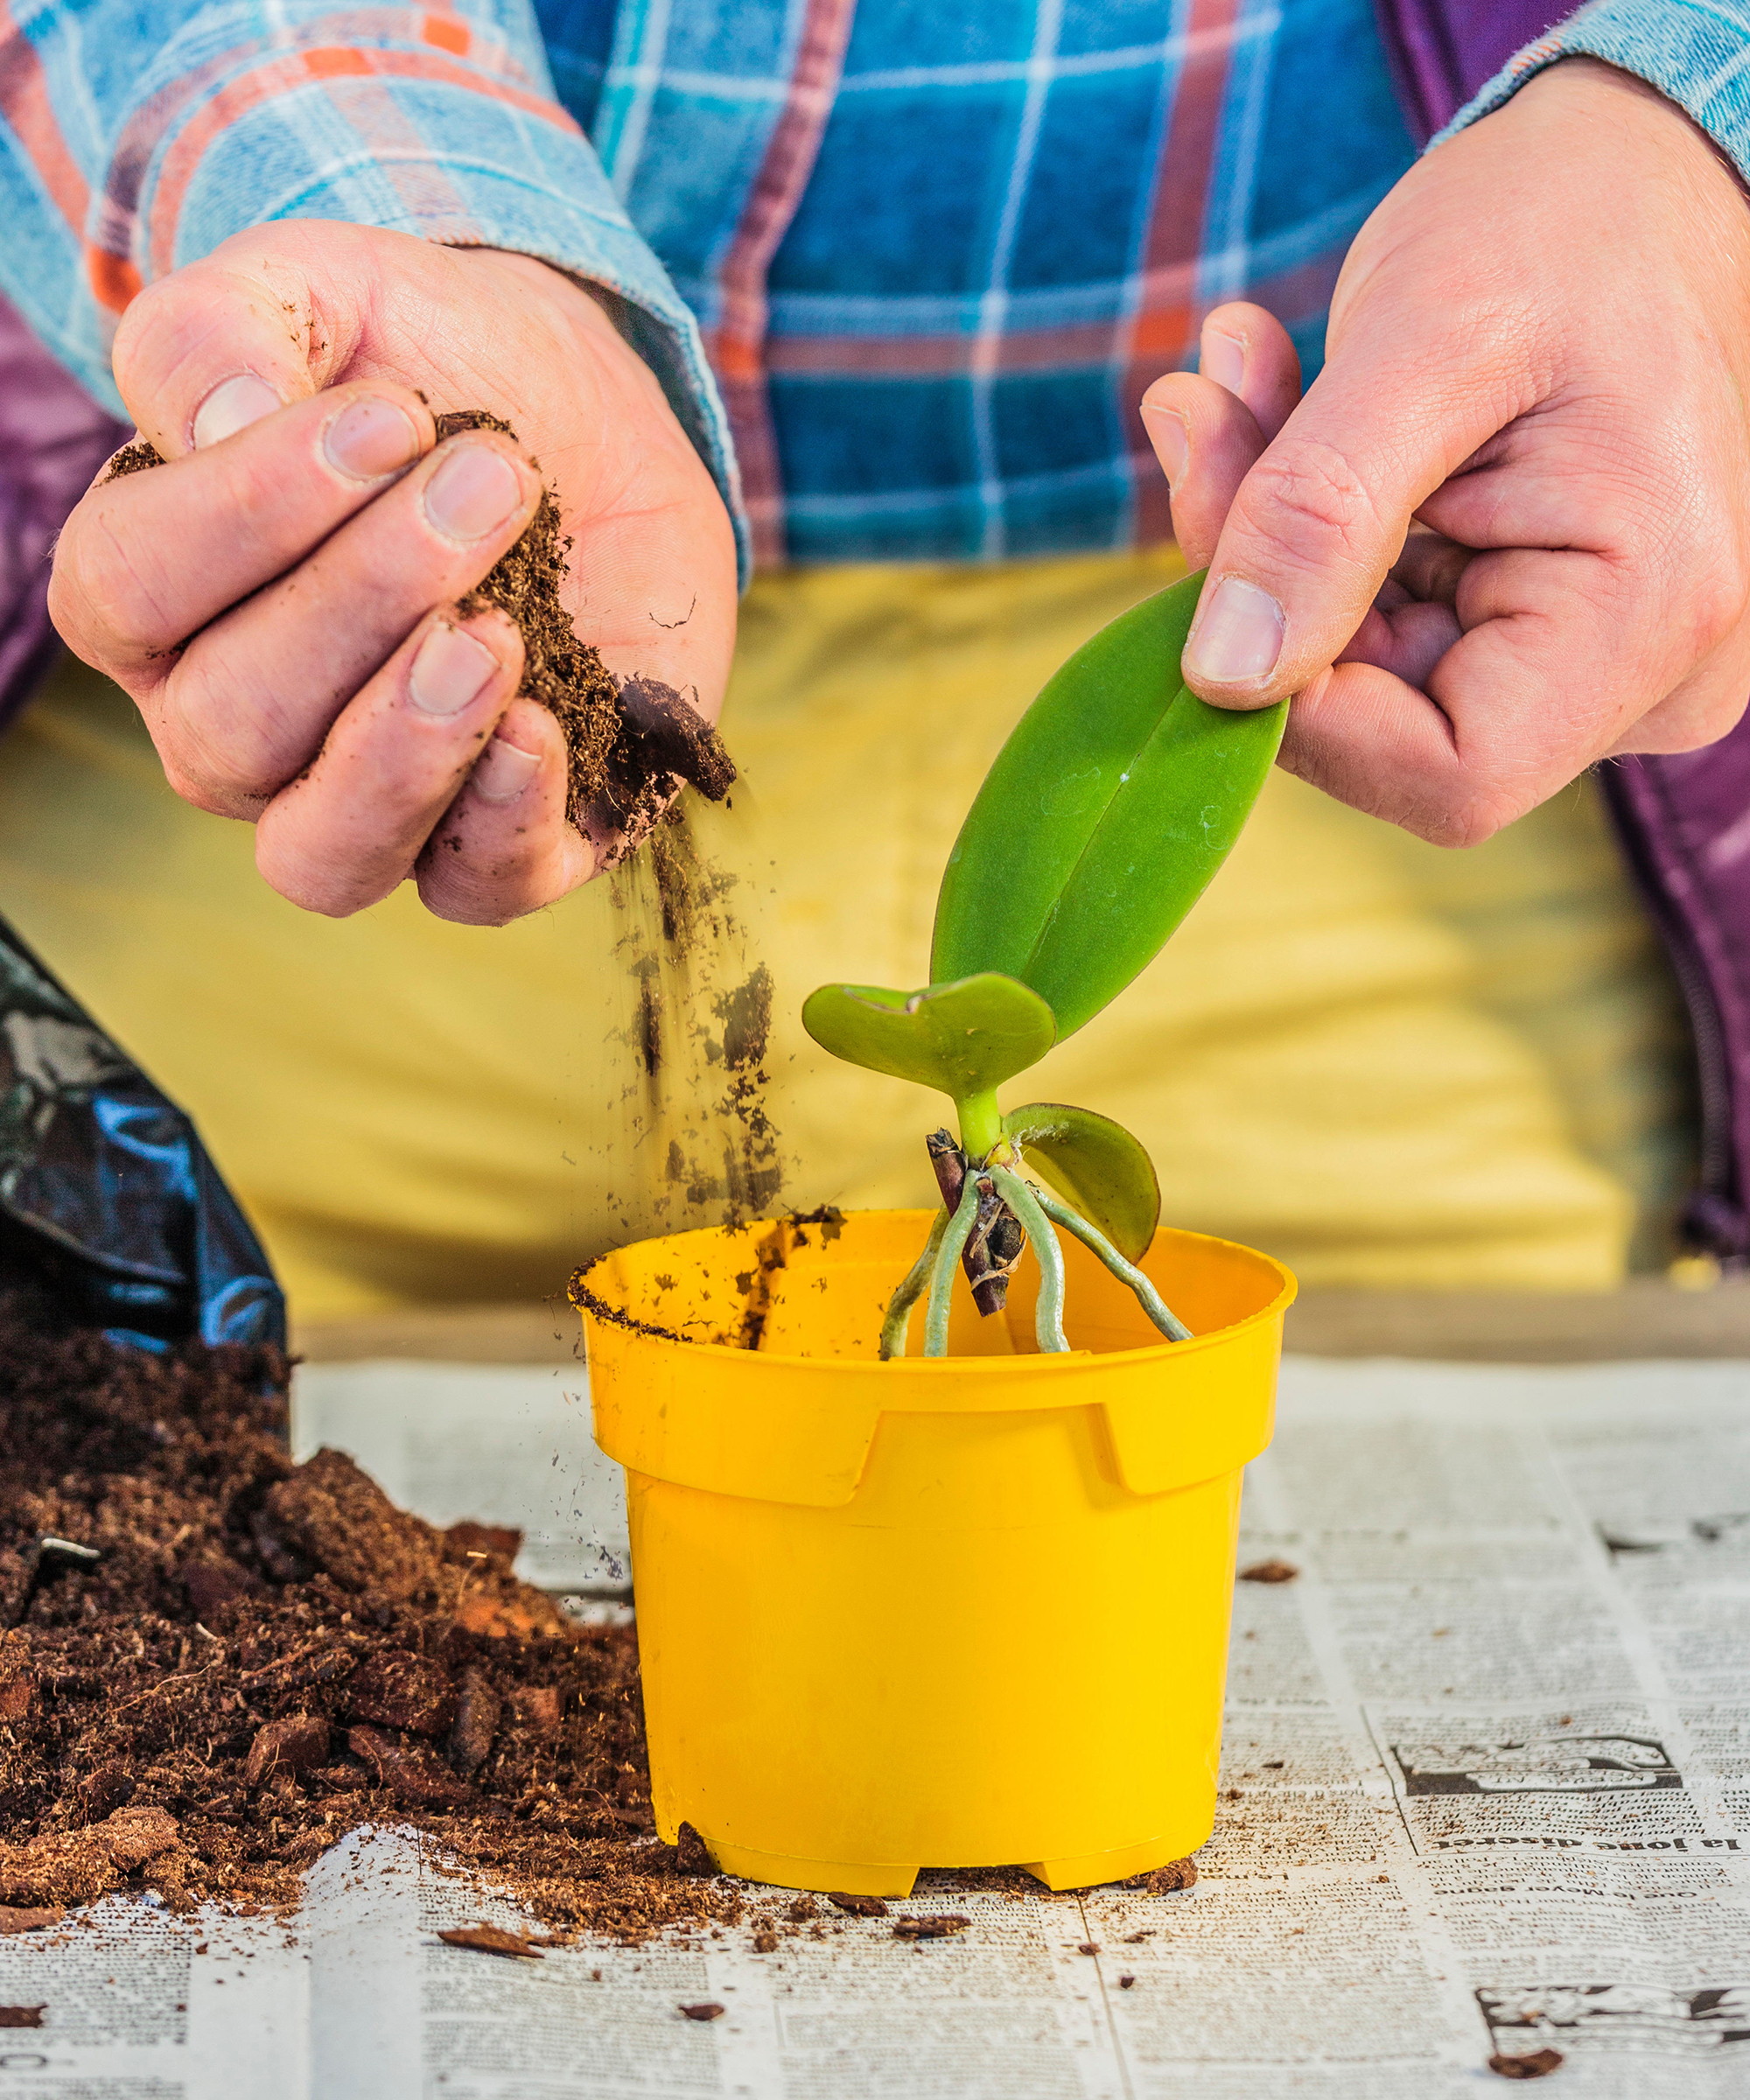
Like pseudobulbs, keikis are instant plants and simply need time to adjust to their new container and settle in.
3. Grow Orchids From Cuttings
There is some controversy over this method, as many gardeners have tried and failed to grow orchids from cuttings. Still, others swear by it, and you have nothing to lose by trying.
Vanda and Phalaenopsis orchids may be grown from cuttings.
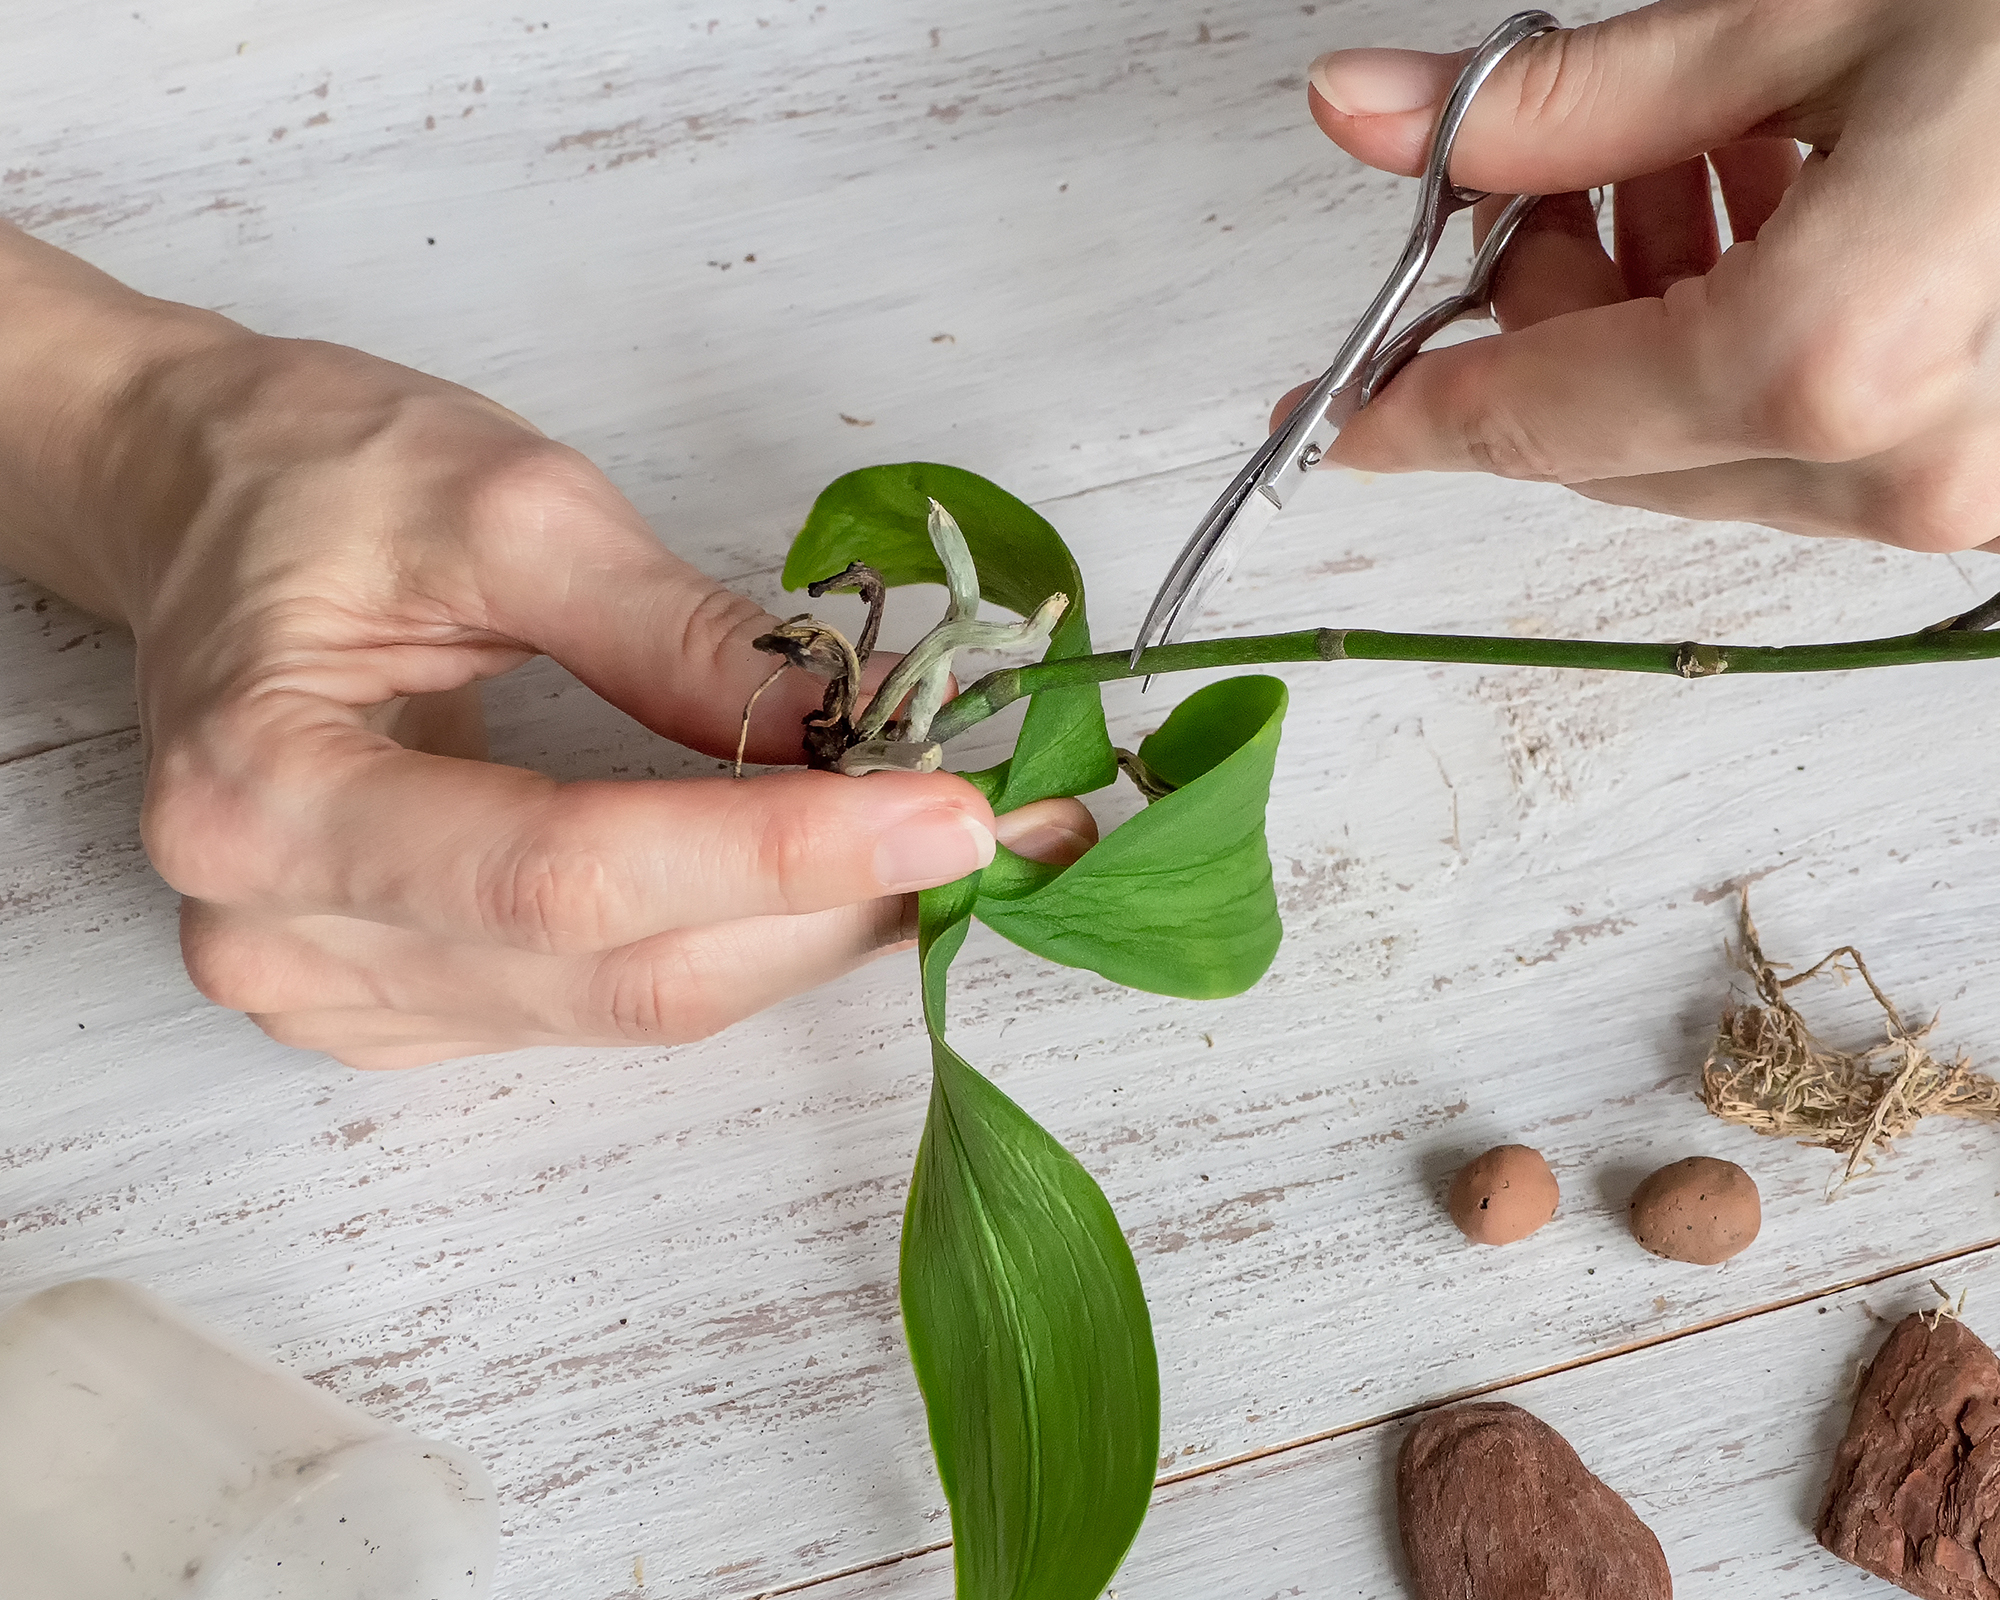
- Cut a stem with a keiki that is 10 inches (25cm) long, cutting just above a leaf node.
- Cut the stem into pieces with each having at least 2 growth nodes.
- Apply cinnamon, charcoal, or antifungal powder on the cut ends.
- Place the stems horizontally into a moistened tray of sphagnum moss.
- Cover the tray with a plastic bag or film and place the container in bright, indirect sun.
- Watch the cuttings and make sure there is plenty of humidity in the container and the moss stays moist.
- Some orchids will form roots within a month but others will take months.
- Once the cutting has a full complement of roots it is time to pot it up. Use the same medium the parent plant enjoyed and give the new little plant the same type of cultural care, in the same temperature and light conditions.
4. Propagate Orchids From Seed
This is where things get tricky. Growing orchids from seed requires specialized conditions and a sterile environment. It is a lot of effort for home growers to achieve, but possible if you have the patience.
You can try the method with any orchid seed pod, but growing rare varieties holds particular appeal. Bear in mind it may take several years before orchids grown from seeds produce flowers.
The method to obtain germination at home is called Asymbiotic germination, or flasking. The seeds will be placed in a clear flask in a jelly-like agar substance.
You can purchase prepared agar or make your own using agar powder and hot water. To mix it, boil 3.4oz (100ml) of water and add to 0.8oz (25g) of agar powder. Stir the powder in thoroughly.
- First, you need to harvest the seeds from the orchid pot. Before doing this, place the pods in a container with a bit of bleach and let sit for 15-20 minutes.
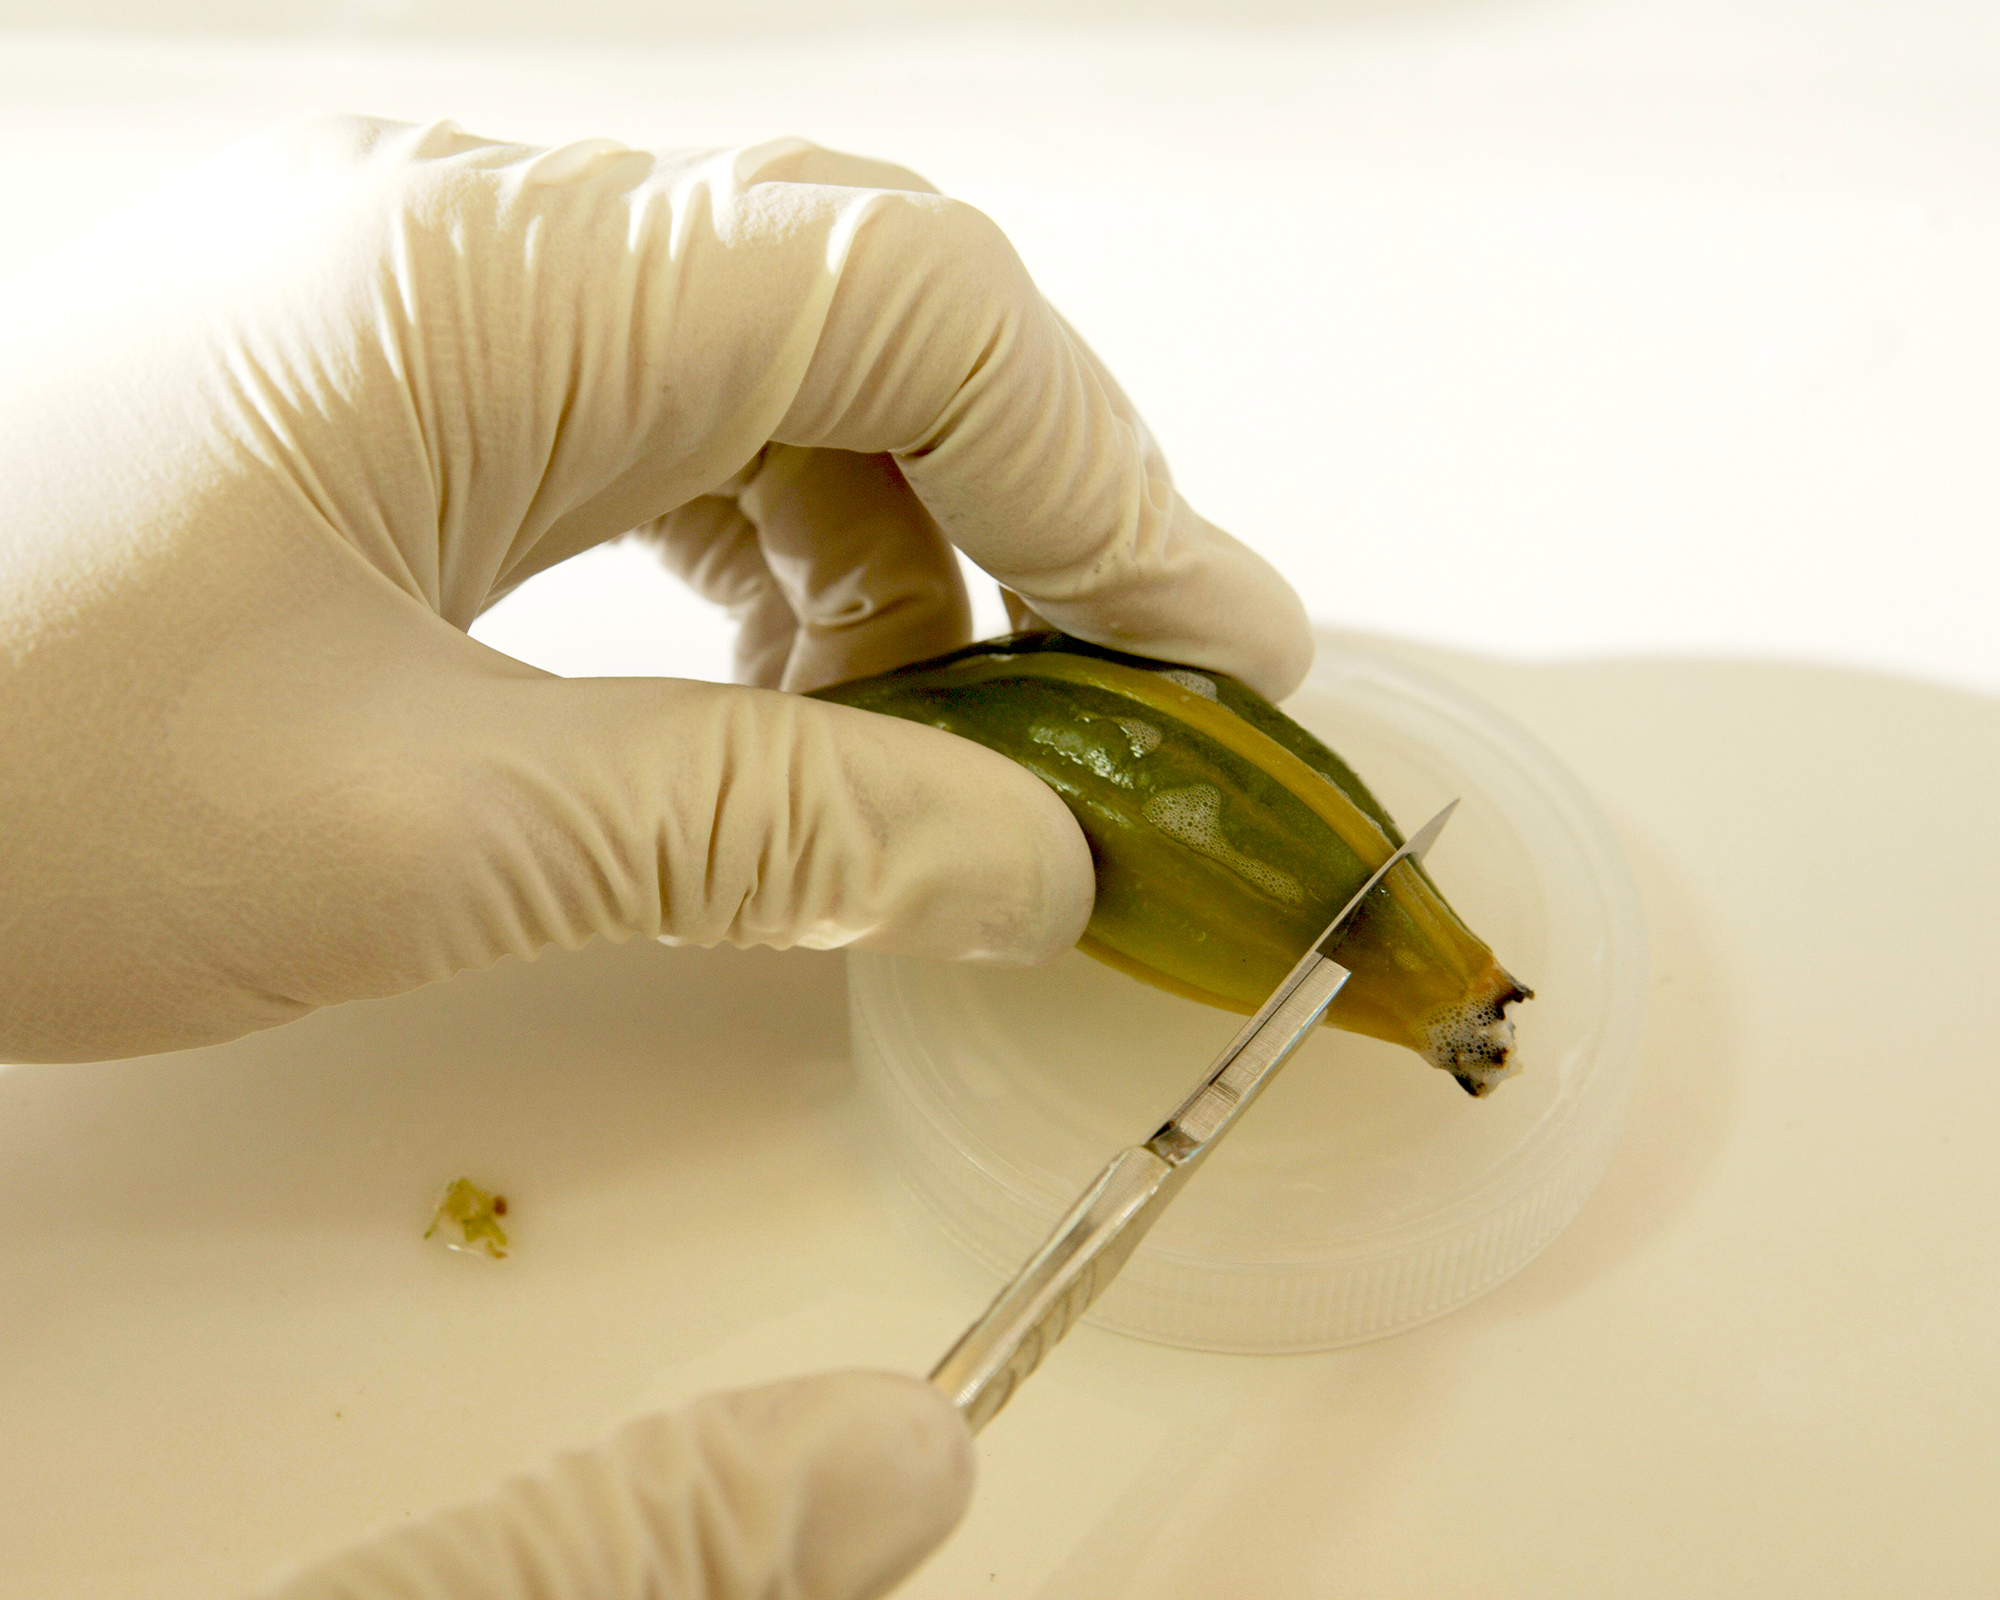
- Using a sterilized scalpel and tweezers, open the pods and extract the seeds. Put the seeds in a sterile flask.
- Fill the container with 3% hydrogen peroxide, cover, and shake to coat all the seeds.
- Let the container sit in a light-filled location for a few hours.
- Sterilize the area where you will be working with bleach.
- If possible, obtain a glove box to ensure a sterile environment for the seeds. Failing that, thorough sterilization of the workbench and adjacent items is crucial.
- Clean your hands and forearms and put on sterile gloves.
- Spray bleach inside the plastic bags.
- Mix a couple of drops of hydrogen peroxide with 3.4oz (100g) of agar into the flask with the seed.
- Place the flask inside the plastic bag, and place the sealed flask in a bright window.
- Some orchids will germinate fairly quickly, while others can take months. Check the flask frequently.
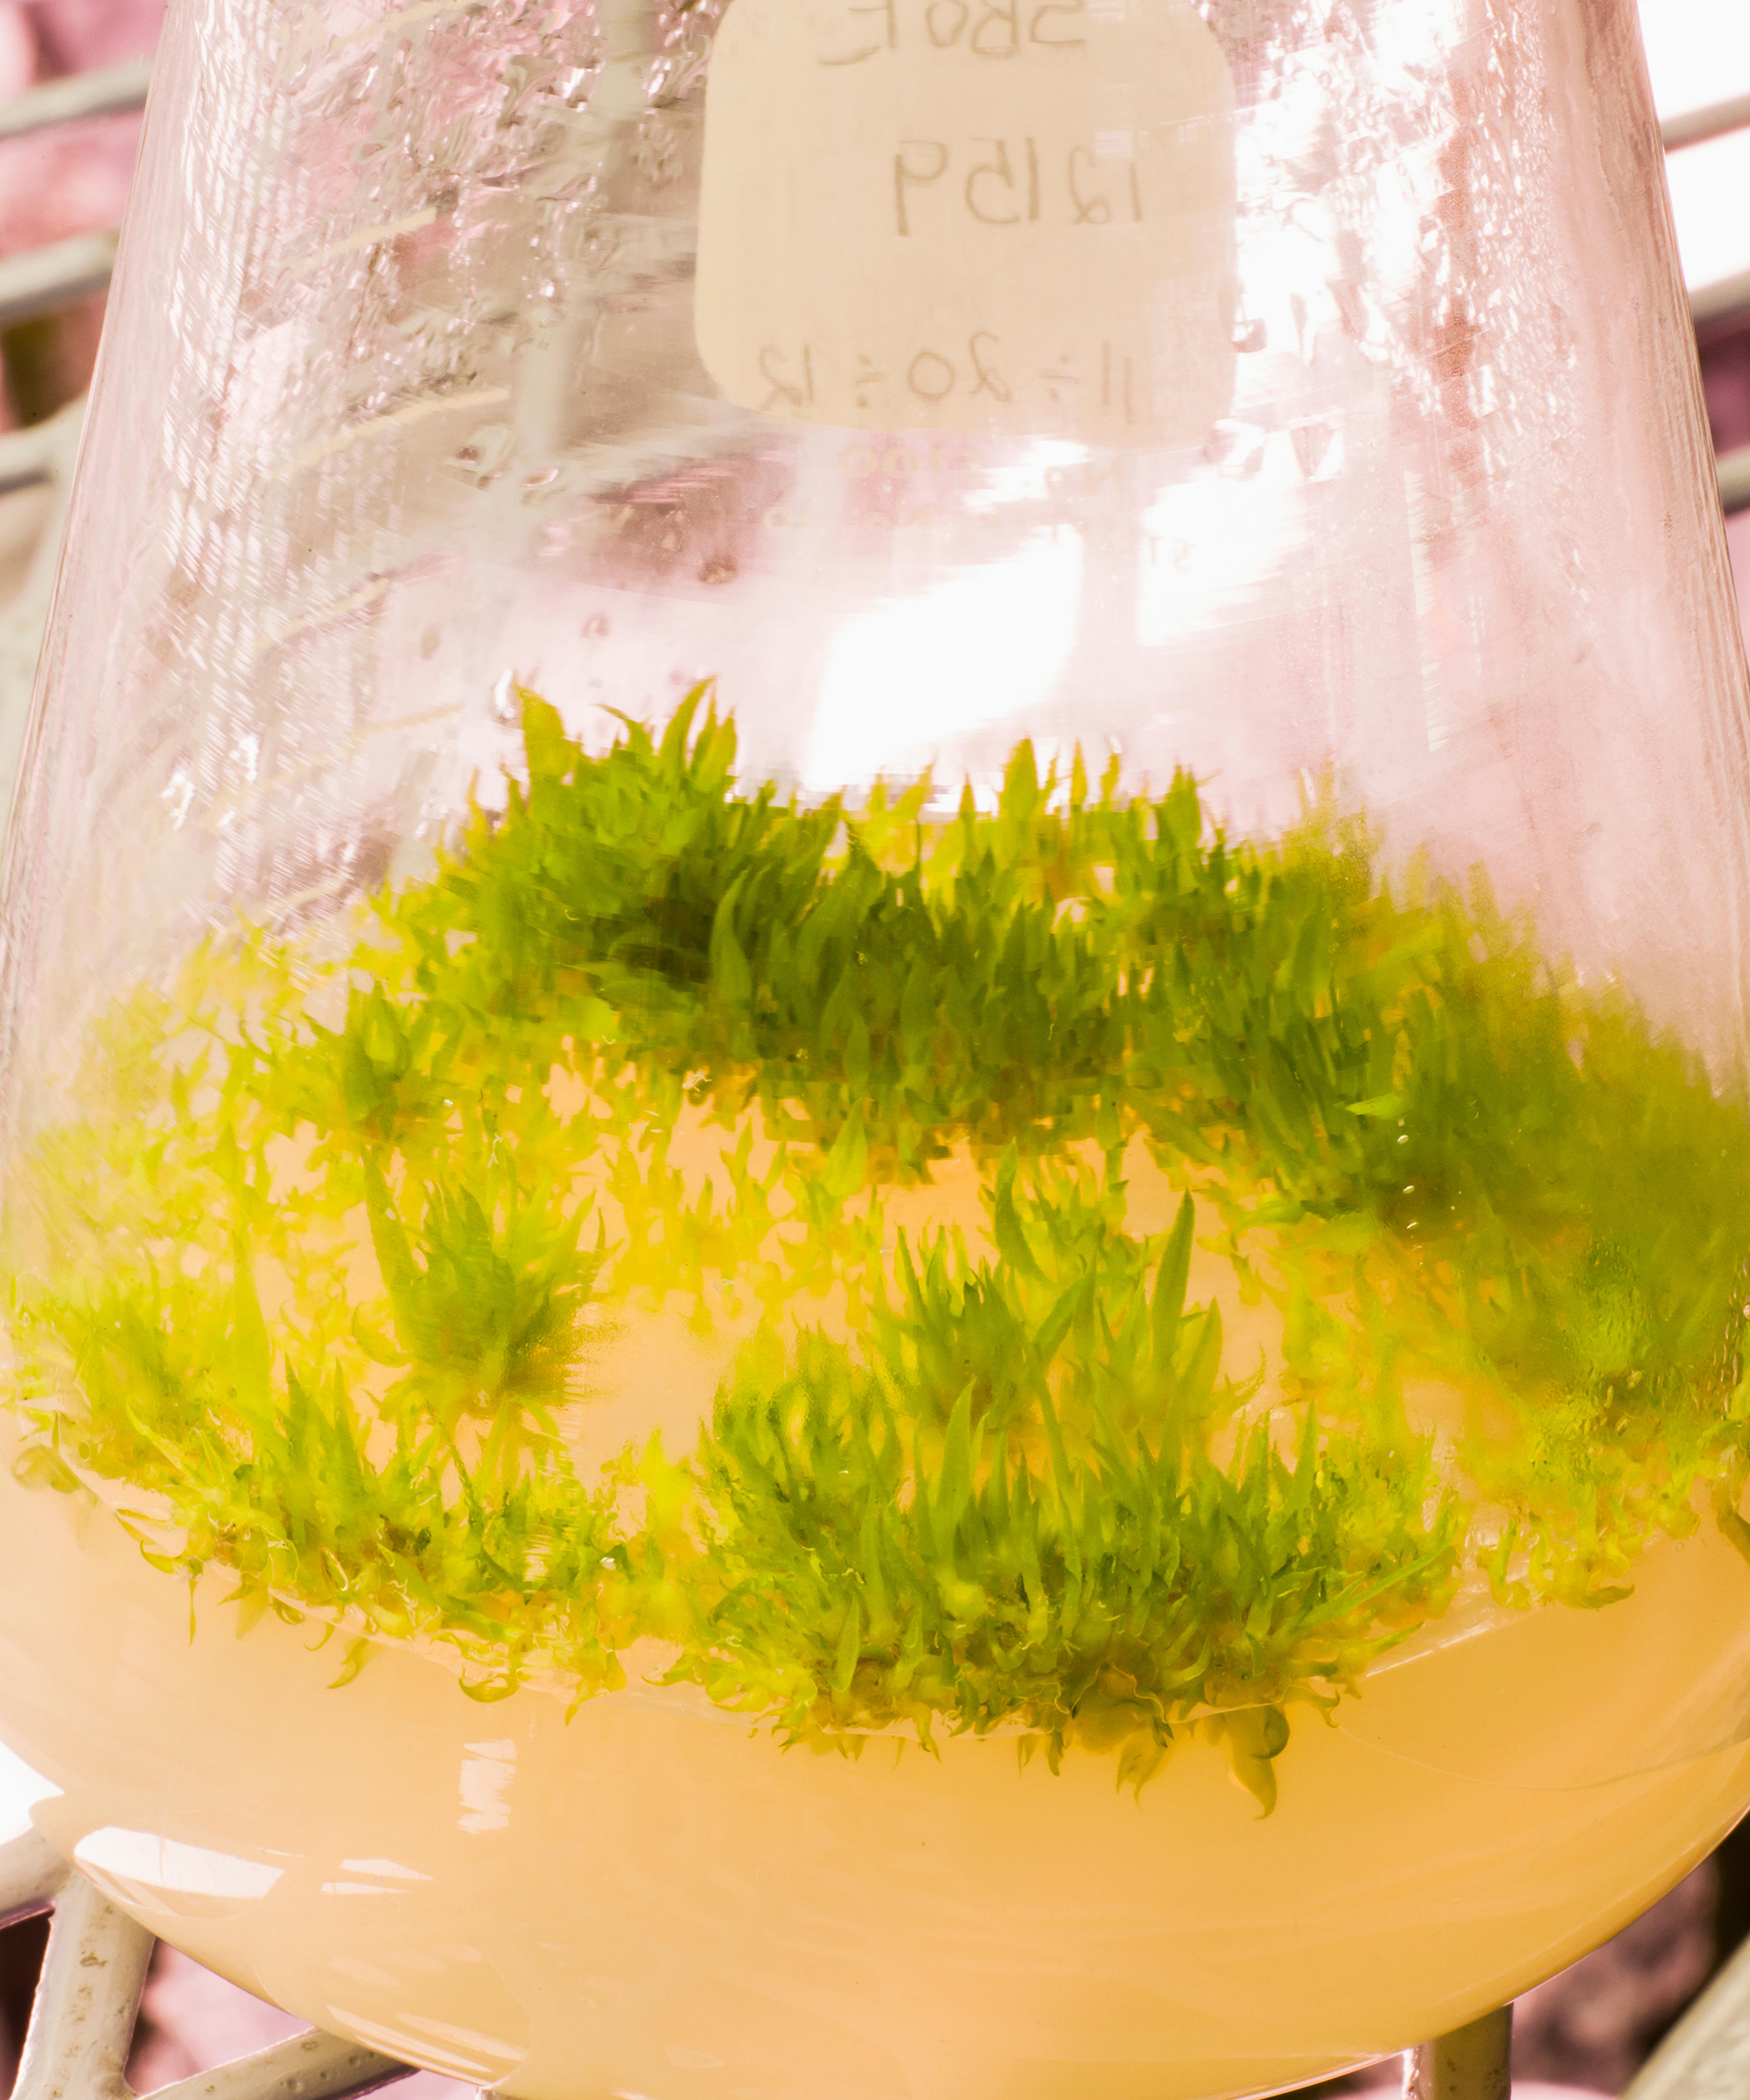
- Thin crowded orchid seedlings as they develop.
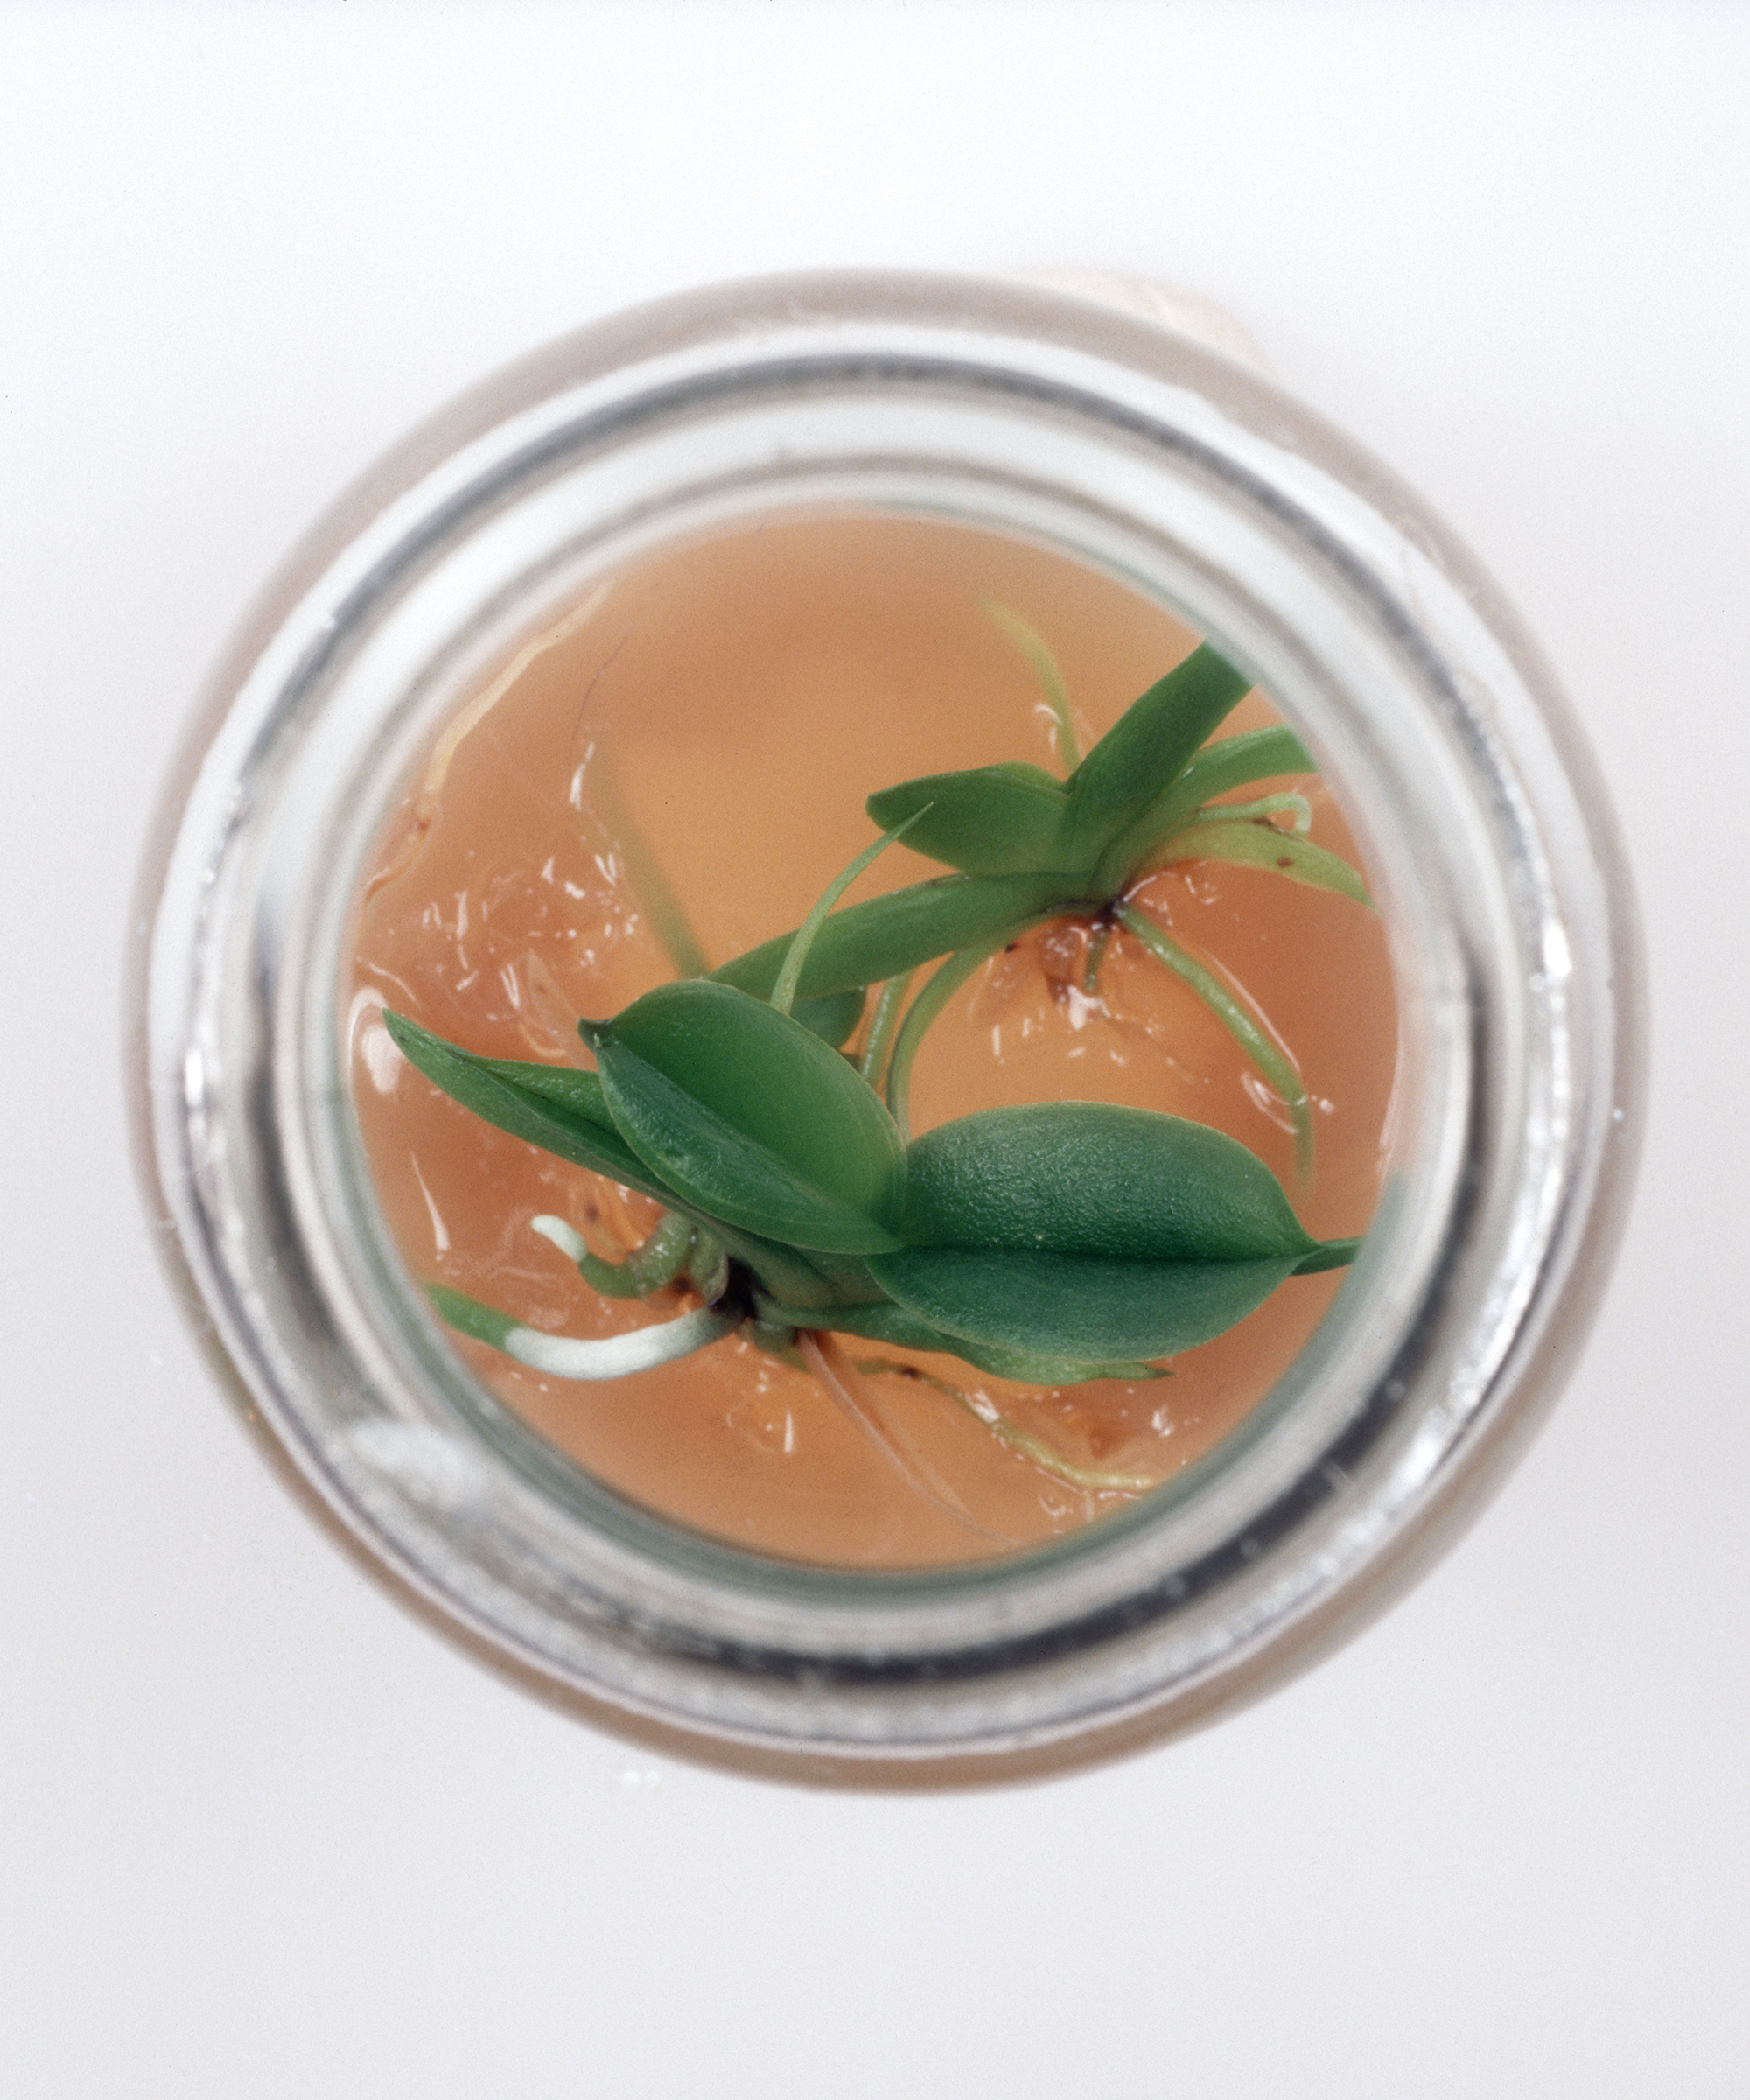
- When roots are visible, each seedling needs to be transplanted into a new container containing the agar jelly.
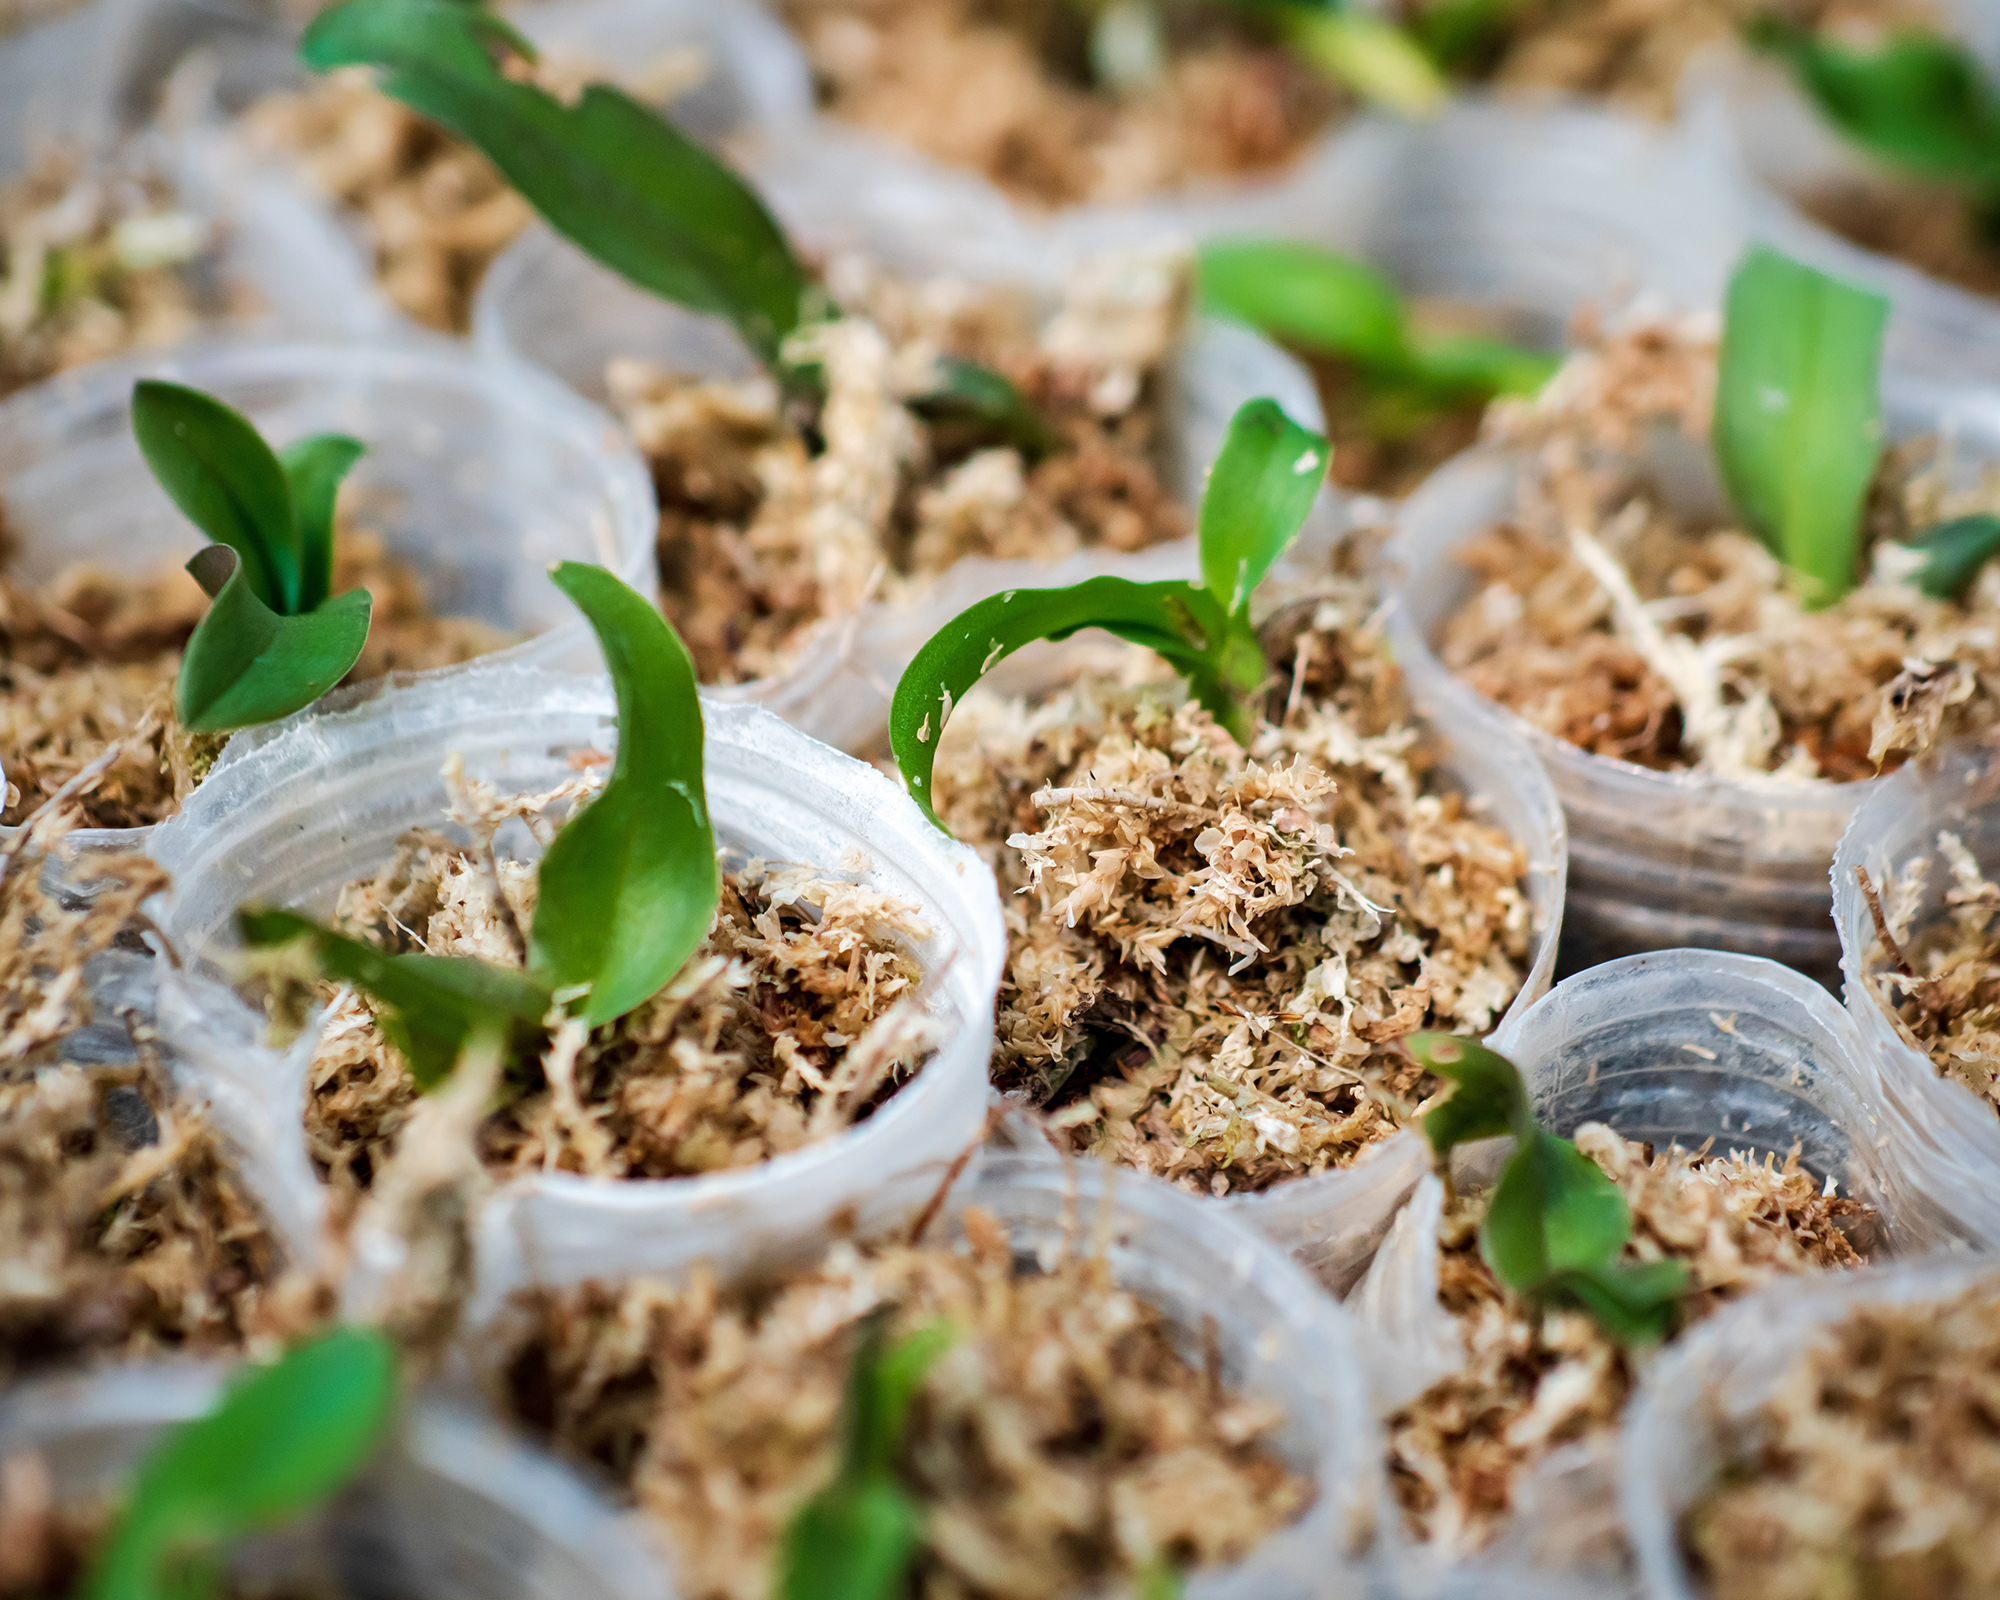
- Eventually, young orchids can be repotted in containers filled with orchid potting mix. Avoid doing this until the seedlings are large enough to be handled. Before potting up, wash off the agar jelly using distilled water.

Bonnie Grant is a professional landscaper with a Certification in Urban Gardening. She has been gardening and writing for 15 years. A former professional chef, she has a passion for edible landscaping.
- Melanie GriffithsEditor in Chief