How To Treat Orchid Root Rot – And Prevent Future Infections
Orchid root rot is a serious infection that can quickly result in plant death. Learn the signs to look for, how to save your plant, and avoiding a recurrence.
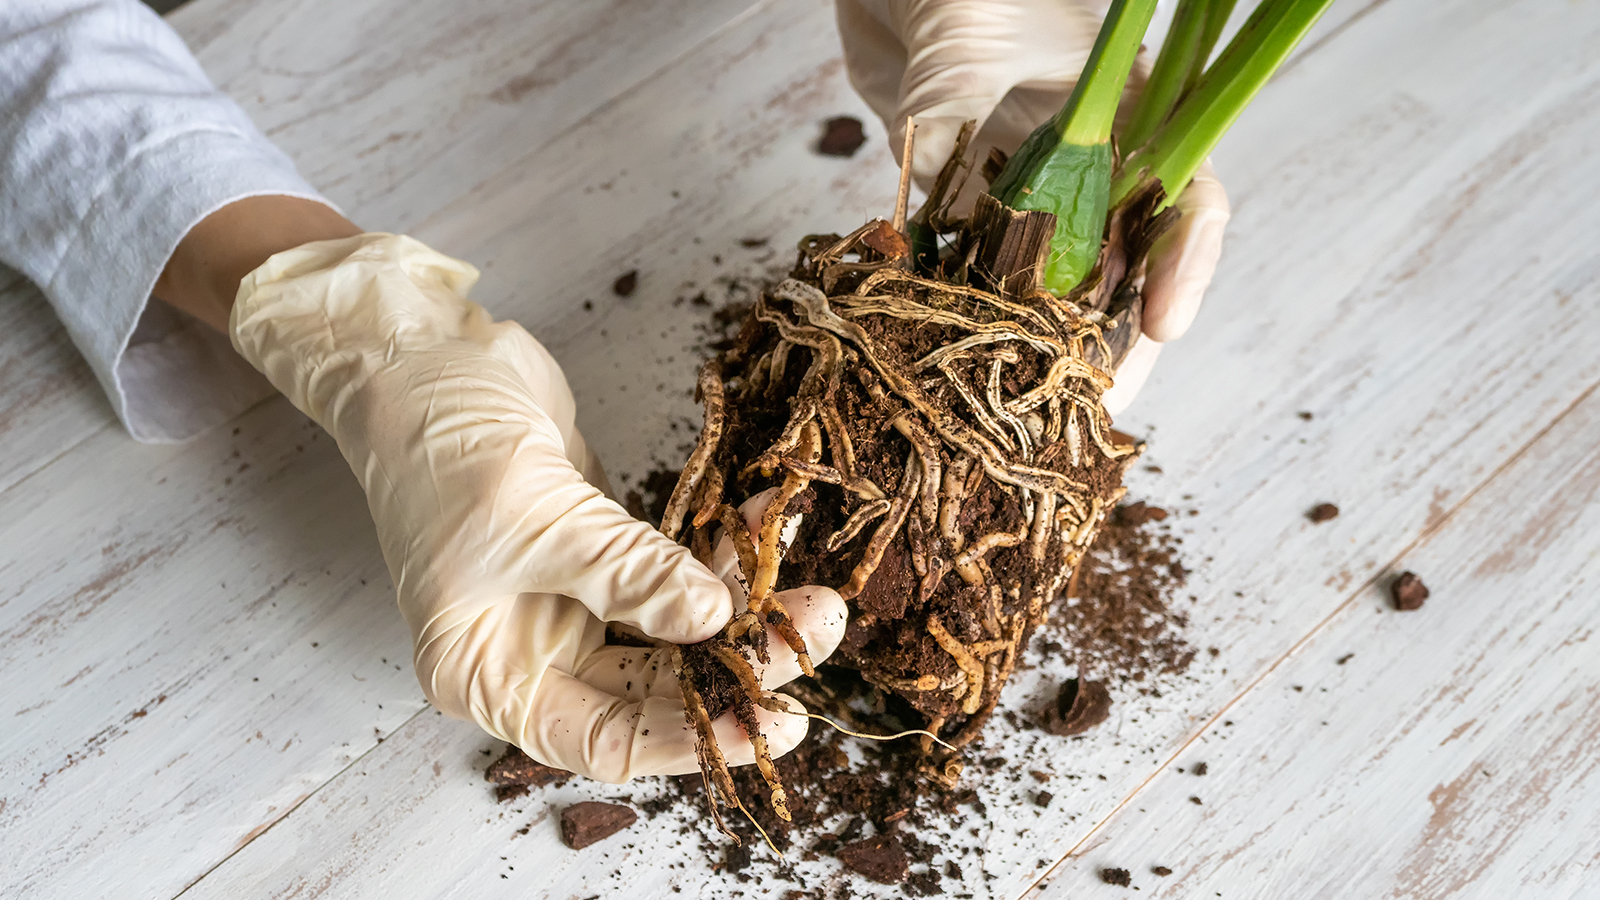

If your orchid is in decline, it may be due to a common disease called orchid root rot. This is a serious problem that diminishes the plant’s health and, if left untreated, can result in its untimely death.
Root rot is one of the most common orchid problems and is often caused or exacerbated by poor orchid care, in particular incorrect watering.
All types of orchids may become affected by orchid root rot. Several types of fungi can cause disease in the plant’s roots but the two most common culprits are Pythium and Phytophthora. These are essentially molds that thrive in warm, damp conditions.
Root rot is a critical issue, so if you suspect your orchid is affected, take immediate action to diagnose the problem and treat affected areas. Then, with a little TLC, you can revive your orchid so it will thrive and bloom once more.
Symptoms Of Orchid Root Rot
Since most of the damage occurs under the potting medium, orchid root rot can initially be difficult to spot. Some of the signs may also be present with other common problems. Look out for the following symptoms:
- The leaves of the plant will droop, pucker, and become less firm.
- The leaves will discolor and become yellow.
- The plant will generally lose vigor and fail to grow at a normal rate.
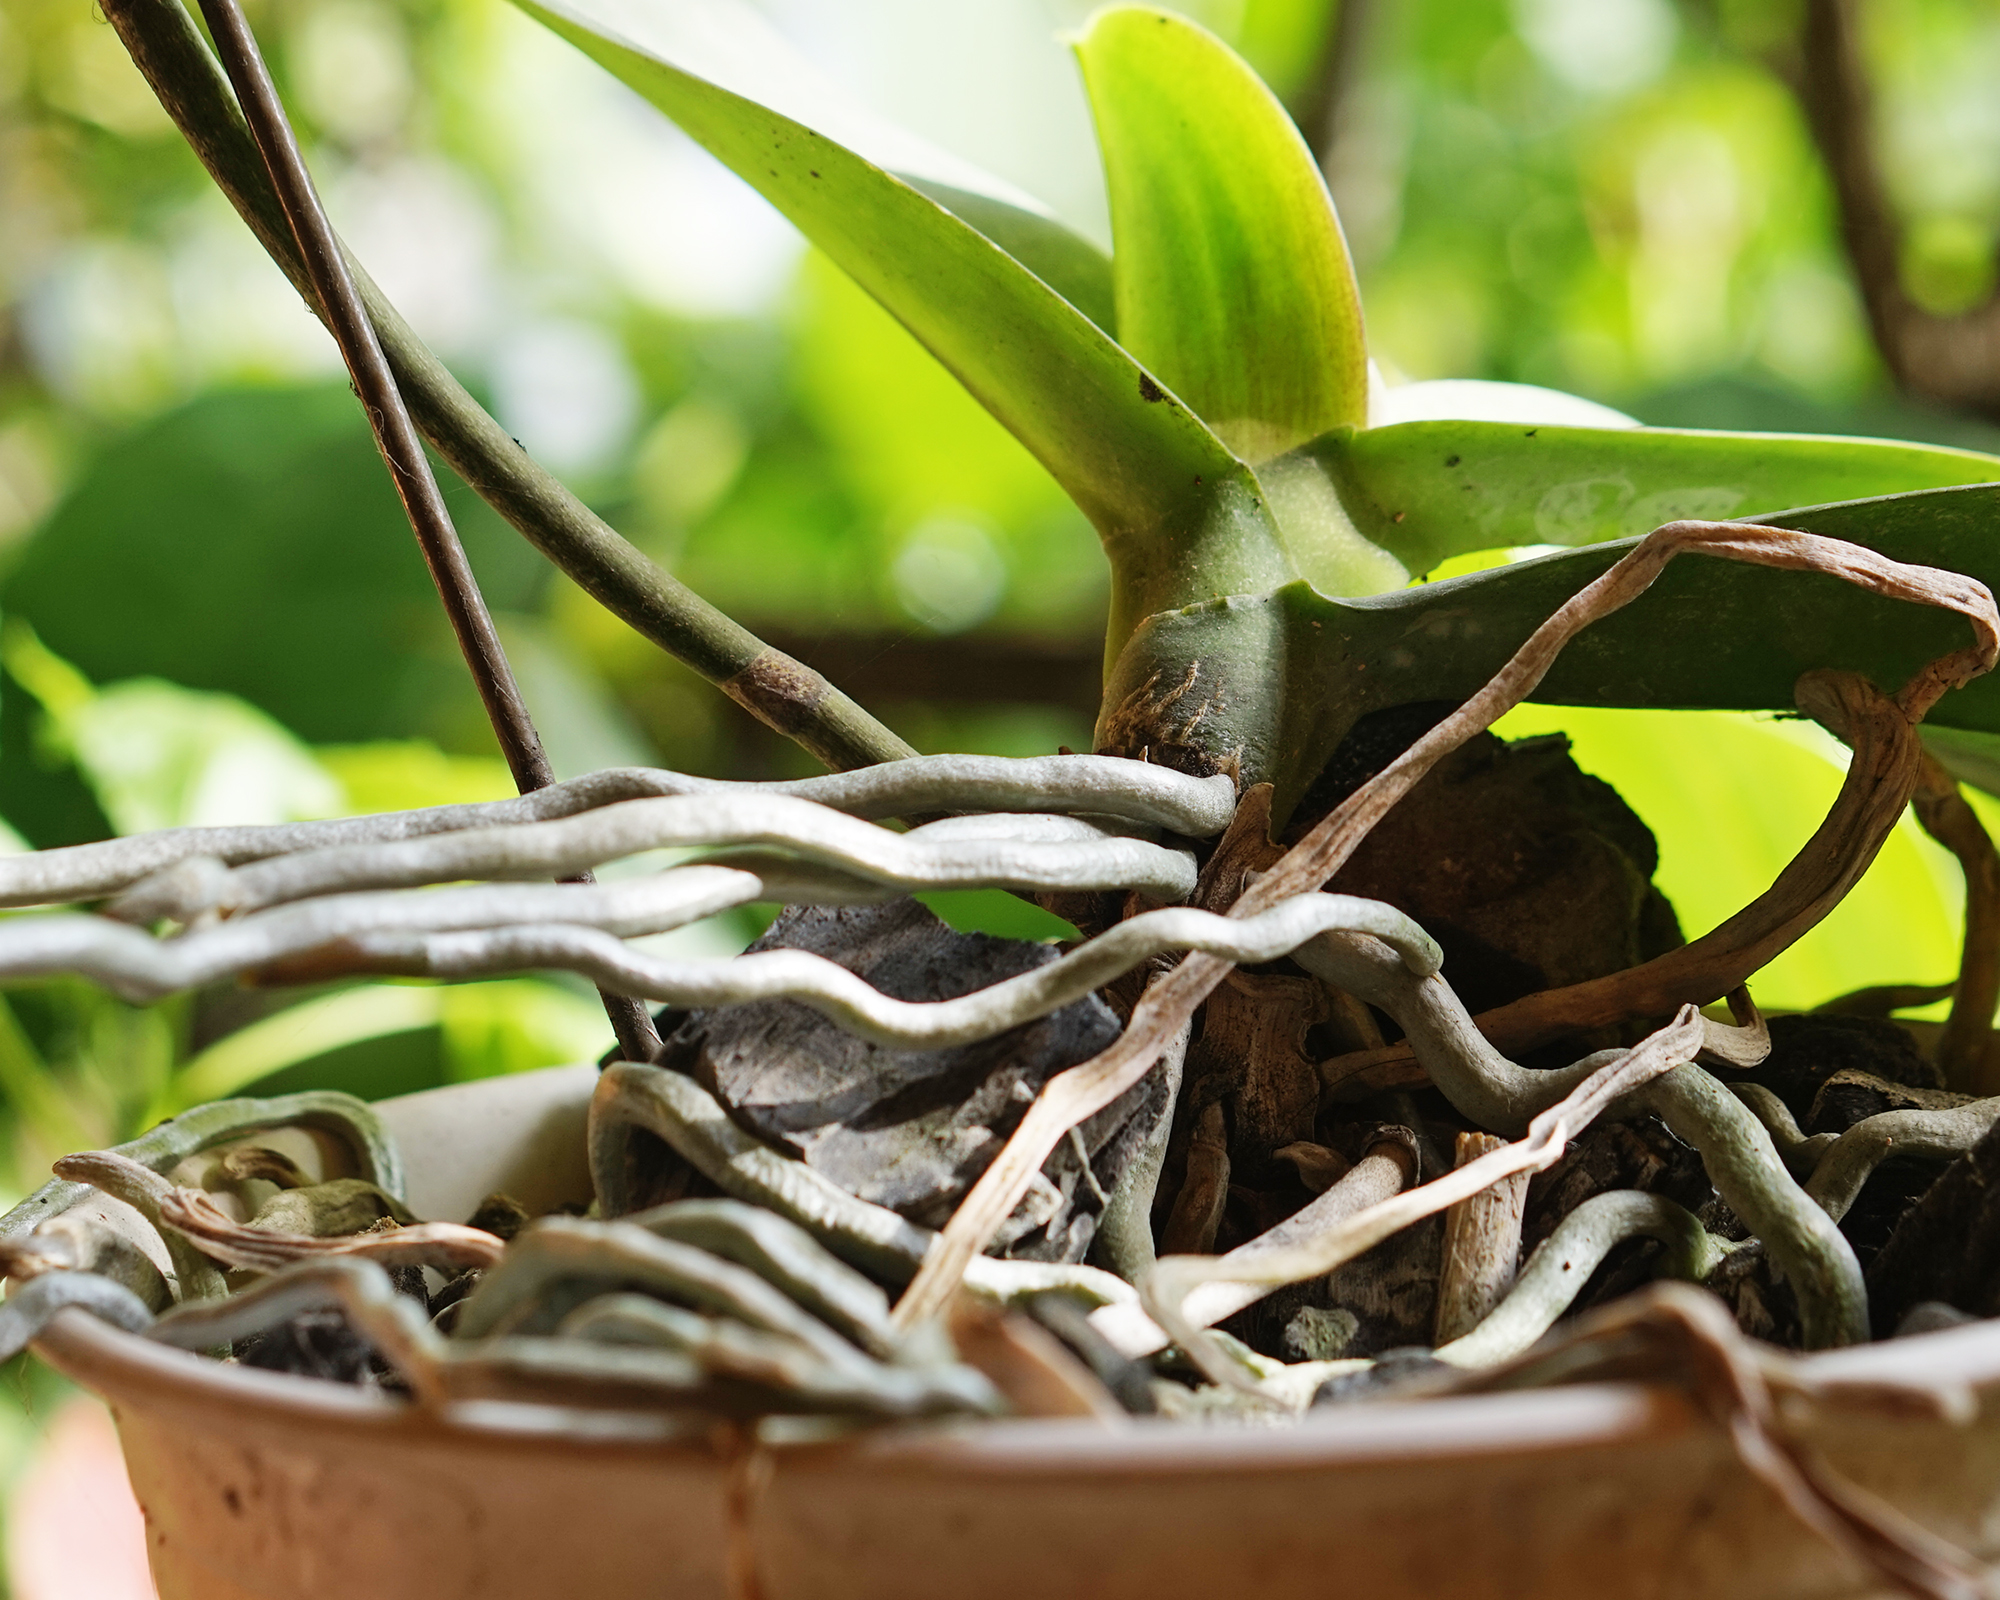
- Any aerial orchid roots will become discolored and shriveled.
- Smell the bottom of the pot. If you detect the odor of decay and mold, chances are your plant has been infected.
To truly diagnose root rot it will be necessary to remove the plant from its housing and inspect the roots. They should be firm and green if well watered and healthy. In plants that are dry, the roots will have a grayish cast
If the roots have soft spots and brown to black markings, the plant likely has root rot. Immediate steps need to be taken to save the orchid.
Gardening tips, videos, info and more delivered right to your inbox!
Sign up for the Gardening Know How newsletter today and receive a free copy of our e-book "How to Grow Delicious Tomatoes".
Root rot is slightly different from orchid crown rot, which occurs when water excessively pools at the base of the leaves.
What Causes Root Rot?
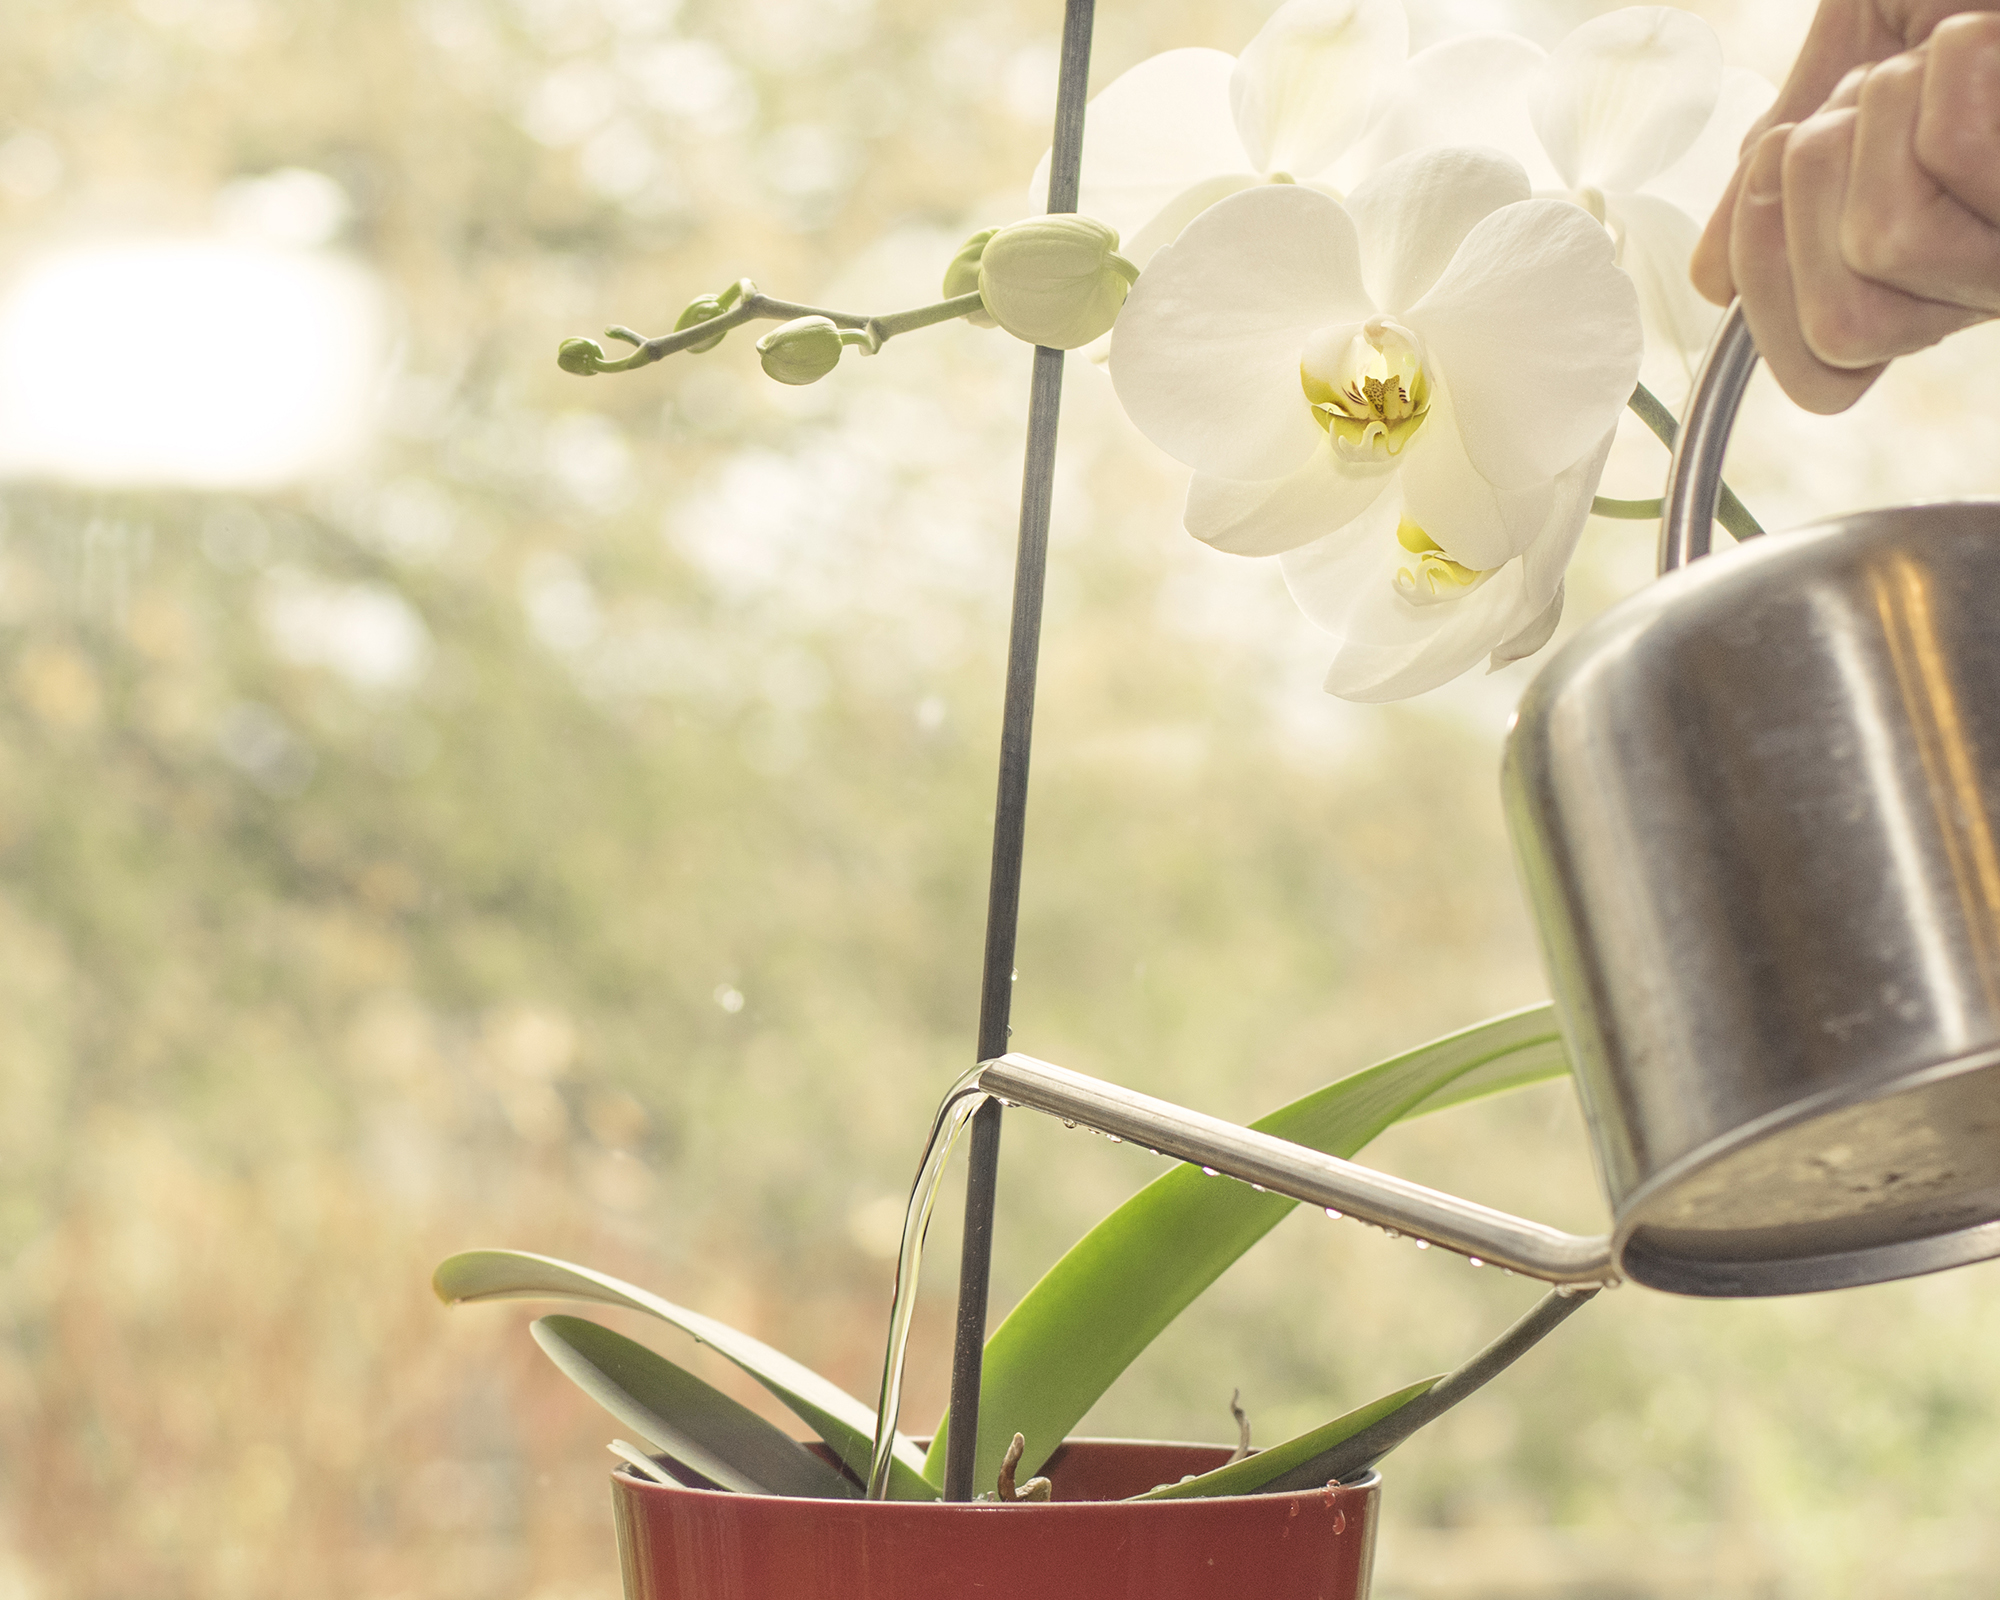
The fungi responsible for causing orchid root rot are causal agents – they need help to reach a damaging point. Orchids that get root rot are often overwatered, one of the most common orchid care mistakes. If the roots are sitting in more water than they can take up, they will begin to soften and break down.
Knowing how to water orchids and, more importantly, how often to water them, is crucial to avoiding root rot. Most orchids like to be moist but not wet. If you are unsure how much to irrigate, then you can use a moisture meter, although it will not work as well in a chunky bark potting mix.
Orchids potted in containers with poor drainage or in an improper orchid potting medium can also get root rot. Orchid containers should have several open drainage holes. The growing medium must be well draining and is usually almost soilless with plenty of bark and perlite. This allows extra water to leach out of the container and away from the roots.
Setting a container on a saucer or within a decorative outer pot that is allowed to retain water can also promote root rot. In such wet conditions, opportunistic fungi will bloom and attack the roots.
In addition to the earlier mentioned fungi, Fusarium and Rhizoctonia may also be a problem.
Saving An Infected Orchid
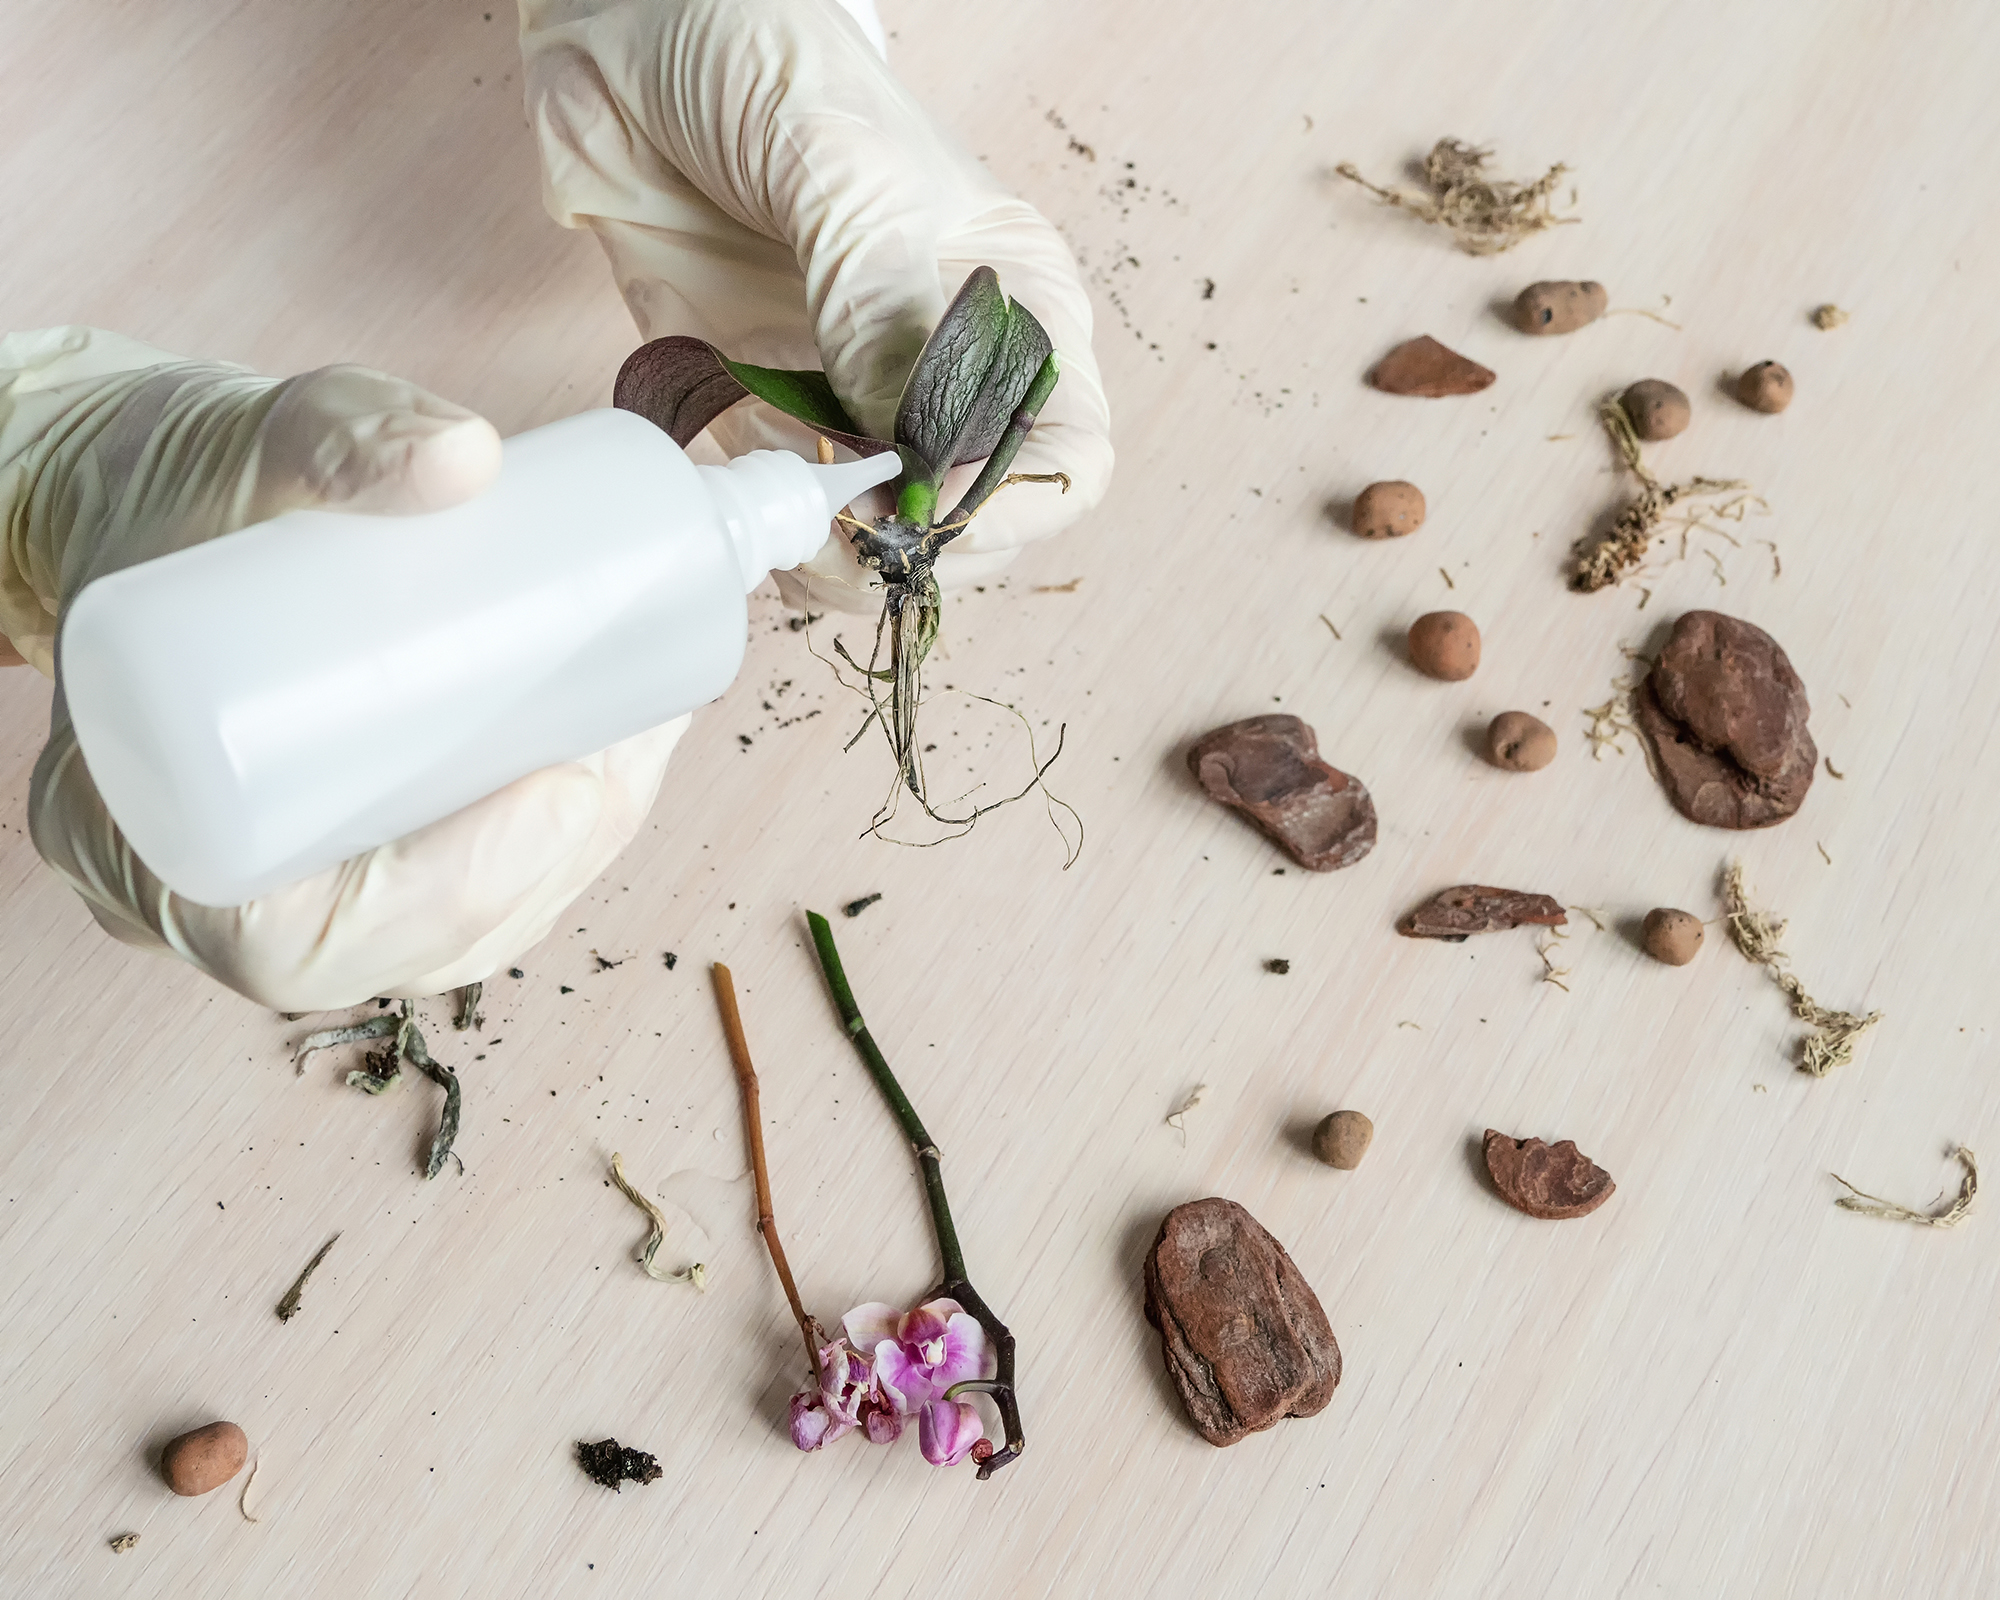
Once you have removed the orchid from its container and identified the rotting roots, it is time to spring into action.
- Throw out the old potting medium and sanitize the container with bleach.
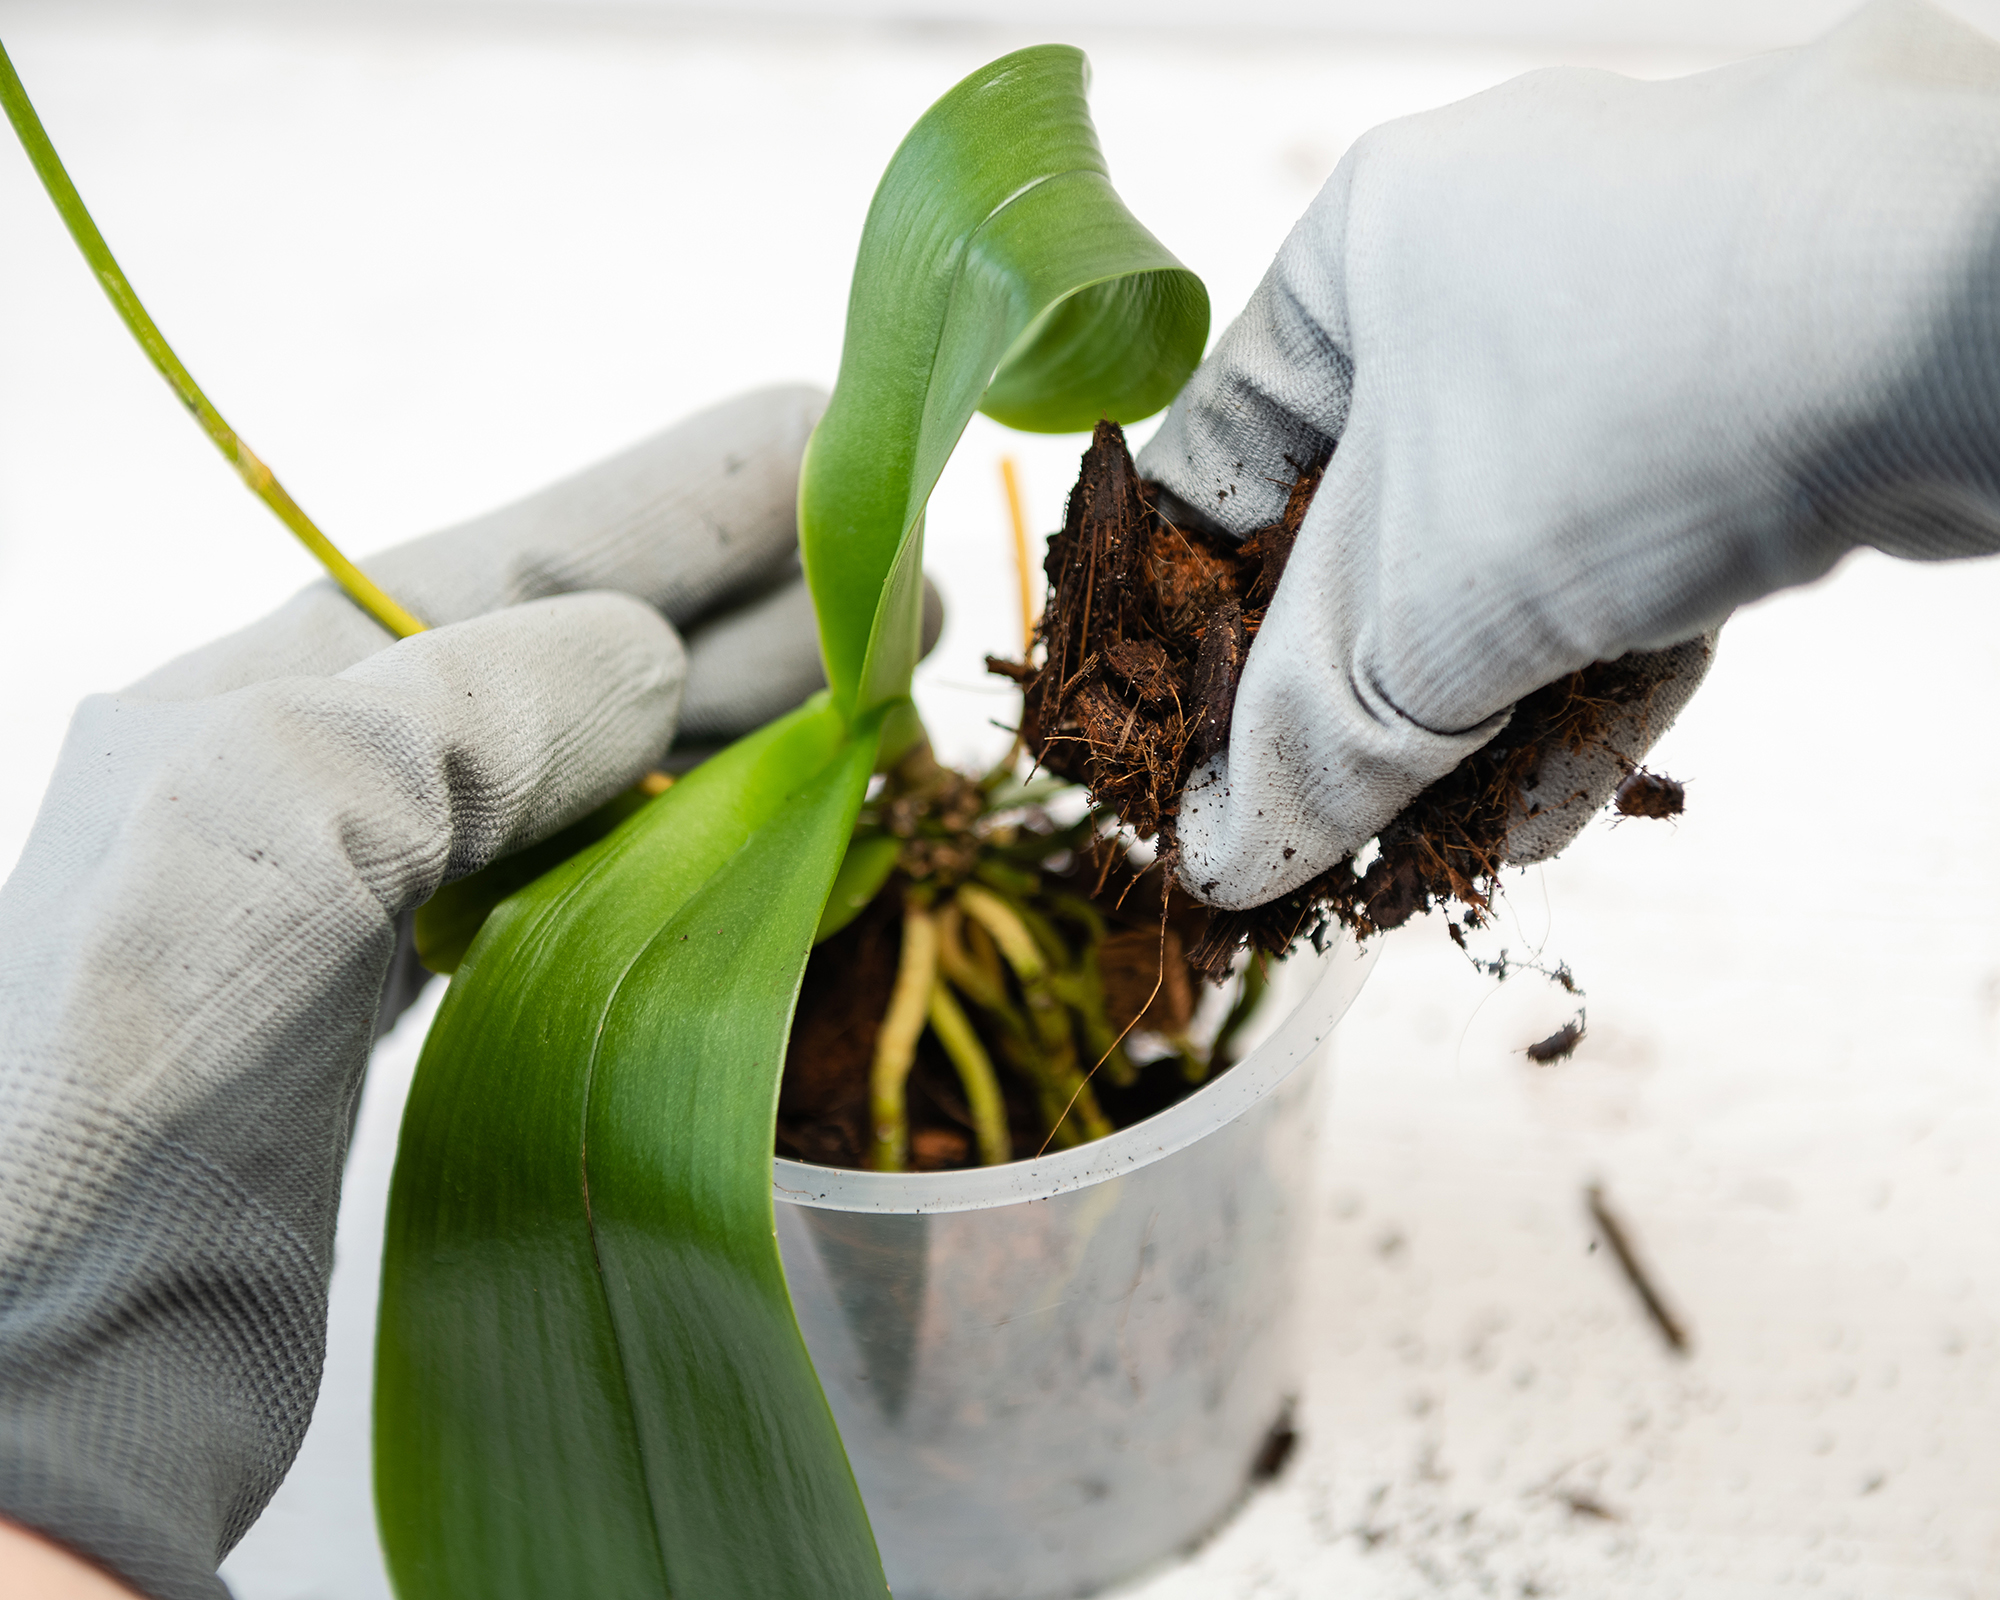
- Gently shake or brush out any remaining medium from the roots. The roots will be fragile and can break so take your time on this.
- Using sharp, sterilized pruners or scissors, trim away any discolored or soft portions of the root. If you have caught the disease early enough, there should be plenty of unaffected roots to help the plant reestablish. Do not compost the diseased roots but throw them out instead.
- After the rot has all been removed, dust the remaining roots with fungicide. A copper-based fungicide is ideal. Some orchid growers swear by cinnamon or a light bath of hydrogen peroxide. This is a bit controversial in the orchid world, but may be effective.
Repotting The Orchid
Once you have treated the root rot, you will need to repot the orchid in fresh potting mix.
Make sure your container is sanitized, either by using bleach or rubbing alcohol. Allow it to dry out before placing the new potting medium inside.
You can buy orchid mixes which have bark, perlite or sponge rock, coconut chips, and horticultural charcoal. You may also make your own with 60 per cent fir bark, and the remaining balance made up of perlite or sponge rock, and the charcoal.
Treat the plant gently and seat it in the medium at the same level it was prior to unpotting. Fill about a third of the container with the medium, building up the sides a bit. Install the roots and then backfill around them. Press the soil gently around the roots.
Water lightly and place the plant where it gets bright, filtered light.
Preventing Orchid Root Rot
Correct watering practices are crucial to avoiding fungal diseases. Most orchids like to be watered once per week but your home interior will dictate the exact amount. The best way to tell is to feel the medium and test the bottom of the container at the drainage holes.
Potting the orchid into a see-through container will enable you to monitor the roots. If the roots are beginning to turn a sickly silver-gray, the plant desperately needs water.
Watering in the morning can help reduce the chance of fungal disease by allowing the plant to dry off before cooler, darker conditions arrive in the evening. Reduce watering in the colder months.
The type of container you use could also be a factor. Heavily glazed pots are beautiful but do not allow excess moisture to evaporate. A terracotta pot that is unglazed will allow for evaporation.
Consider where the orchid is located in your home. If the plant is in a dimmer area, it will stay wetter longer. A plant in a brightly lit area, a bit away from the light source, will have fewer fungal problems. The light combined with warm temperatures will encourage growth, meaning the plant will use up its water quickly.
Encourage air flow to allow for evaporation. Moving air will bear extra moisture away from the plant. If your home is not well ventilated, consider giving the plant its own fan to increase air movement around the container.
Check your plant at least once per week so you can jump into action at the first sign of trouble. You don’t have to unpot it, but do the smell test and check the aerial roots and any visible at the top of the container.

Bonnie Grant is a professional landscaper with a Certification in Urban Gardening. She has been gardening and writing for 15 years. A former professional chef, she has a passion for edible landscaping.
-
 Looking For Plants To Give You The Soft And Fuzzies? Try These 5 Fuzzy Leaf Plant Options
Lovers of texture, drama, silver foliage and tactile plants will adore these special sensory garden additions. These fuzzy leaf plant options will leave you all aglow
By Susan Albert
-
 Get Ready For A Summer Of Hummers! Grow These Full Sun Hummingbird Plants and Flowers
If you’re lucky enough to enjoy a sunny backyard, make sure you are maxing out on your pollinator opportunities and grow these full sun hummingbird plants and flowers
By Tonya Barnett
-
 Orchid Leaves Wrinkled? 5 Common Causes & How To Restore Their Vitality
Are your beloved orchid's leaves wrinkled? Worry not! Here are the most common causes for puckered orchid foliage, plus how to plump them back up.
By Tonya Barnett
-
 8 Rare Orchids That Make Stunning Houseplants – Some Are Surprisingly Easy To Grow
Discover unique orchids that will add exotic beauty to your home. Some make easygoing houseplants, while others offer a challenge for more seasoned growers.
By Melanie Griffiths
-
 Why Is My Orchid Dying? 5 Common Causes & How To Save It Before It's Too Late
Struggling to keep your orchid alive? Learn the top mistakes that cause orchids to decline – and the simple fixes to bring yours back to life.
By Bonnie L. Grant
-
 Warm Up Your Winter With Indoor Reds! 8 Red Amaryllis Varieties For Sizzling Seasonal Interest
Well loved as a bold decorative holiday bloomer, the red amaryllis is a hot favorite for winter displays. These red amaryllis varieties are guaranteed to fire up the season
By Tonya Barnett
-
 Dendrobium Nobile Orchid: How To Care For This Graceful, Easy-Going Houseplant
Learn how to care for elegant dendrobium nobile orchids. These undemanding plants make a stunning addition to any orchid collection and are ideal for beginners.
By Bonnie L. Grant
-
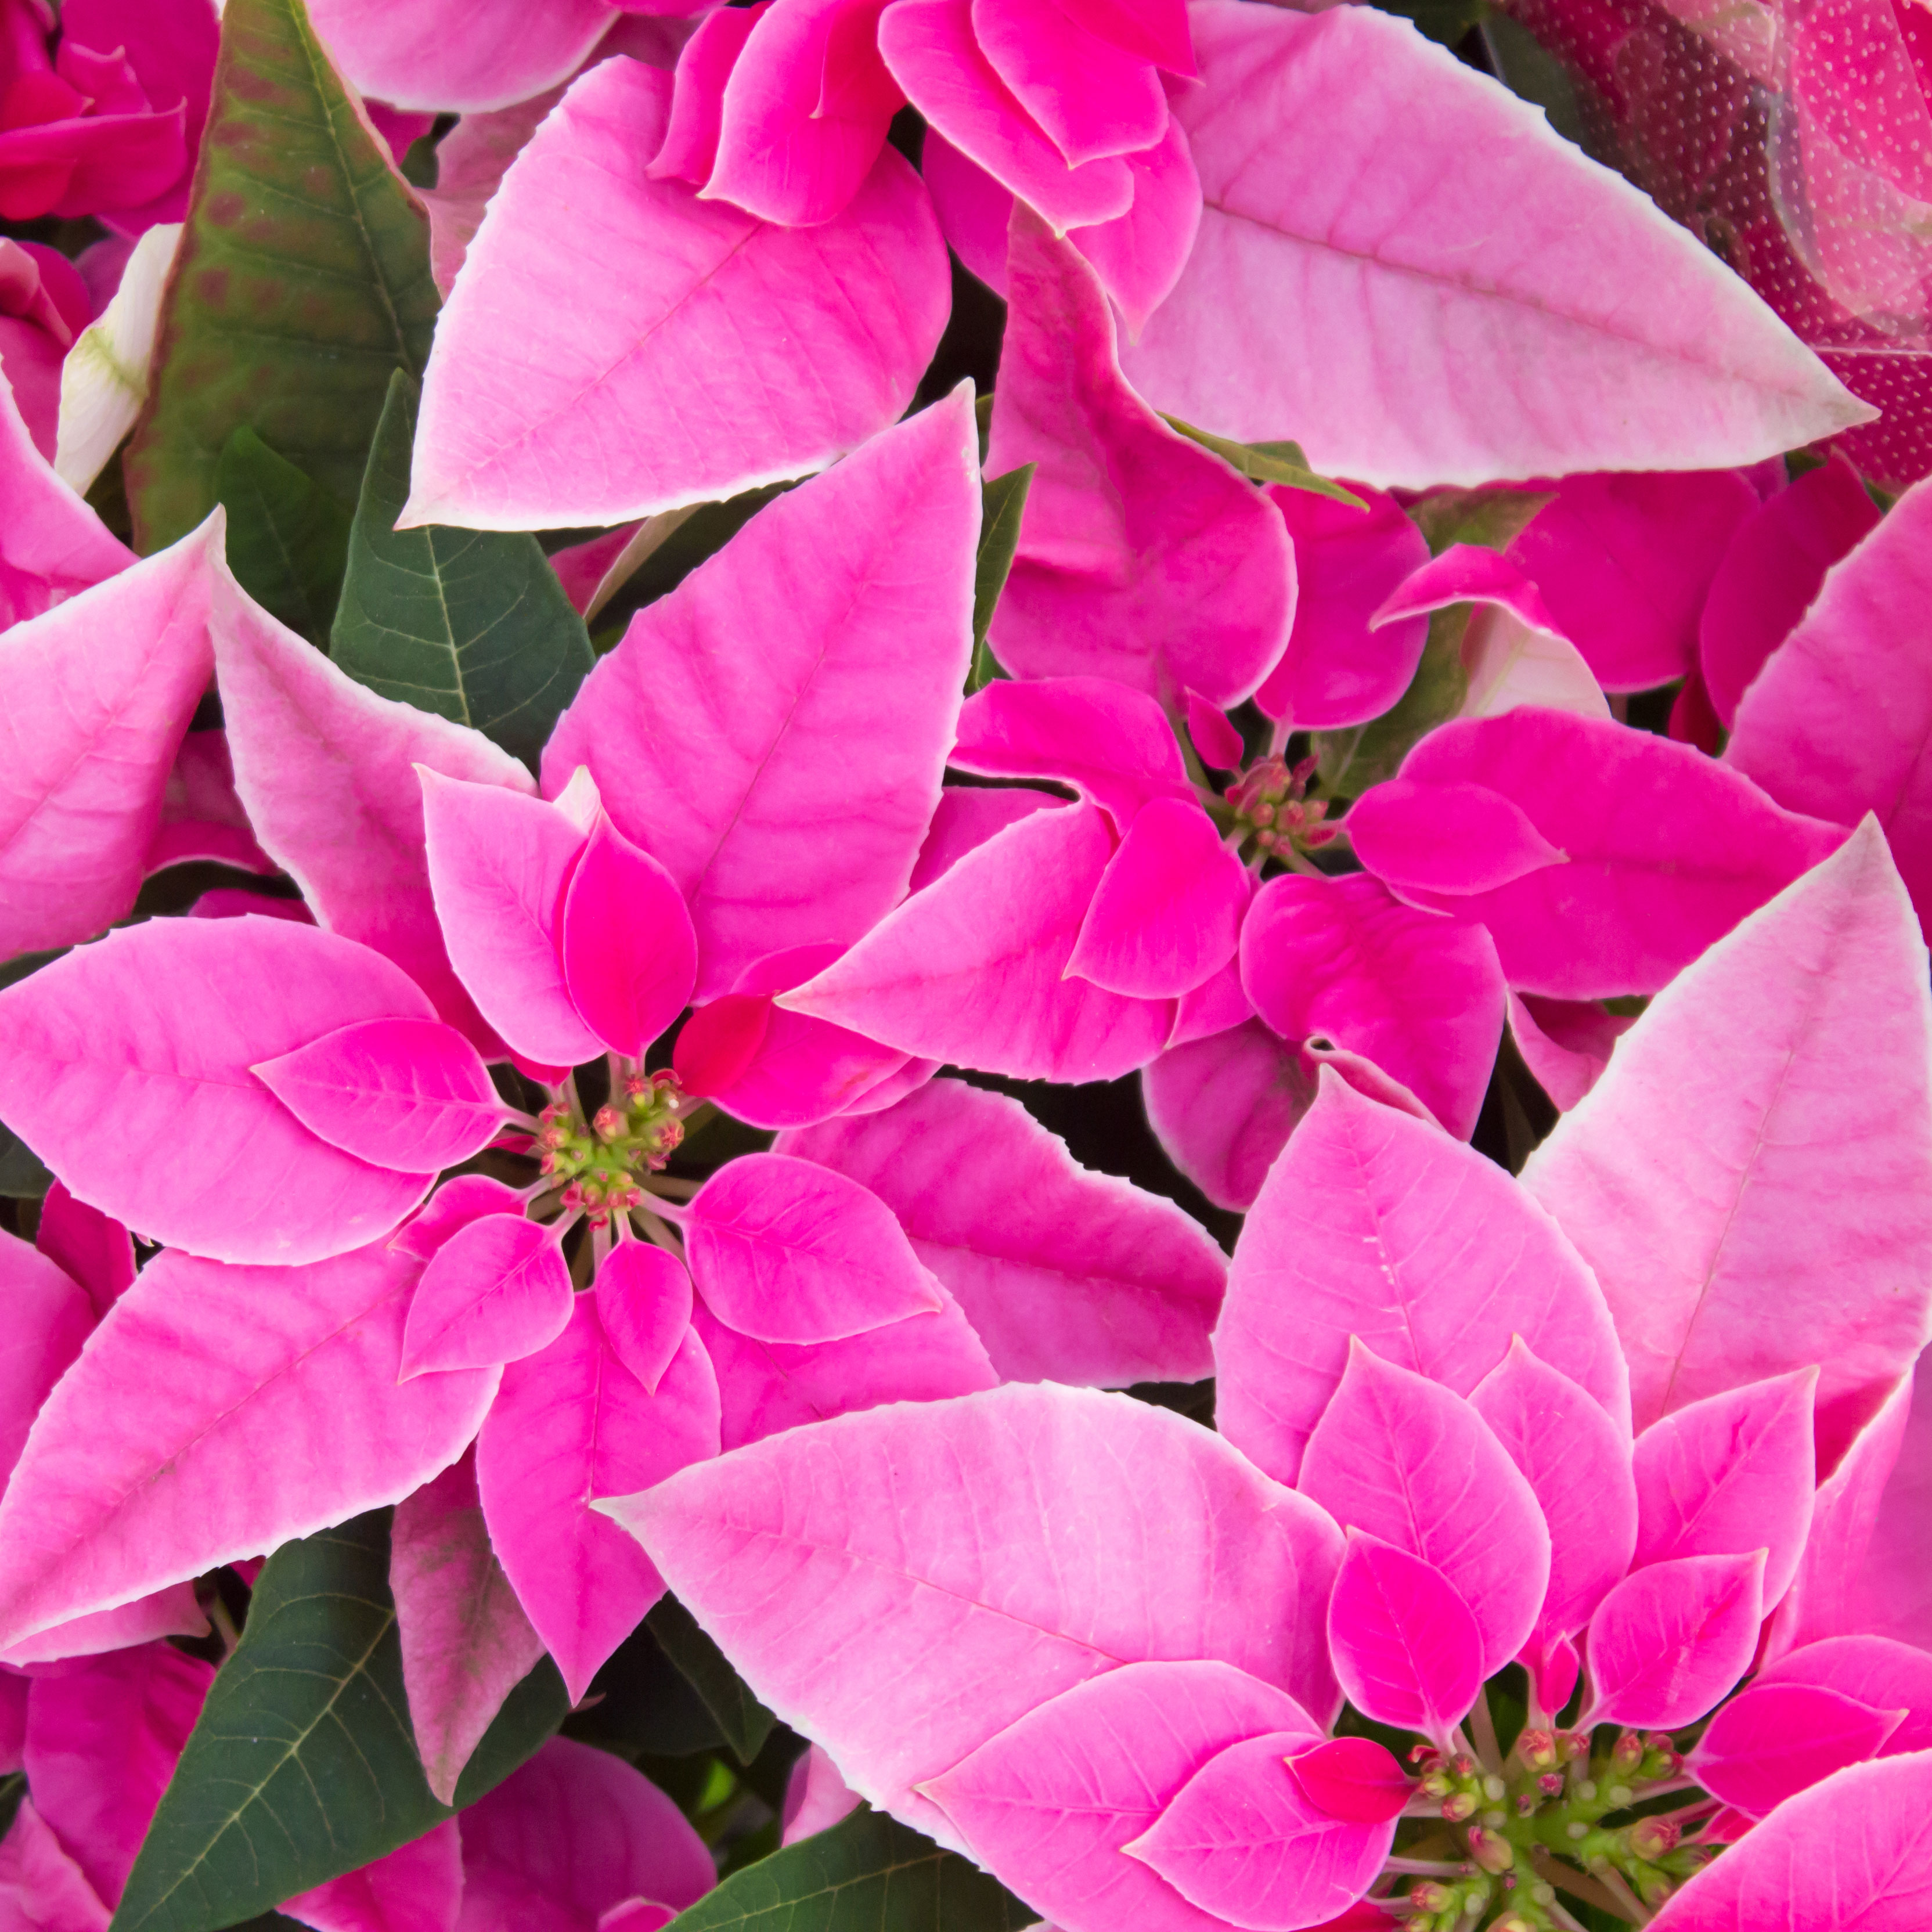 Poinsettia Pinks: 7 Pink Poinsettias To Grow For Neon Hot Tones And Cool Pretty Pastels
While the traditional red poinsettia is a staple of many homes over the holiday period, they are not your only option. For cheerful brights or pastels, why not grow pink poinsettias?
By Tonya Barnett
-
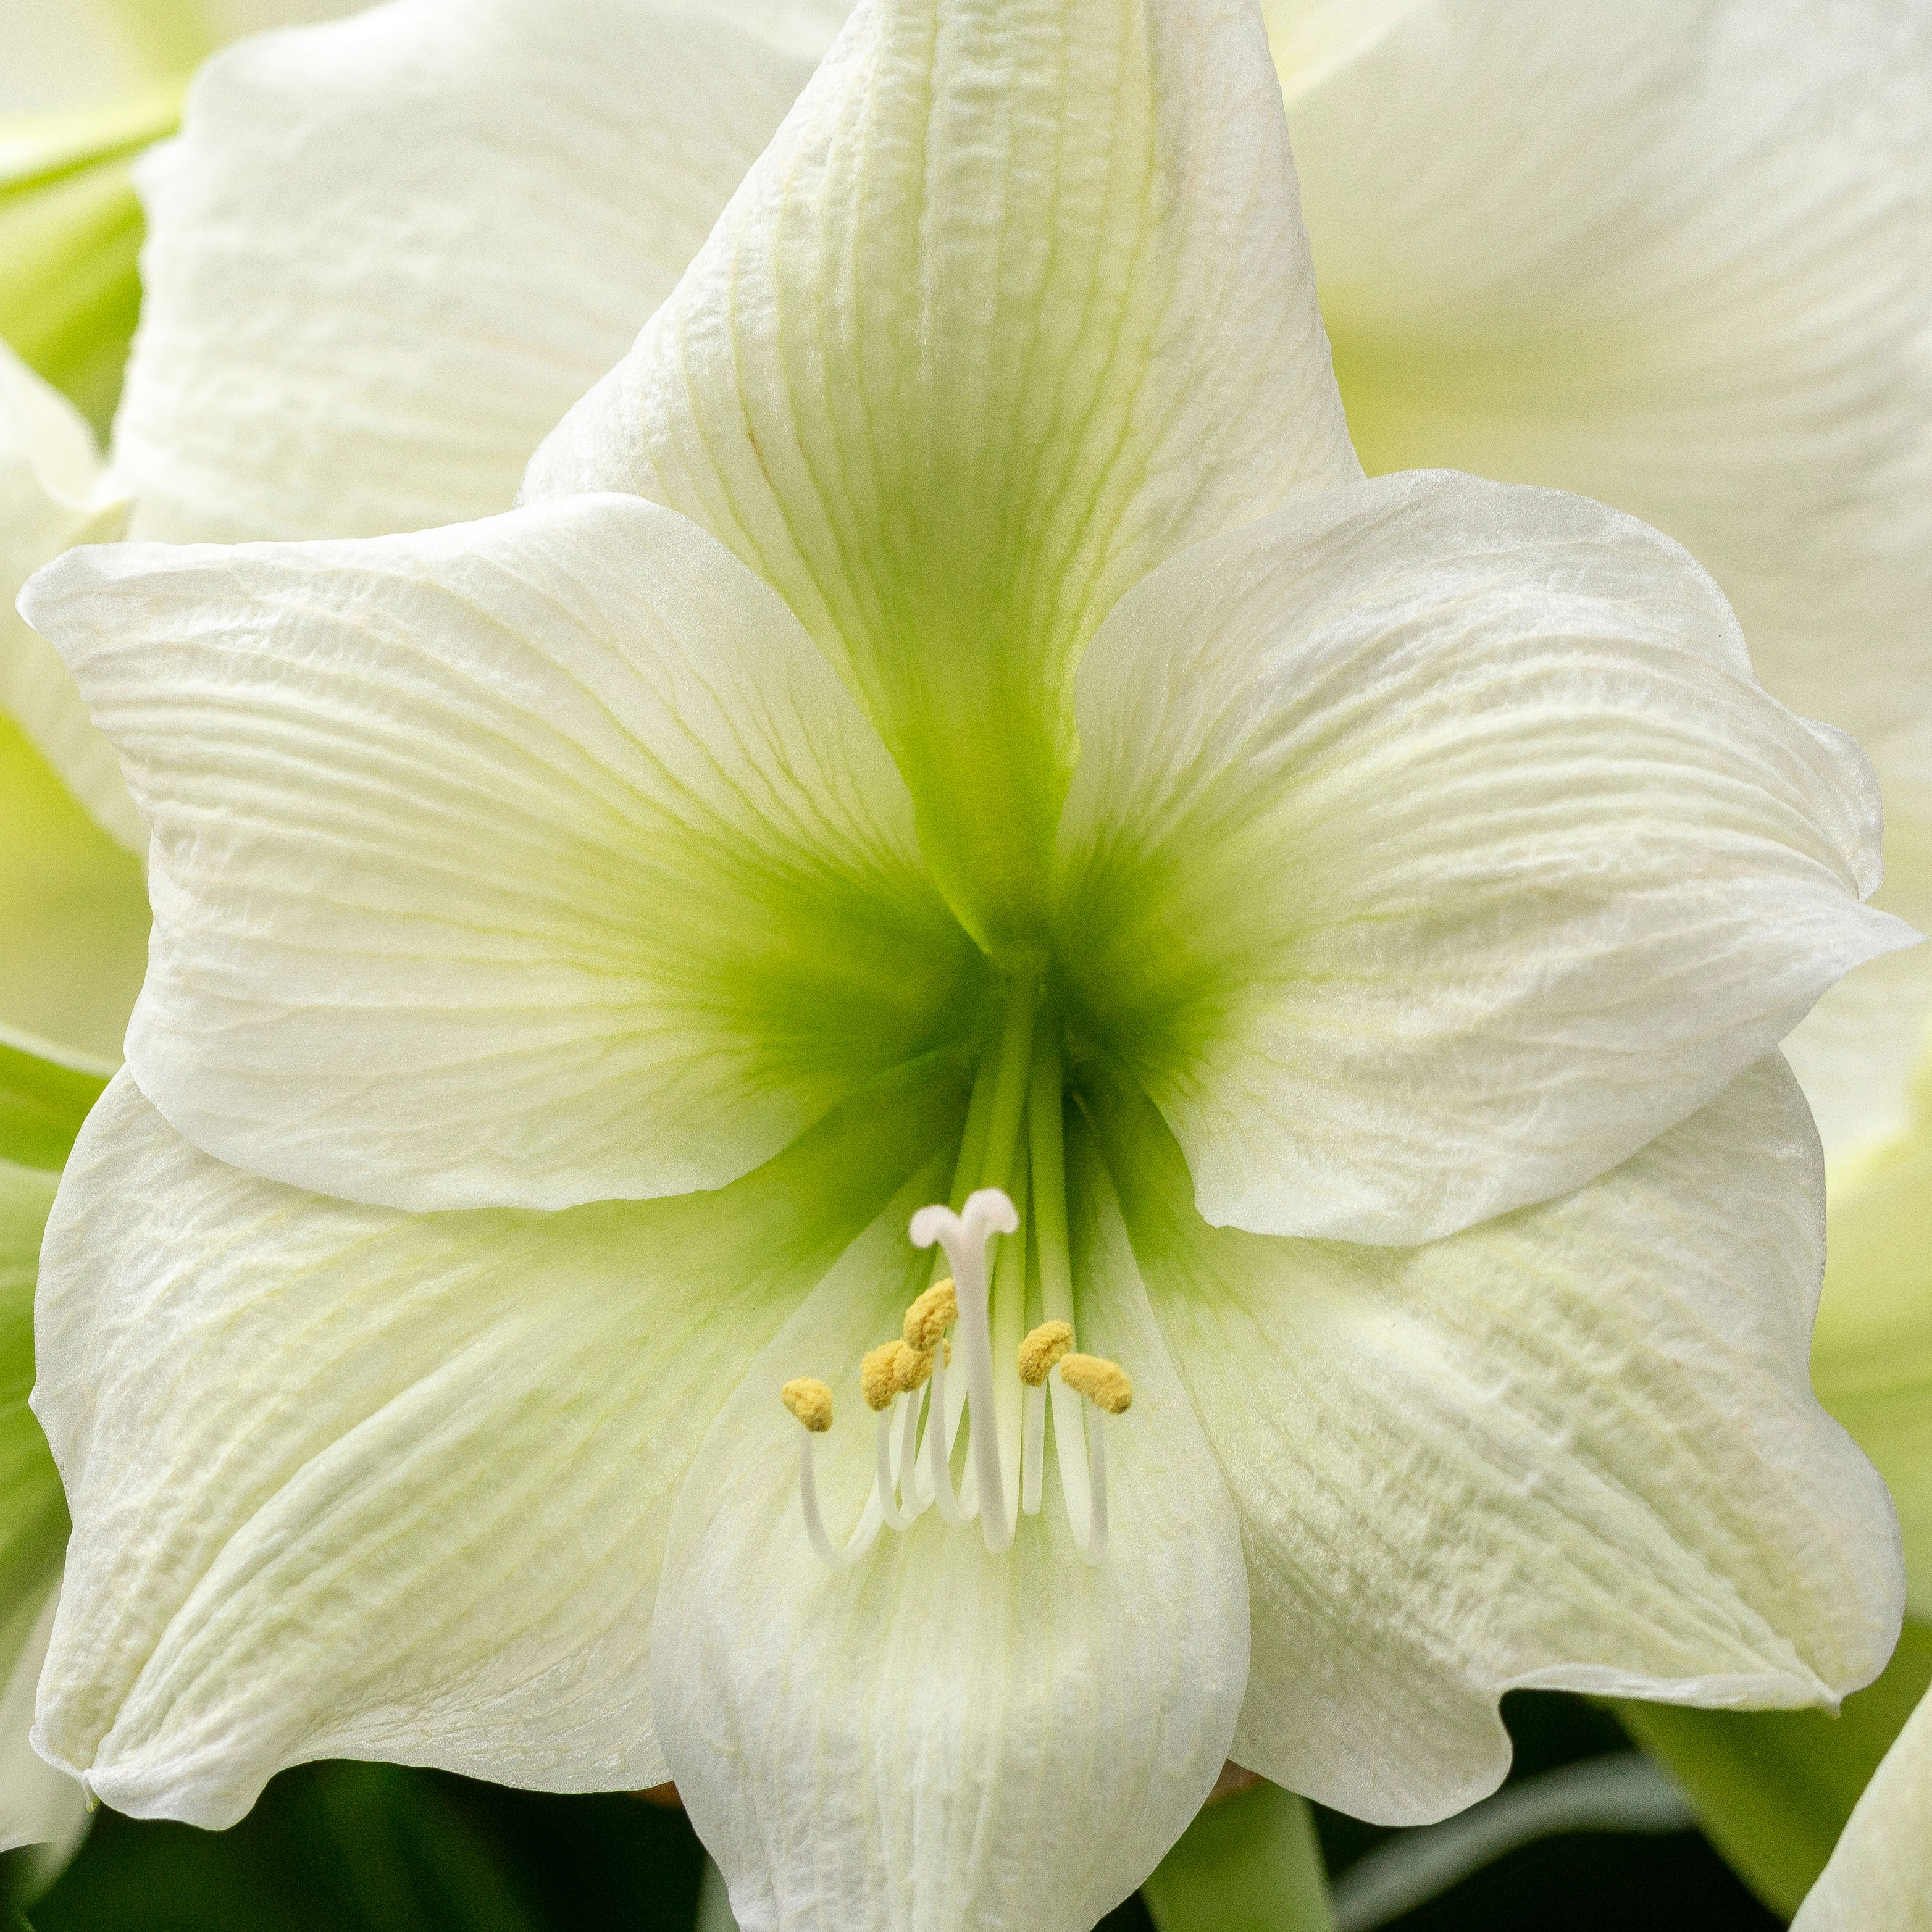 Want Amaryllis But Not Red? Try These 8 White Amaryllis Varieties For The Ultimate Elegance
You’re probably familiar with the crisp red blooms of the traditional amaryllis – but if you feel like something more unusual and elegant, why not try white amaryllis?
By Mary Ellen Ellis
-
 Are Poinsettias Poisonous To Cats? What You Need To Know For Happy, Healthy Felines
They have the potential to brighten up homes long after the holidays, but are poinsettias poisonous to cats? Make sure you read this before mixing the two!
By Susan Albert