Transplanting Oleanders – Learn How To Transplant An Oleander Bush


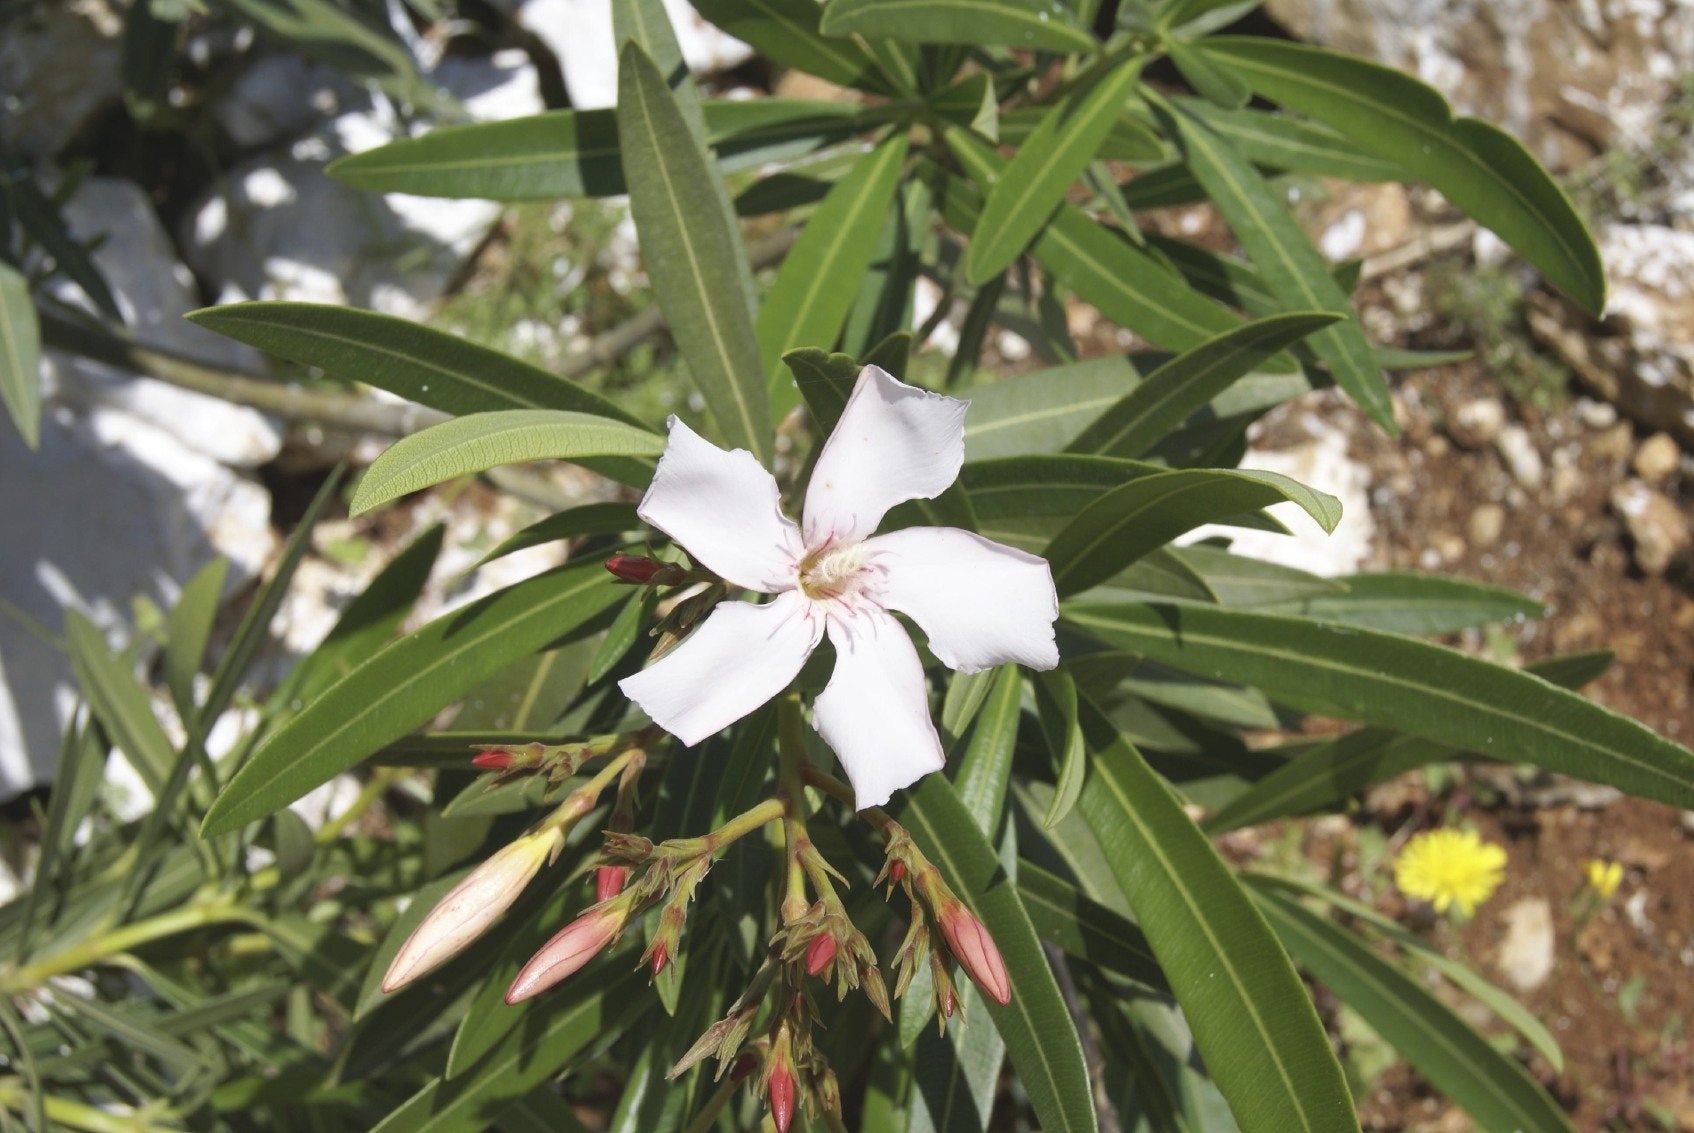
With leathery green leaves and pink, white, yellow, or red flowers, oleander certainly qualifies as an ornamental, worthy of your backyard or garden. It is an evergreen and can grow to 25 feet (8 m.) tall. If the site you planted oleanders isn’t working out, questions might arise about transplanting oleanders. How to transplant an oleander bush? When to move an oleander? Will transplanting oleanders kill them? Read on for information about the ins and outs of moving oleander shrubs.
Oleander Transplanting
Gardeners choose to plant oleander for its showy blossoms and easy-going ways. It’s a tolerant, forgiving shrub, accepting many different types of soil and exposition. It is drought tolerant but will drink a lot if given a choice. Transplanting oleanders is also an easy, uneventful process. It’s not difficult to learn how to transplant an oleander bush.
When to Move an Oleander
Don’t undertake a transplant in summer. Moving oleander shrubs is easiest on the plant if you do it in November. The cooling temperatures make the process less stressful for the shrub.
How to Transplant an Oleander Bush
Moving oleander shrubs is a matter of using common sense and a shovel at the same time. The first step in oleander transplanting is to give the shrub a long drink of water. Do this 48 hours before you intend to move it. While you are doing the transplant, keep in mind that oleander leaves can irritate your skin. Pull on garden gloves, then tie up the lower branches of the shrubs to make sure they don’t get snapped in the process. Before you begin moving oleander shrubs, prepare a new planting hole for each transplant. Remove all weeds from the new area and dig a planting hole 12 or 15 inches (31-38 cm.) deep and about twice that wide. Here’s how to transplant an oleander shrub. Shovel around the shrub, digging a trench the same depth as the planting hole. Work the roots free, then lift the plant’s root ball from the soil. Trim any damaged roots, then place the root ball in its new hole at the same level it grew previously. The next step in oleander transplanting is to fill the hole around the root ball about halfway with the soil you removed. Next, add water to settle the soil. Finish filling up the hole with dirt and then water again. Add 3 inches (8 cm.) of mulch over the root area, keeping it at least 4 inches (10 cm.) from the plant’s trunk. Release the lower branches. Water regularly for the plant’s first year in its new site.
Sign up for the Gardening Know How newsletter today and receive a free copy of our e-book "How to Grow Delicious Tomatoes".

Teo Spengler is a master gardener and a docent at the San Francisco Botanical Garden, where she hosts public tours. She has studied horticulture and written about nature, trees, plants, and gardening for more than two decades, following a career as an attorney and legal writer. Her extended family includes some 30 houseplants and hundreds of outdoor plants, including 250 trees, which are her main passion. Spengler currently splits her life between San Francisco and the French Basque Country, though she was raised in Alaska, giving her experience of gardening in a range of climates.