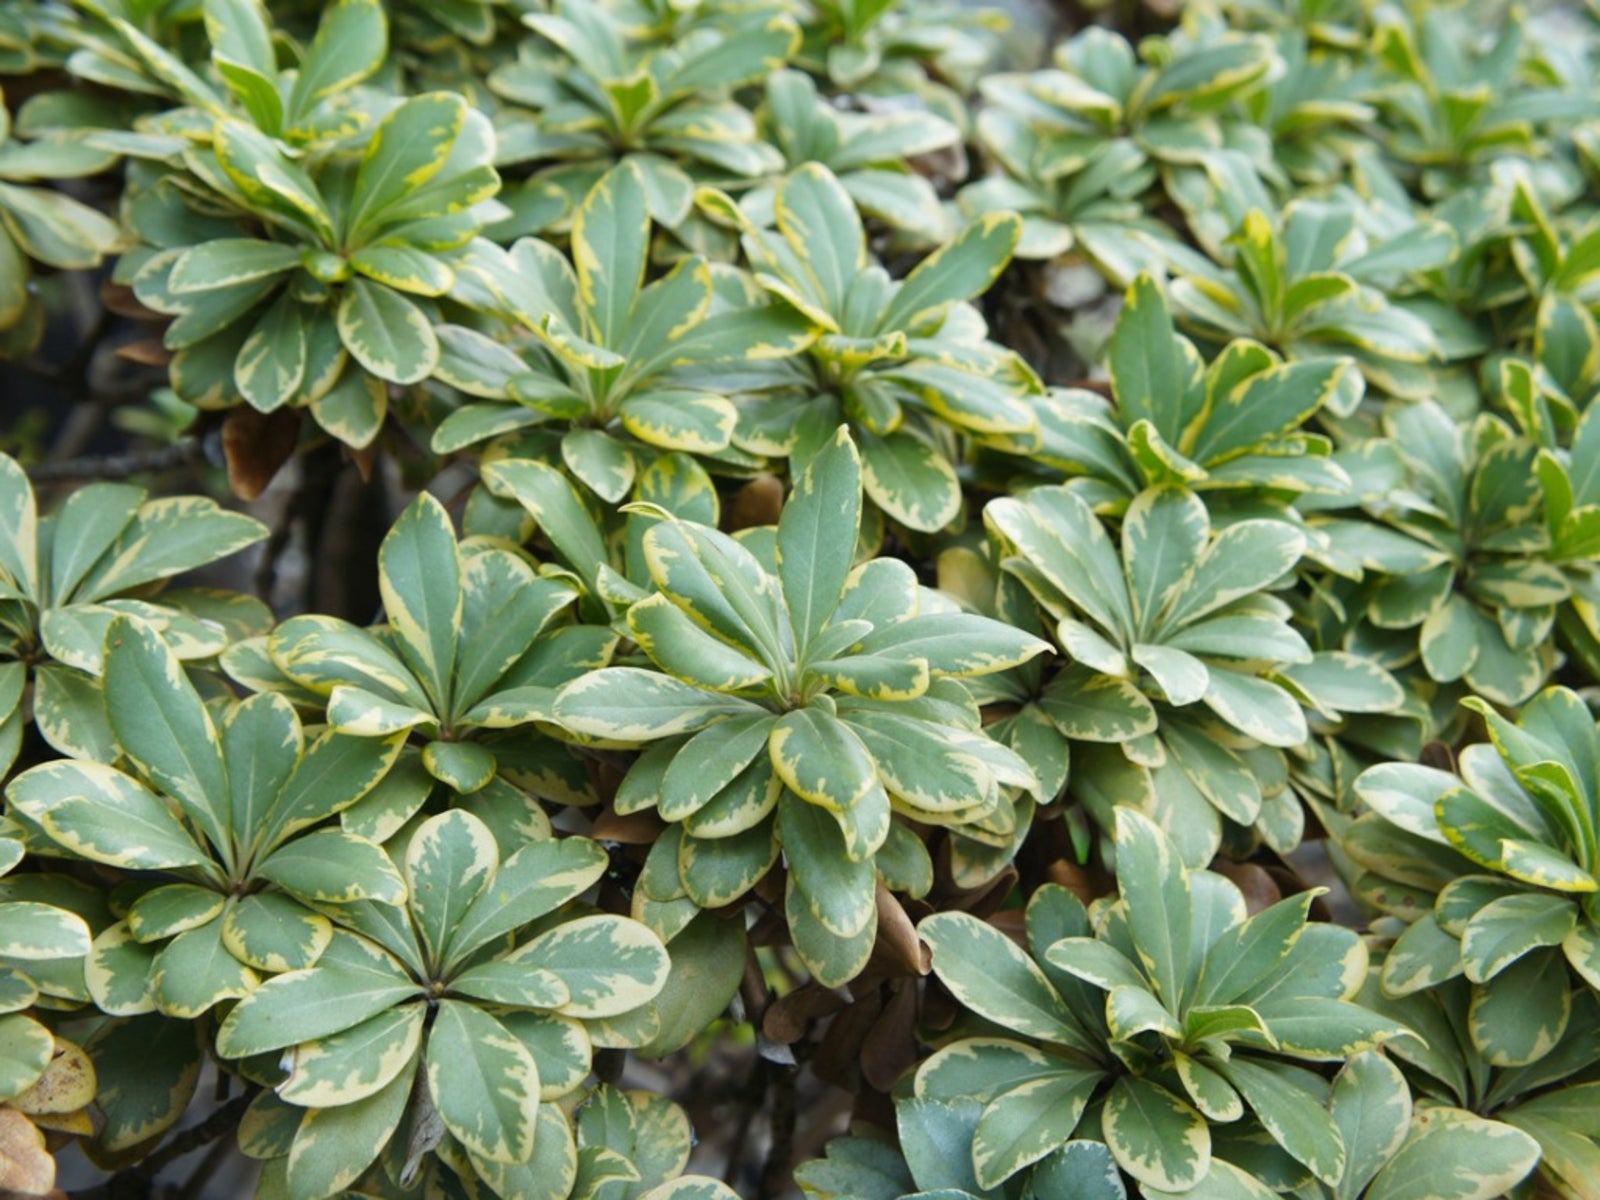
Pittosporum Transplant Info: How To Transplant Pittosporum Shrubs


Pittosporum represents a large genus of flowering shrubs and trees, many of which are used as interesting specimens in landscape design. Sometimes it becomes necessary to move landscape plants to make room for building additions, hardscaping features, or to ease overcrowding in the garden beds.
Transplanting pittosporum shrubs to a different location can save money and preserve a favorite tree or shrub. However, the larger the shrub, the heavier and more difficult it will be to transplant. If the size of the shrub is beyond the capabilities of the gardener, it's wise to hire a professional.
So before undertaking the task of moving a pittosporum, gardeners should first ask themselves, “Can I transplant pittosporum?”
How to Transplant Pittosporum
Most gardeners have the ability to transplant smaller pittosporum shrubs. The cardinal rule when transplanting evergreens is to move the plant with the soil intact. This involves forming a soil ball that is large enough to contain both fibrous and feeding roots. An undersized root ball can increase transplant shock and reduces the tree's ability to recover.
Here’s additional pittosporum transplant info:
- Pre-planning – Move pittosporum when they are dormant. Early spring, prior to budding is the best time for transplanting pittosporum shrubs, but it can also be done in autumn. Root prune during the dormant period approximately six months prior to transplanting pittosporum shrubs. This reduces transplant shock by encouraging root growth near the trunk. Root prune in the fall for spring transplanting or in the spring for fall transplanting. Choose a new planting location that meets the pittosporum-specific requirements. Test the soil and amend it if necessary.
- Preparation for Moving a Pittosporum – Before digging, tie up the lower branches of the plant to expose the soil under the tree or shrub. Label the north side of the tree so it can be replanted in the same direction. Mark the soil line on the trunk to ensure it will be replanted at the correct depth.
- Digging the Pittosporum – Begin by using the shovel to mark a circle approximately 12 inches (31 cm.) from the edge of the anticipated root ball. Insert the shovel into the soil along the perimeter of the circle and cleanly cut the roots. Next, dig a trench around the outer diameter of the circle. Use hand shears to cut large roots. When the trench is the appropriate depth for the root ball, use the shovel to sever the roots underneath. Continue working in a circle around the shrub until the root ball is free.
- Moving a Pittosporum – Protect the root ball from drying out and crumbling during the move. If necessary, wrap the root ball in burlap. Dragging the shrub/tree to its new location can damage the root ball and lead to transplant shock. Instead, use a wheelbarrow or place it on a tarp when moving a pittosporum.
- Transplanting Pittosporum Shrubs – Replant the pittosporum as soon as possible. Ideally, prepare the new location prior to digging up. Make the new hole twice as wide and the same depth as the root ball. Remove the burlap and place the plant in the hole. Using the label marked north, align the pittosporum in the correct orientation. Make sure it is straight, then begin backfilling around the root ball. Gently tamp the dirt with your hands as you refill the hole. Remove the ties holding the branches.
Care of Transplanted Pittosporum
Watering is critical during the re-establishment period. Keep the root ball consistently moist but not saturated.
Apply 2 to 3 inches (5-8 cm.) of mulch under the tree to preserve moisture and prevent weeds. Avoid piling mulch directly against the base of the trunk.
Gardening tips, videos, info and more delivered right to your inbox!
Sign up for the Gardening Know How newsletter today and receive a free copy of our e-book "How to Grow Delicious Tomatoes".

Laura Miller has been gardening all her life. Holding a degree in Biology, Nutrition, and Agriculture, Laura's area of expertise is vegetables, herbs, and all things edible. She lives in Ohio.
-
 Which Invasive Shrubs Should You Avoid Growing? Plus, Best Natives To Plant Instead
Certain plants may look lovely but they can wreak havoc to local areas and native wildlife. Here are the key invasive shrubs to avoid – with recommendations on gorgeous native alternatives to try
-
 What Not To Plant With Tomatoes: 8 Bad Neighbors That Could Ruin Your Harvest
Not all companion plants are beneficial – some can sabotage your tomatoes. Find out which ones to keep at a safe distance in the garden.
