
Propagating dogwood cuttings is easy and inexpensive. You can easily make enough trees for your own landscape, and a few more to share with friends. For the home gardener, the easiest and fastest method of dogwood tree propagation is taking softwood cuttings. Find out how to grow dogwood cuttings in this article.
Propagating Dogwood Cuttings
Knowing when to take cuttings of dogwood stems can mean the difference between successful propagation and failure. The best time to cut is in the spring, as soon as the tree completes its bloom cycle. You know the stem is ready to cut if it snaps when you bend it in half.
Cuttings aren't always successful, so take more than you need. The cuttings should be 3 to 5 inches (8-13 cm.) long. Make the cut about an inch (2.5 cm.) below a set of leaves. As you take cuttings, lay them in a plastic basin lined with damp paper towels and cover them with another damp towel.
Here are the steps in starting dogwoods from cuttings
1. Remove the bottom set of leaves from the stem. This creates wounds to let the rooting hormone in and encourage root growth.
2. Cut the remaining leaves in half if they are long enough to touch the soil when you bury the end of the stem 1.5 inches (4 cm.) deep. Keeping the leaves off the soil prevents rot, and shorter leaf surfaces lose less water.
3. Fill a 3 inch (8 cm.) pot with rooting medium. You can buy commercial medium or use a mixture of sand and perlite. Don't use regular potting soil, which holds too much moisture and causes the stem to rot before it roots. Moisten the rooting medium with water.
4. Role or dip the bottom 1.5 inches (4 cm.) of the stem in rooting hormone and tap it to remove the excess.
5.Stick the lower 1.5 inches (4 cm.) of the stem in the rooting medium and then firm the medium so that the stems stand straight. Mist the cutting with water.
6.Place the potted cutting inside a large plastic bag and seal it to create a mini greenhouse. Make sure the leaves don't touch the sides of the bag. If necessary, you can hold the bag away from the plant by placing clean wooden sticks around the edge of the pot.
7. the dogwood cutting for roots once a week. You can look at the bottom of the pot to see if roots are coming through or give the stem a gentle tug. Once roots form, the stem will resist a tug. You should find that the cutting has roots within six weeks.
8. Remove the plastic bag when you're sure you have roots, and place the new plant in a sunny window. Keep the soil moist at all times. Use half-strength liquid fertilizer every two weeks until the plant is growing well.
9. When the dogwood cutting outgrows its little pot, repot it into a larger pot filled with regular potting soil.

-
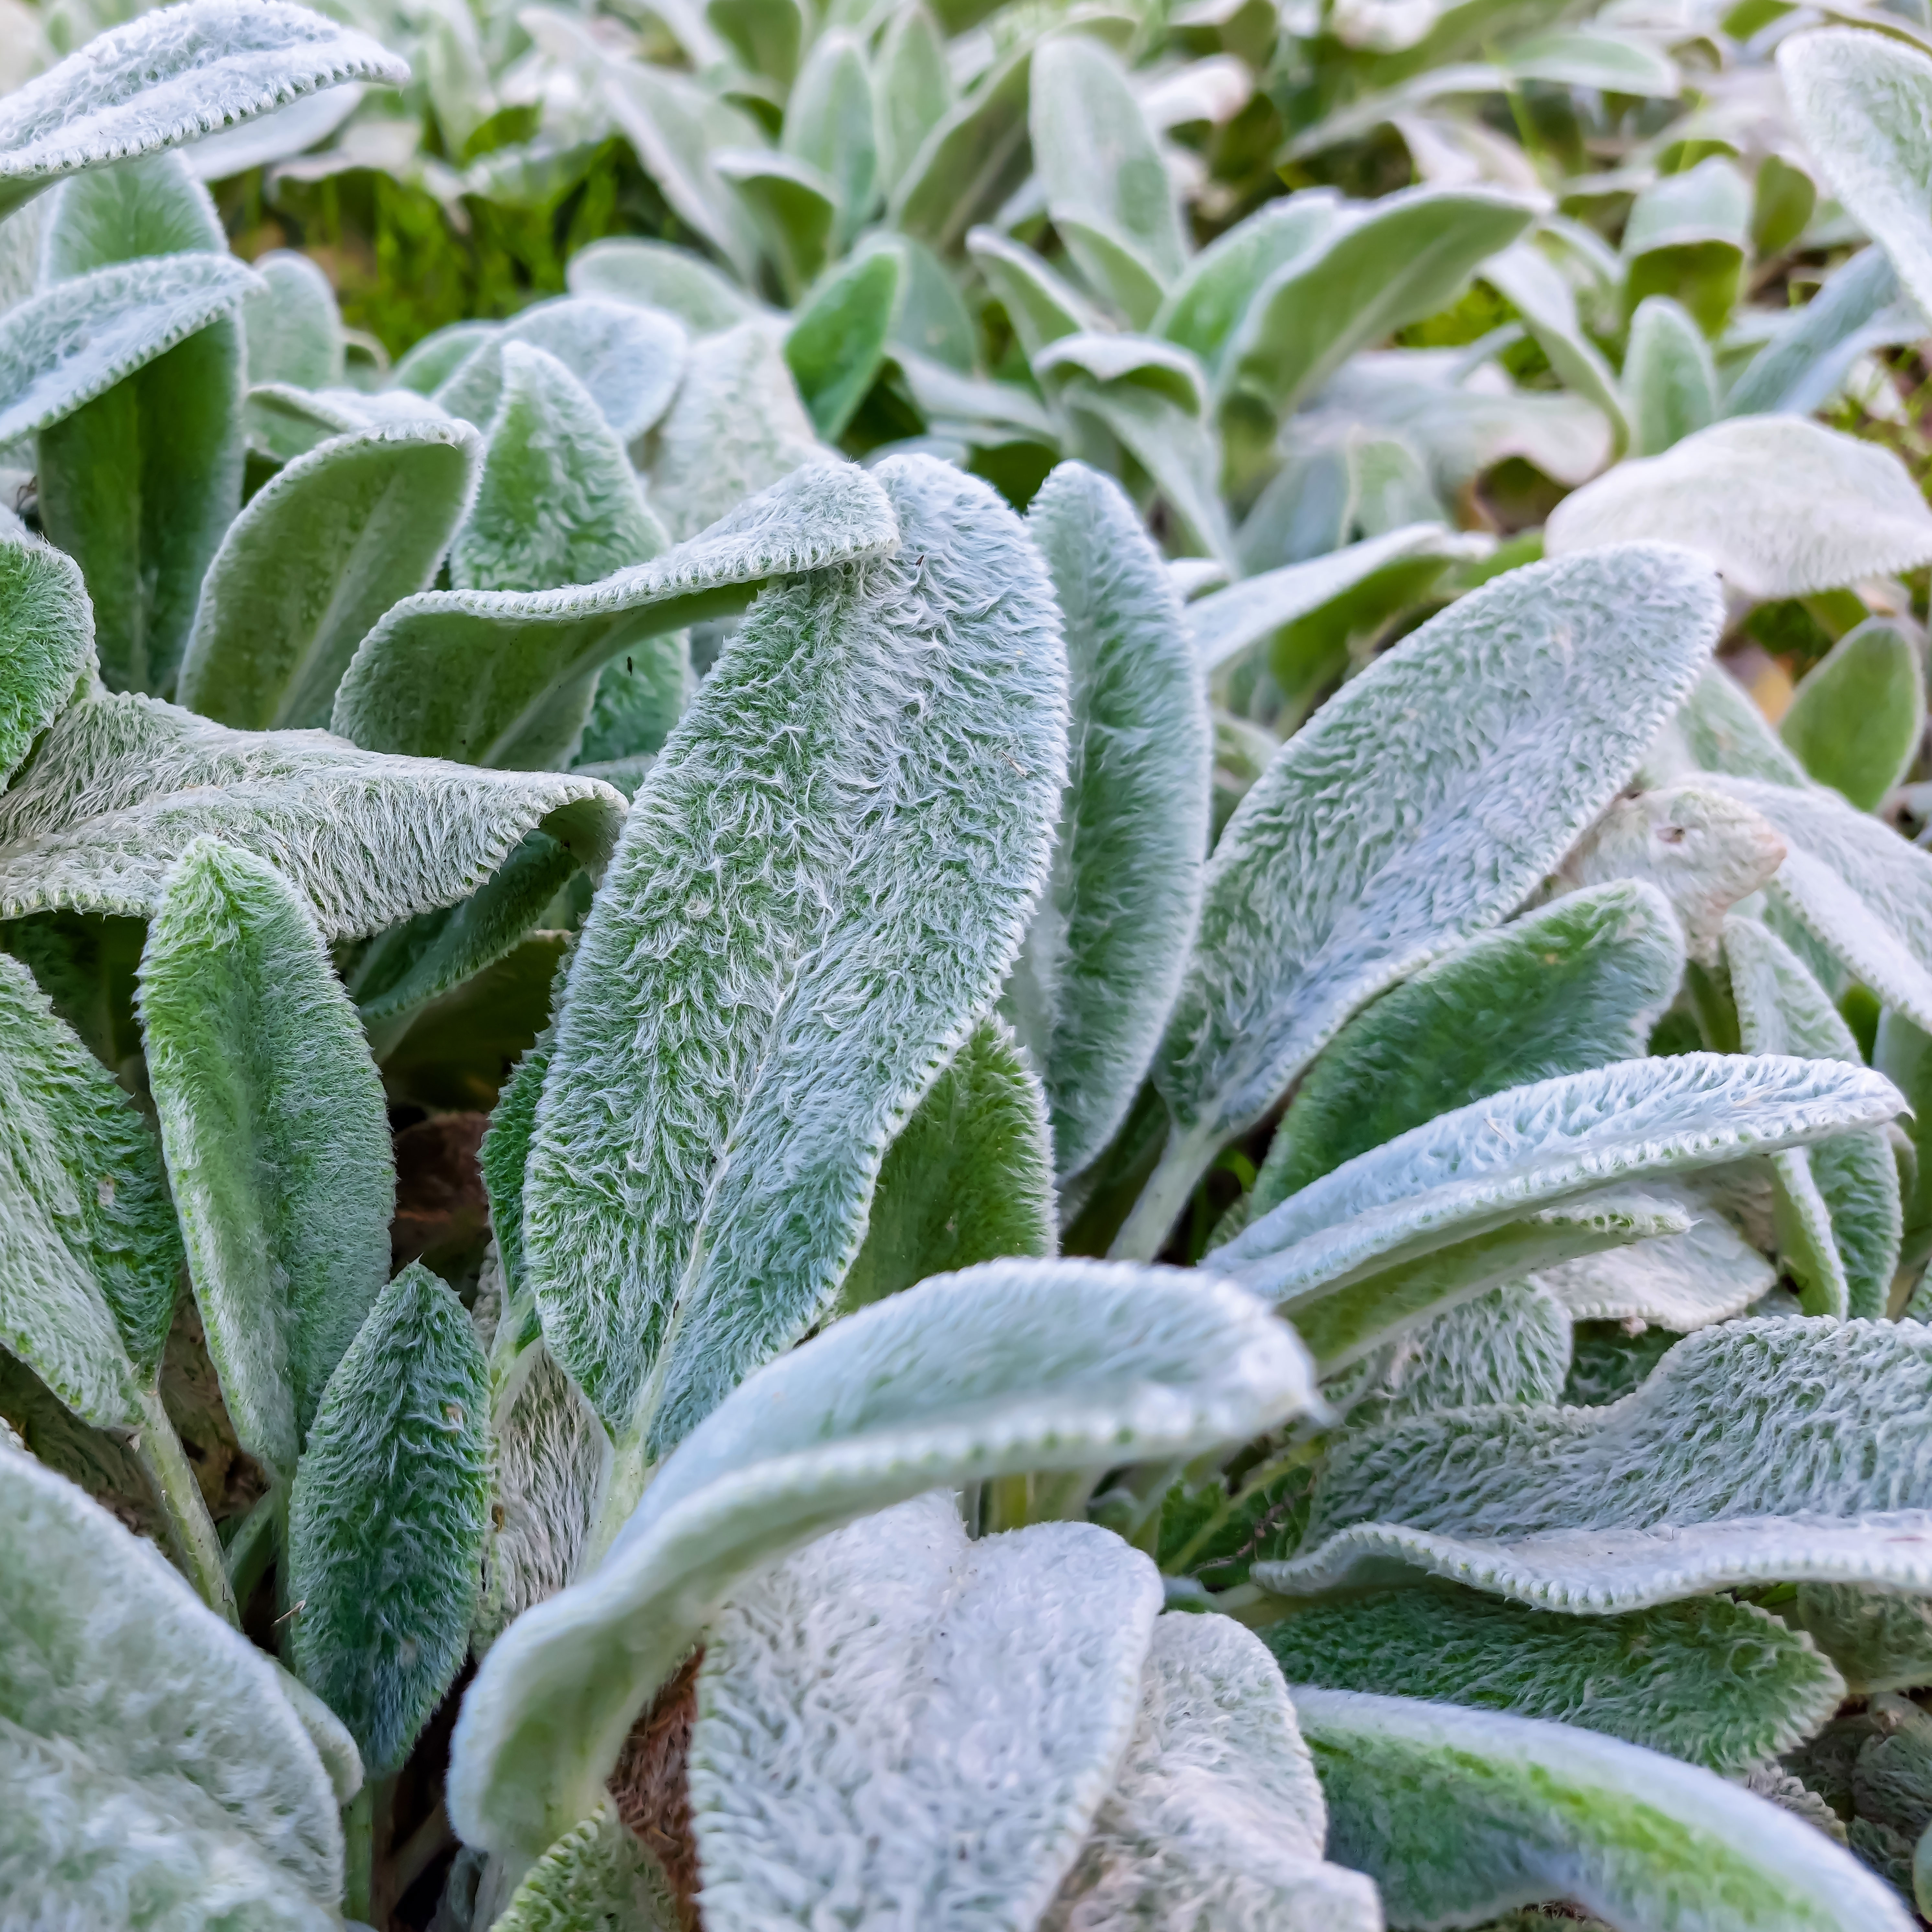 Looking For Plants To Give You The Soft And Fuzzies? Try These 5 Fuzzy Leaf Plant Options
Lovers of texture, drama, silver foliage and tactile plants will adore these special sensory garden additions. These fuzzy leaf plant options will leave you all aglow
-
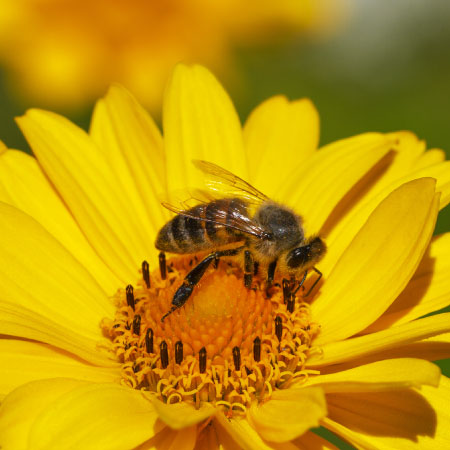
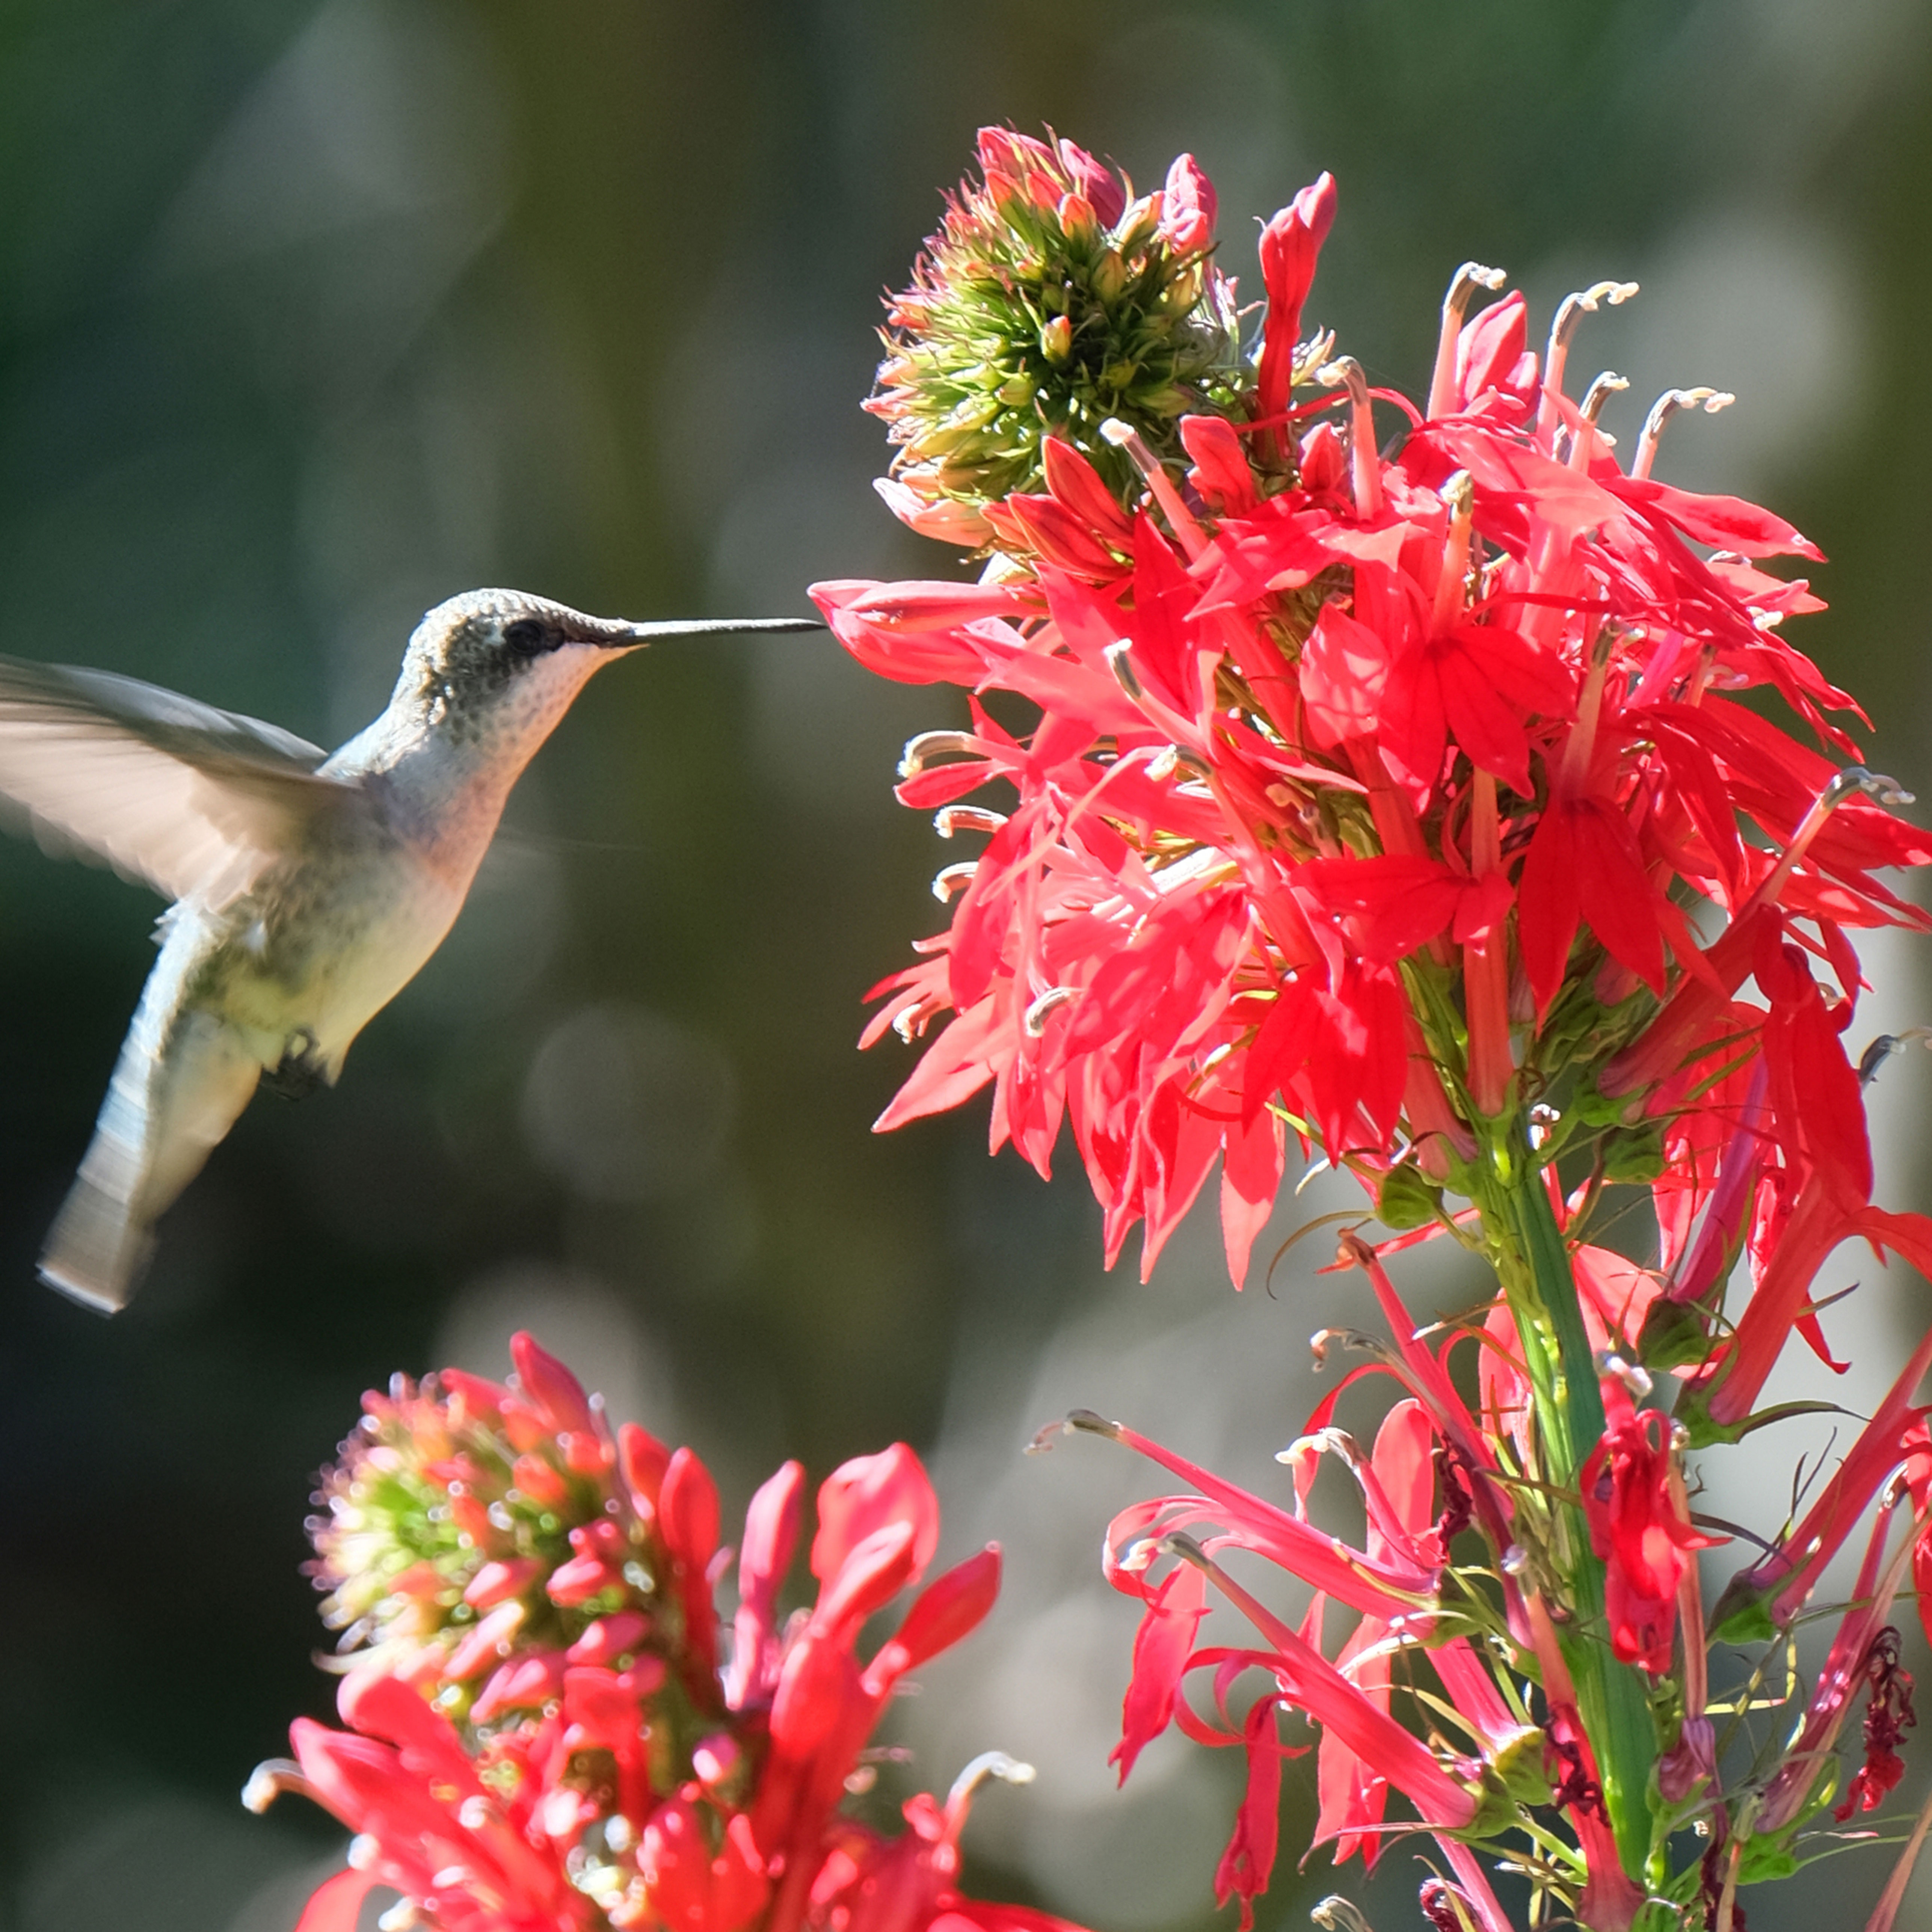 Get Ready For A Summer Of Hummers! Grow These Full Sun Hummingbird Plants and Flowers
If you’re lucky enough to enjoy a sunny backyard, make sure you are maxing out on your pollinator opportunities and grow these full sun hummingbird plants and flowers

