Propagating Magnolia Trees – Learn How To Root Magnolia Trees

Sign up for the Gardening Know How newsletter today and receive a free copy of our e-book "How to Grow Delicious Tomatoes".
You are now subscribed
Your newsletter sign-up was successful
Magnolias are beautiful trees with showy flowers and elegant large leaves. Some are evergreen while others lose leaves in winter. There are even pint-sized magnolias that work well in a smaller garden.
If you are interested in propagating magnolia trees, you have various options. Seeding is always possible, but starting a magnolia tree from cuttings or magnolia air layering are considered better options.
Read on for more information on magnolia propagation methods.
Article continues belowPropagating Magnolia Trees
Starting a magnolia tree from cuttings produces trees much faster than seedlings. Two years after you root a magnolia cutting, you may get flowers, while with a seedling, you can wait over a decade. But starting a magnolia tree from cuttings is not a sure bet. A large percentage of the cuttings fail. Put luck on your side by following the tips below.
How to Root Magnolia Trees
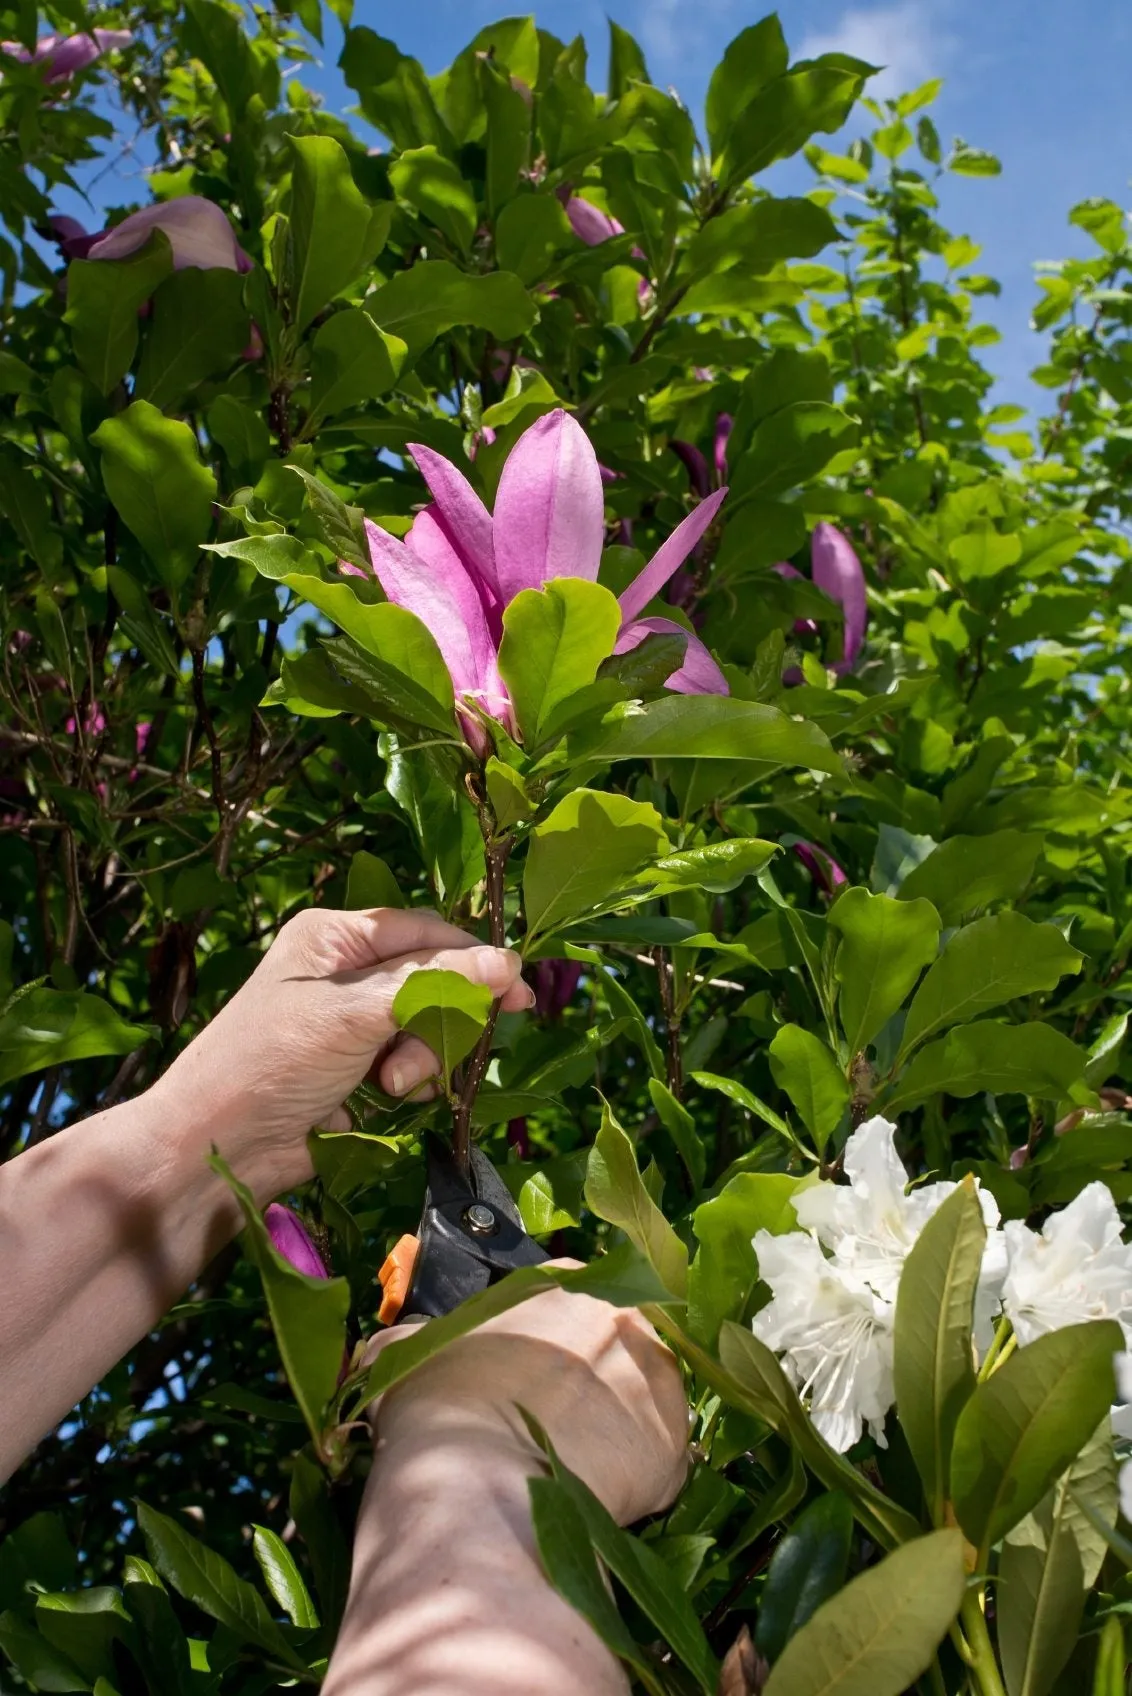
The first step in propagating magnolia trees from cuttings is to take cuttings with a set of pruners, like the Felco F6 from Amazon, in the summer after the buds set. Using a knife or pruner sterilized in denatured alcohol, cut 6- to 8-inch (15-20 cm.) growing tips of branches as cuttings.
Place the cuttings in water as you take them. When you get all you need, remove all but the upper leaves of each cutting, then make a 2-inch (5 cm.) vertical slice in the stem end.
Dip each stem end in a good hormone solution, and plant in small planters filled with moist perlite.
Sign up for the Gardening Know How newsletter today and receive a free copy of our e-book "How to Grow Delicious Tomatoes".
Position the planters in indirect light, and tent each one with a plastic bag to keep in humidity. Mist them often, and watch for root growth in a few months.
Magnolia Air Layering
Air layering is another method of propagating magnolia trees. It involves wounding a living branch, then surrounding the wound with moist growing medium until roots form.
To accomplish magnolia air layering, try it in early spring on 1-year-old branches or in late summer on that season’s growth. Make parallel cuts circling the branch about 1 1/2 inches apart (3.81 cm.), then join the two lines with another cut and remove the bark.
Place damp sphagnum moss around the wound and tie it in place by wrapping with twine. Secure a sheet of polyethylene film around the moss and secure both ends with electrician tape. Once the air layering is put in place, you need to keep the medium damp all the time, so check frequently.
When you see roots protruding from the moss on all sides, you can separate the cutting from the parent plant and transplant it.

Teo Spengler is a master gardener and a docent at the San Francisco Botanical Garden, where she hosts public tours. She has studied horticulture and written about nature, trees, plants, and gardening for more than two decades, following a career as an attorney and legal writer. Her extended family includes some 30 houseplants and hundreds of outdoor plants, including 250 trees, which are her main passion. Spengler currently splits her life between San Francisco and the French Basque Country, though she was raised in Alaska, giving her experience of gardening in a range of climates.