Scratching Names In Garden Veggies: How To Make Personalized Pumpkins And Squash

Getting kids interested in gardening encourages them to make healthier choices regarding their eating habits as well as teaching them about patience and the equation between plain old hard work and a productive end result. Gardening isn't all work though, and there is a myriad of garden projects that you can engage your kids in that are just plain fun.
Autograph Vegetable Activity
A great, incredibly fun, and interesting project for kids is scratching names in garden veggies. Yes, you heard me correctly. Personalizing pumpkins or other squash in this manner will engage kids for months and will guarantee that you have a personal garden buddy, ready and willing to assist with garden chores. So, the question is how to make personalized pumpkins?
How to Make Personalized Pumpkins
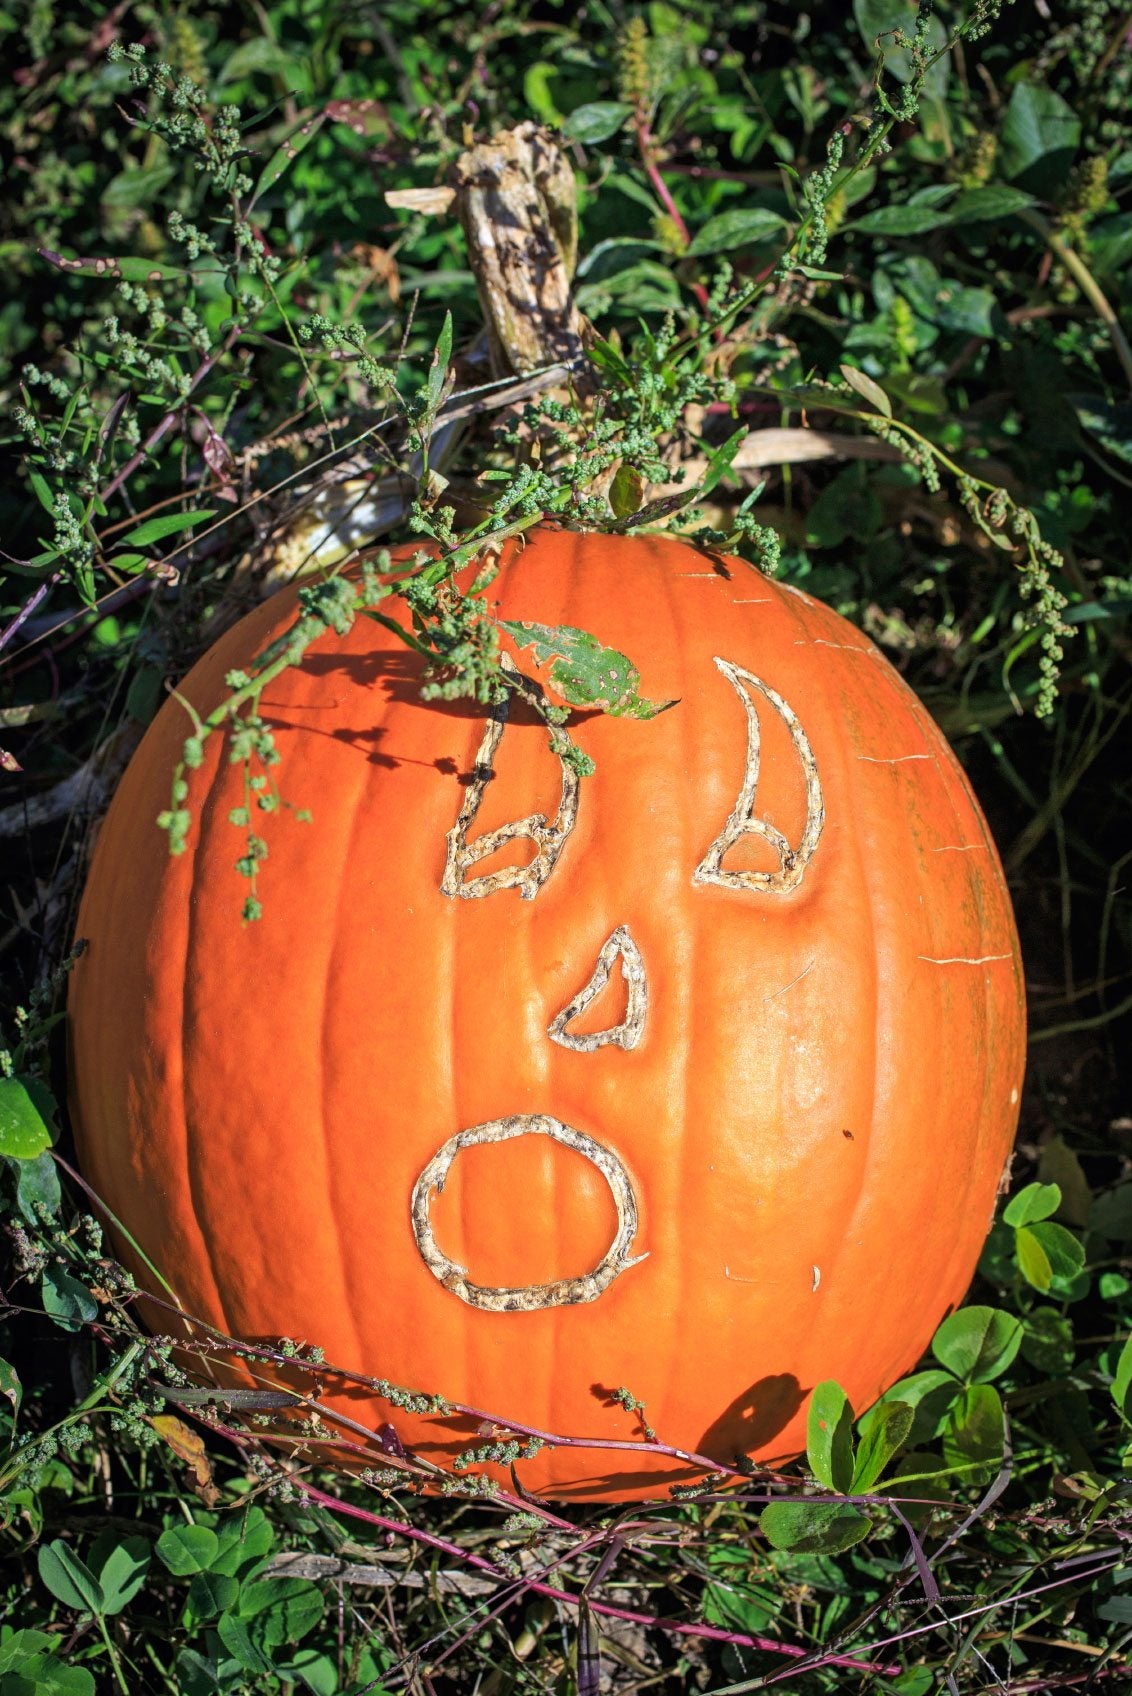
Scratching names in garden veggies such as pumpkins or other hard squash and melons is easy and guaranteed to enthrall the youngest child as well as older kids. For little ones, supervision is required. The first step is to plant the pumpkin or other hard squash. Plant seeds in May, or after the last of the frost in your region. Seeds should be sown in well-amended soil by digging in aged manure or compost. Water and wait according to the seed packet instructions for germination. Keep the area around the plants weed-free to dispel pests and diseases, and mulch around the squash with straw or the like. Fertilize the squash every two weeks. Soon after flowers set on the vine, tiny pumpkins or squash will begin to appear. You need to wait until the fruit is a few inches (8 cm.) across before scratching names in garden veggies. Once the fruit has achieved this size, have the kids write their initials on the squash with a marker. Then, using a paring knife, cut into the initials just lightly through the outer skin (if kids are little, an adult needs to do this part). As the squash grows, the initials or design will grow with it! If you want the pumpkin or other etched squash to grow larger, remove other fruit on the vine so all the nutrients go towards it. Besides initials, kids can get creative. Designs, full phrases, and faces can all be carved into the squash. In fact, this is a neat way to carve pumpkins for Halloween. Once the rind of the pumpkins is hard and orange, it is time to harvest, usually after the first light frost in fall. When you cut the pumpkin, leave 3 to 4 inches (8-10 cm.) of stem on the fruit.
Seed Activity
After the pumpkin has been enjoyed as a “jack-o-lantern” or artwork, there is no use wasting this guy. Time for another fun project. Have the kids guess the number of seeds in the pumpkin. Then have them dig the seeds out and count. Wash the seeds and roast them in the oven, lightly sprinkled with salt for 30 to 40 minutes at 300 degrees F., stirring every 10 to 15 minutes. Yum! This is a full circle entertaining and delicious project for kids... and their parents.
Gardening tips, videos, info and more delivered right to your inbox!
Sign up for the Gardening Know How newsletter today and receive a free copy of our e-book "How to Grow Delicious Tomatoes".

Amy Grant has been gardening for 30 years and writing for 15. A professional chef and caterer, Amy's area of expertise is culinary gardening.
-
 5 Tough Urban Trees That Thrive In Cities – Top Picks For Urban & Suburban Landscapes
Explore the best urban trees that will add value to even the most challenging of landscapes. Get growing with these ideas and enjoy all the benefits of trees.
By Teo Spengler
-
 7 New & Improved Cultivars Of Old-Fashioned Plants – These Aren’t Your Grandma’s Plants!
Old is new again! These old-fashioned plants have new cultivars that are sure to thrive in your garden and bring the charm factor. Neighbors will be envious!
By Mary Ellen Ellis