

Containers for holding our plants become more unique with each new planting. Anything goes these days for use as a planter; we may use cups, jars, boxes, and hanging baskets– anything that has that perfect look to hold our plants. Sometimes we find the perfect planter without drainage holes. While all plants need some water for survival, having suitable drainage is important to prevent root rot. For this reason, you need to add a few holes for potted plants so the water can escape. It's not complicated if you follow basic instructions and precautionary measures when drilling a drainage hole. (Always wear protective eye-wear when using a drill.)
Adding Drainage Holes to Containers
Plastic and wood planters are among the easiest to fit with drainage holes. Sometimes punching holes in planters can be accomplished with a nail. Another interesting tool that some people use for drilling a drainage hole is a rotary tool often referred to as a Dremel. A simple electric drill, properly fitted with the right bit, can add the necessary holes in the bottom of a container. Some say a cordless drill works best and allows the user more control. Drill slowly and steadily. You’ll want to apply little pressure and hold the drill straight. Sources recommend starting with ¼-inch (6 mm.) bit, moving up to a larger size if needed. Water, in abundance, is on the tool list for this project. Water keeps the drill bit and the drilling surface cool. This makes drilling a drainage hole move a little more quickly. If you have a DIY friend, perhaps he or she can spray the water for you. Do this project outside and use the garden hose. Keep water on the drilling surface and the drill bit, as this is a crucial part of the process. If you see smoke, you need more water. Experts at adding drainage holes to containers agree that you should mark the hole spot on the planter, either with a pencil on clay pots, a nick from a nail, or the drill on harder to drill pieces. On ceramics, mark the spot with a ding from a smaller drill bit. Many also suggest marking the area with masking tape first, saying it keeps the drill from slipping. Then, hold the drill straight toward the pot, don’t put it in at an angle. Hold the drill straight as you spray the water on the surface. Start at low speed. Guide the drill and don’t apply pressure. Hopefully, you’ll get just the hole you need on the first try, but you may need to increase the size of the bit. These instructions apply to all materials. The difference is the type of drill bit you’ll want to use. Some drills come with a selection of bits, and with others you’ll need to purchase a kit. On the list below, notice that some materials require a diamond tipped drill bit. This is called a hole-saw and spreads the pressure evenly, decreasing the possibility of shattering your container. The following bits are preferred by professionals:
- Plastic: Sharp twist bit
- Metal: Ultra-durable cobalt steel bit
- Unglazed Terra Cotta: Soak overnight in water then use a tile bit, a diamond grinder bit, or a Dremel tool
- Glazed Terra Cotta: Diamond tipped tile bit
- Thick glass: Glass and tile drill bits
- Ceramics: Diamond drill bit or a masonry bit with a winged tungsten-carbide tip
- Hypertufa: Masonry bit

-
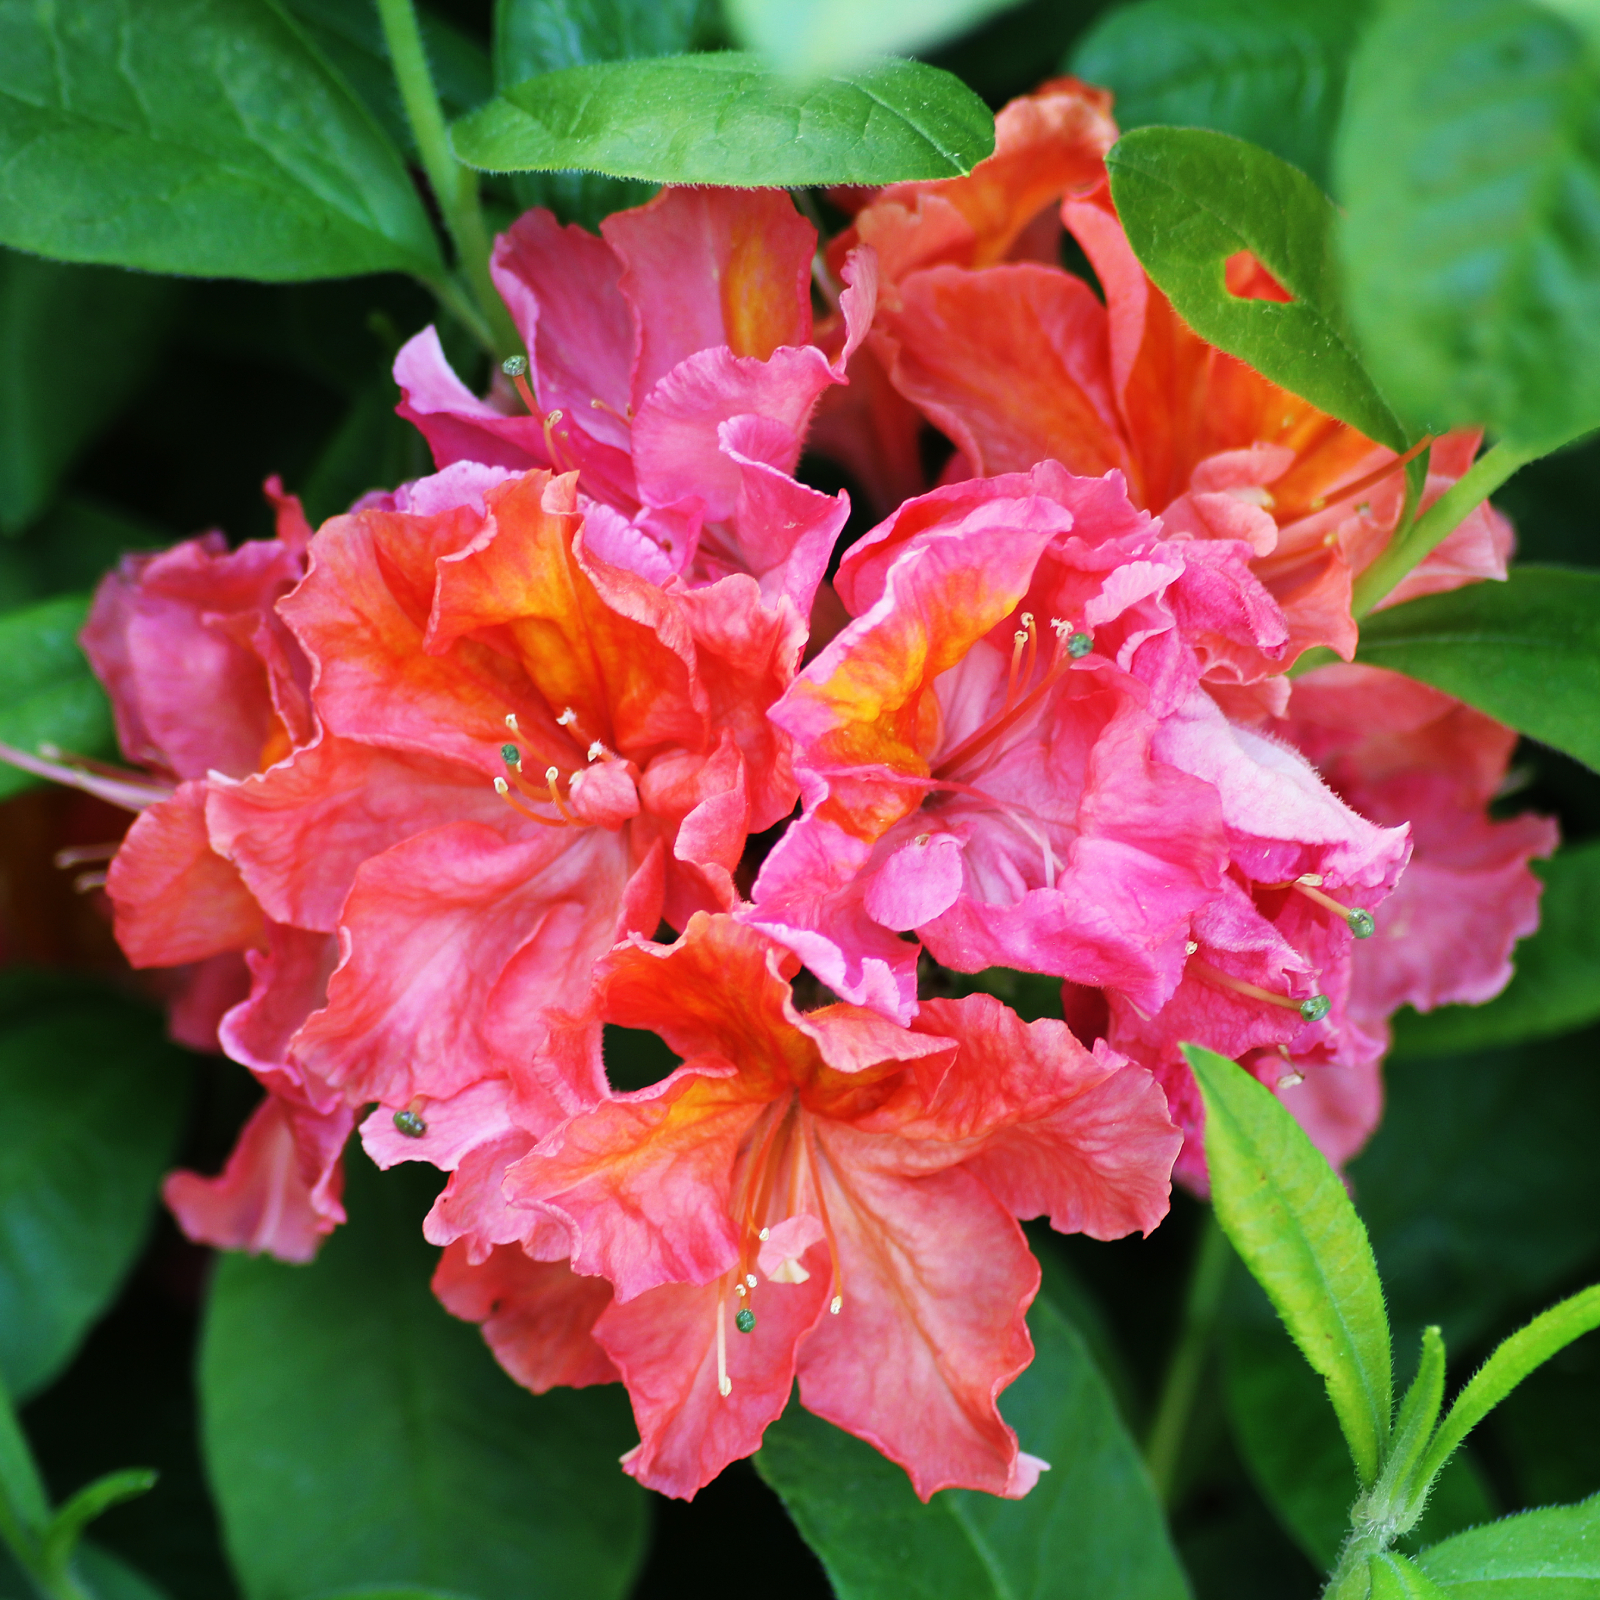 8 Noteworthy Native Azaleas Every Gardener Should Know – And Grow!
Native azaleas offer brilliant blooms in a range of colors and sizes. Here are a few favorites to get inspired and start working on a native shade garden!
-
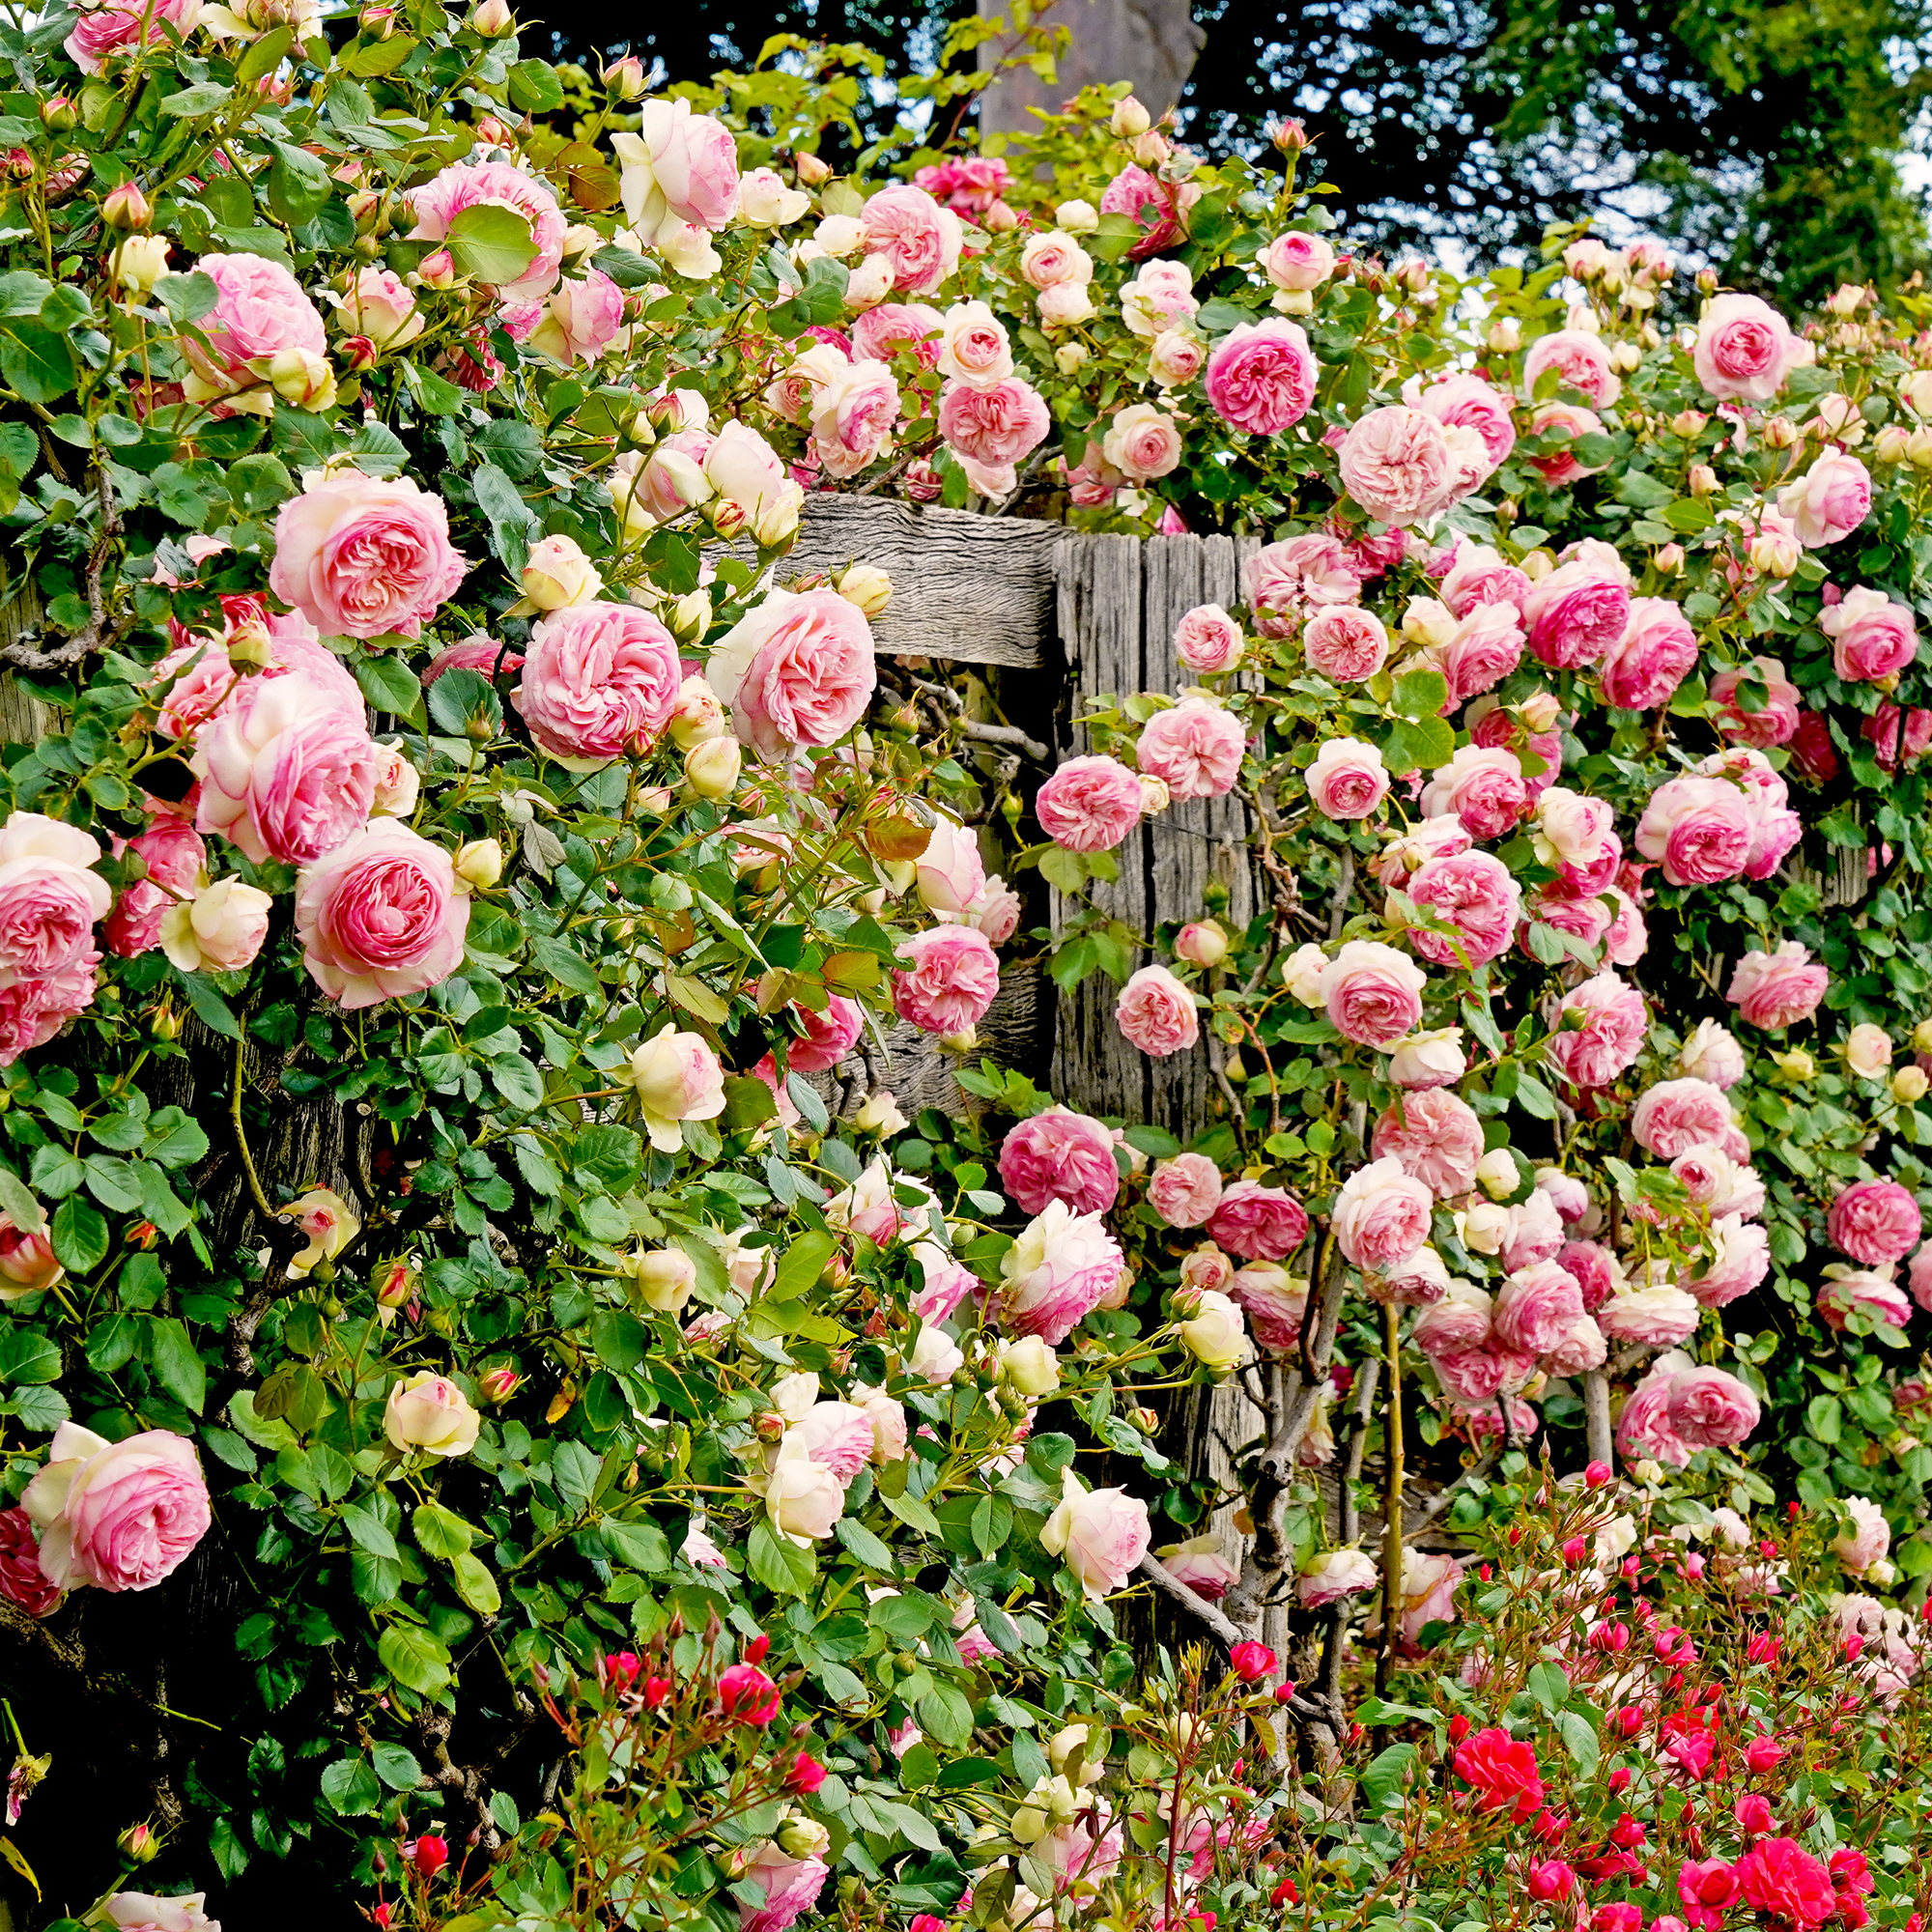 Growing Climbing Roses: How To Create Elegant Displays With Maximum Blooms
Master the art of growing stunning climbing roses with this essential guide to creating vibrant, fragrant walls and structures all summer long.

