Log Planters For Gardens: How To Make A Log Planter


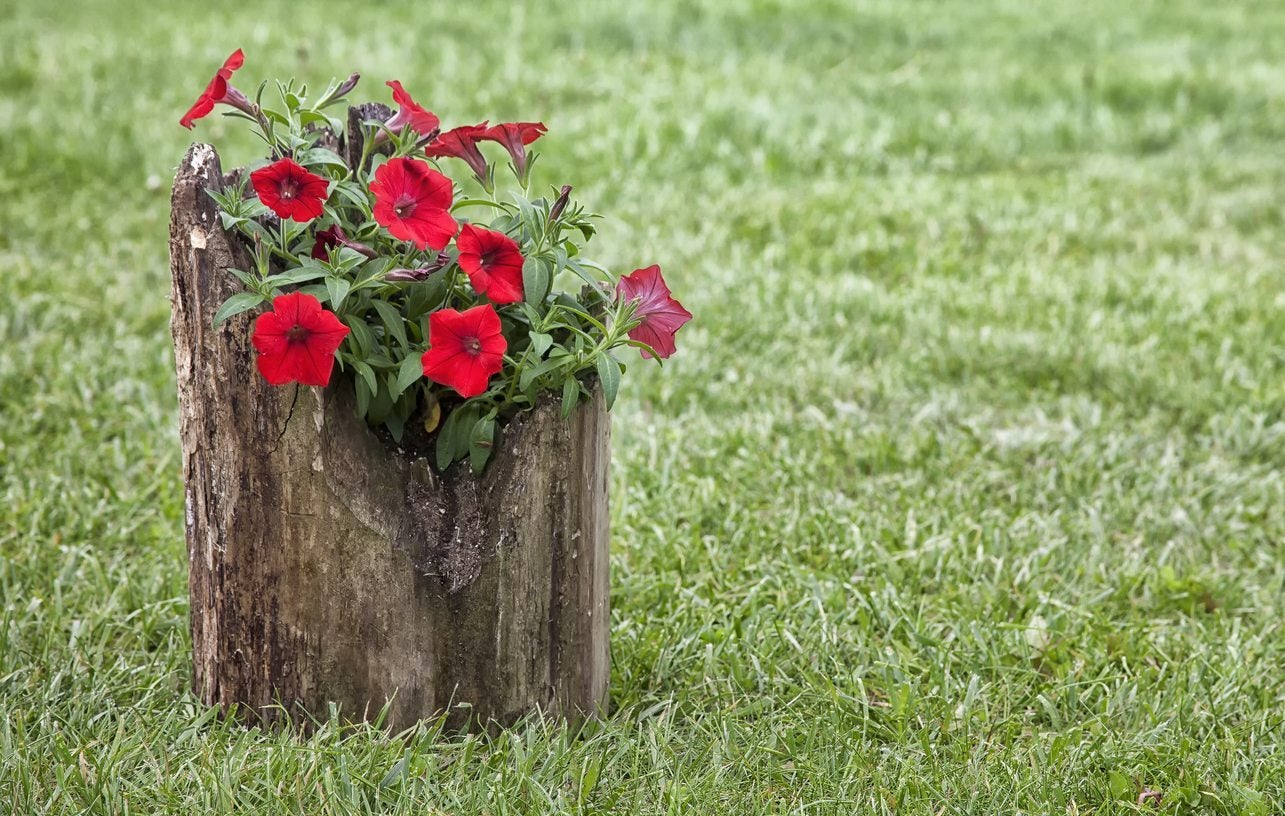
It can be all too easy to spend a fortune on stunning planters for the garden. However, these days repurposing common or unique items is quite popular and fun. Reassigning old logs into planters is one such fun and unique DIY garden project. Read on to learn how to make a log planter.
Log Planters for Gardens
In nature, storms, old-age, and many other things can cause trees or large tree branches to fall. Shortly after these logs fall to the forest floor, they’ll become inhabited by insects, mosses, fungi, vascular plants, and maybe even small mammals. One fallen tree limb can quickly become a beautiful, little, natural ecosystem of its own. Planting flowers in logs adds an excellent, rustic flare to many garden designs. They blend perfectly in cottage garden styles, add the element of earth and wood to Zen gardens, and can even work well in formal gardens. Logs can be cut and mounted to create window boxes, they can be made into classic, cylindrical pot-like containers, or created to be horizontal, trough-like planters. Logs are generally easy to come by and inexpensive. If you or someone you know has had a tree cut down or pruned, this may offer an opportunity to get some logs.
How to Make a Log Planter
The first step in turning logs into planters for gardens is to find your log and decide what plants you would like to plant in it. Certain plants need different root depths, so different-sized logs are more appropriate for different plants. For example, succulents need very little root space so small logs can quickly and easily be turned into charming succulent planters. For larger container designs and plants with deeper roots, you will need larger logs. This is also the point where you will want to decide if you would like your log planter to stand vertically, like a common plant pot, or horizontally, like a trough planter. A trough planter can give you more width to plant in, while a vertical planter can give you more depth. There are many ways to go about hollowing out the log’s planting space. Depending on how comfortable you are with using equipment and power tools, the planting space can be made using a chainsaw, a hammer drill, wood boring drill bits, or just handsaws or a hammer and chisel. Wear safety glasses and other protective gear. You can mark the area you choose to hollow out for the planting space with chalk or marker. When making a large trough-like log planter, experts suggest hollowing out the planting space in smaller sections, rather than all at once. It is also recommended that, if possible, you leave 3-4 inches (7.5-10 cm.) of wood in the bottom of the planter and at least 1- to 2-inch (2.5-5 cm.) walls around the planting space. Drainage holes should also be drilled into the bottom of the planter. Once you have hollowed out your log’s planting space in the method you feel most comfortable with, all that is left to do is add potting mix and plant your container design. Keep in mind that we often learn best from trial and error. It may be wise to start out by making a small log planter, then move on to larger logs as you feel more confident.
Gardening tips, videos, info and more delivered right to your inbox!
Sign up for the Gardening Know How newsletter today and receive a free copy of our e-book "How to Grow Delicious Tomatoes".
-
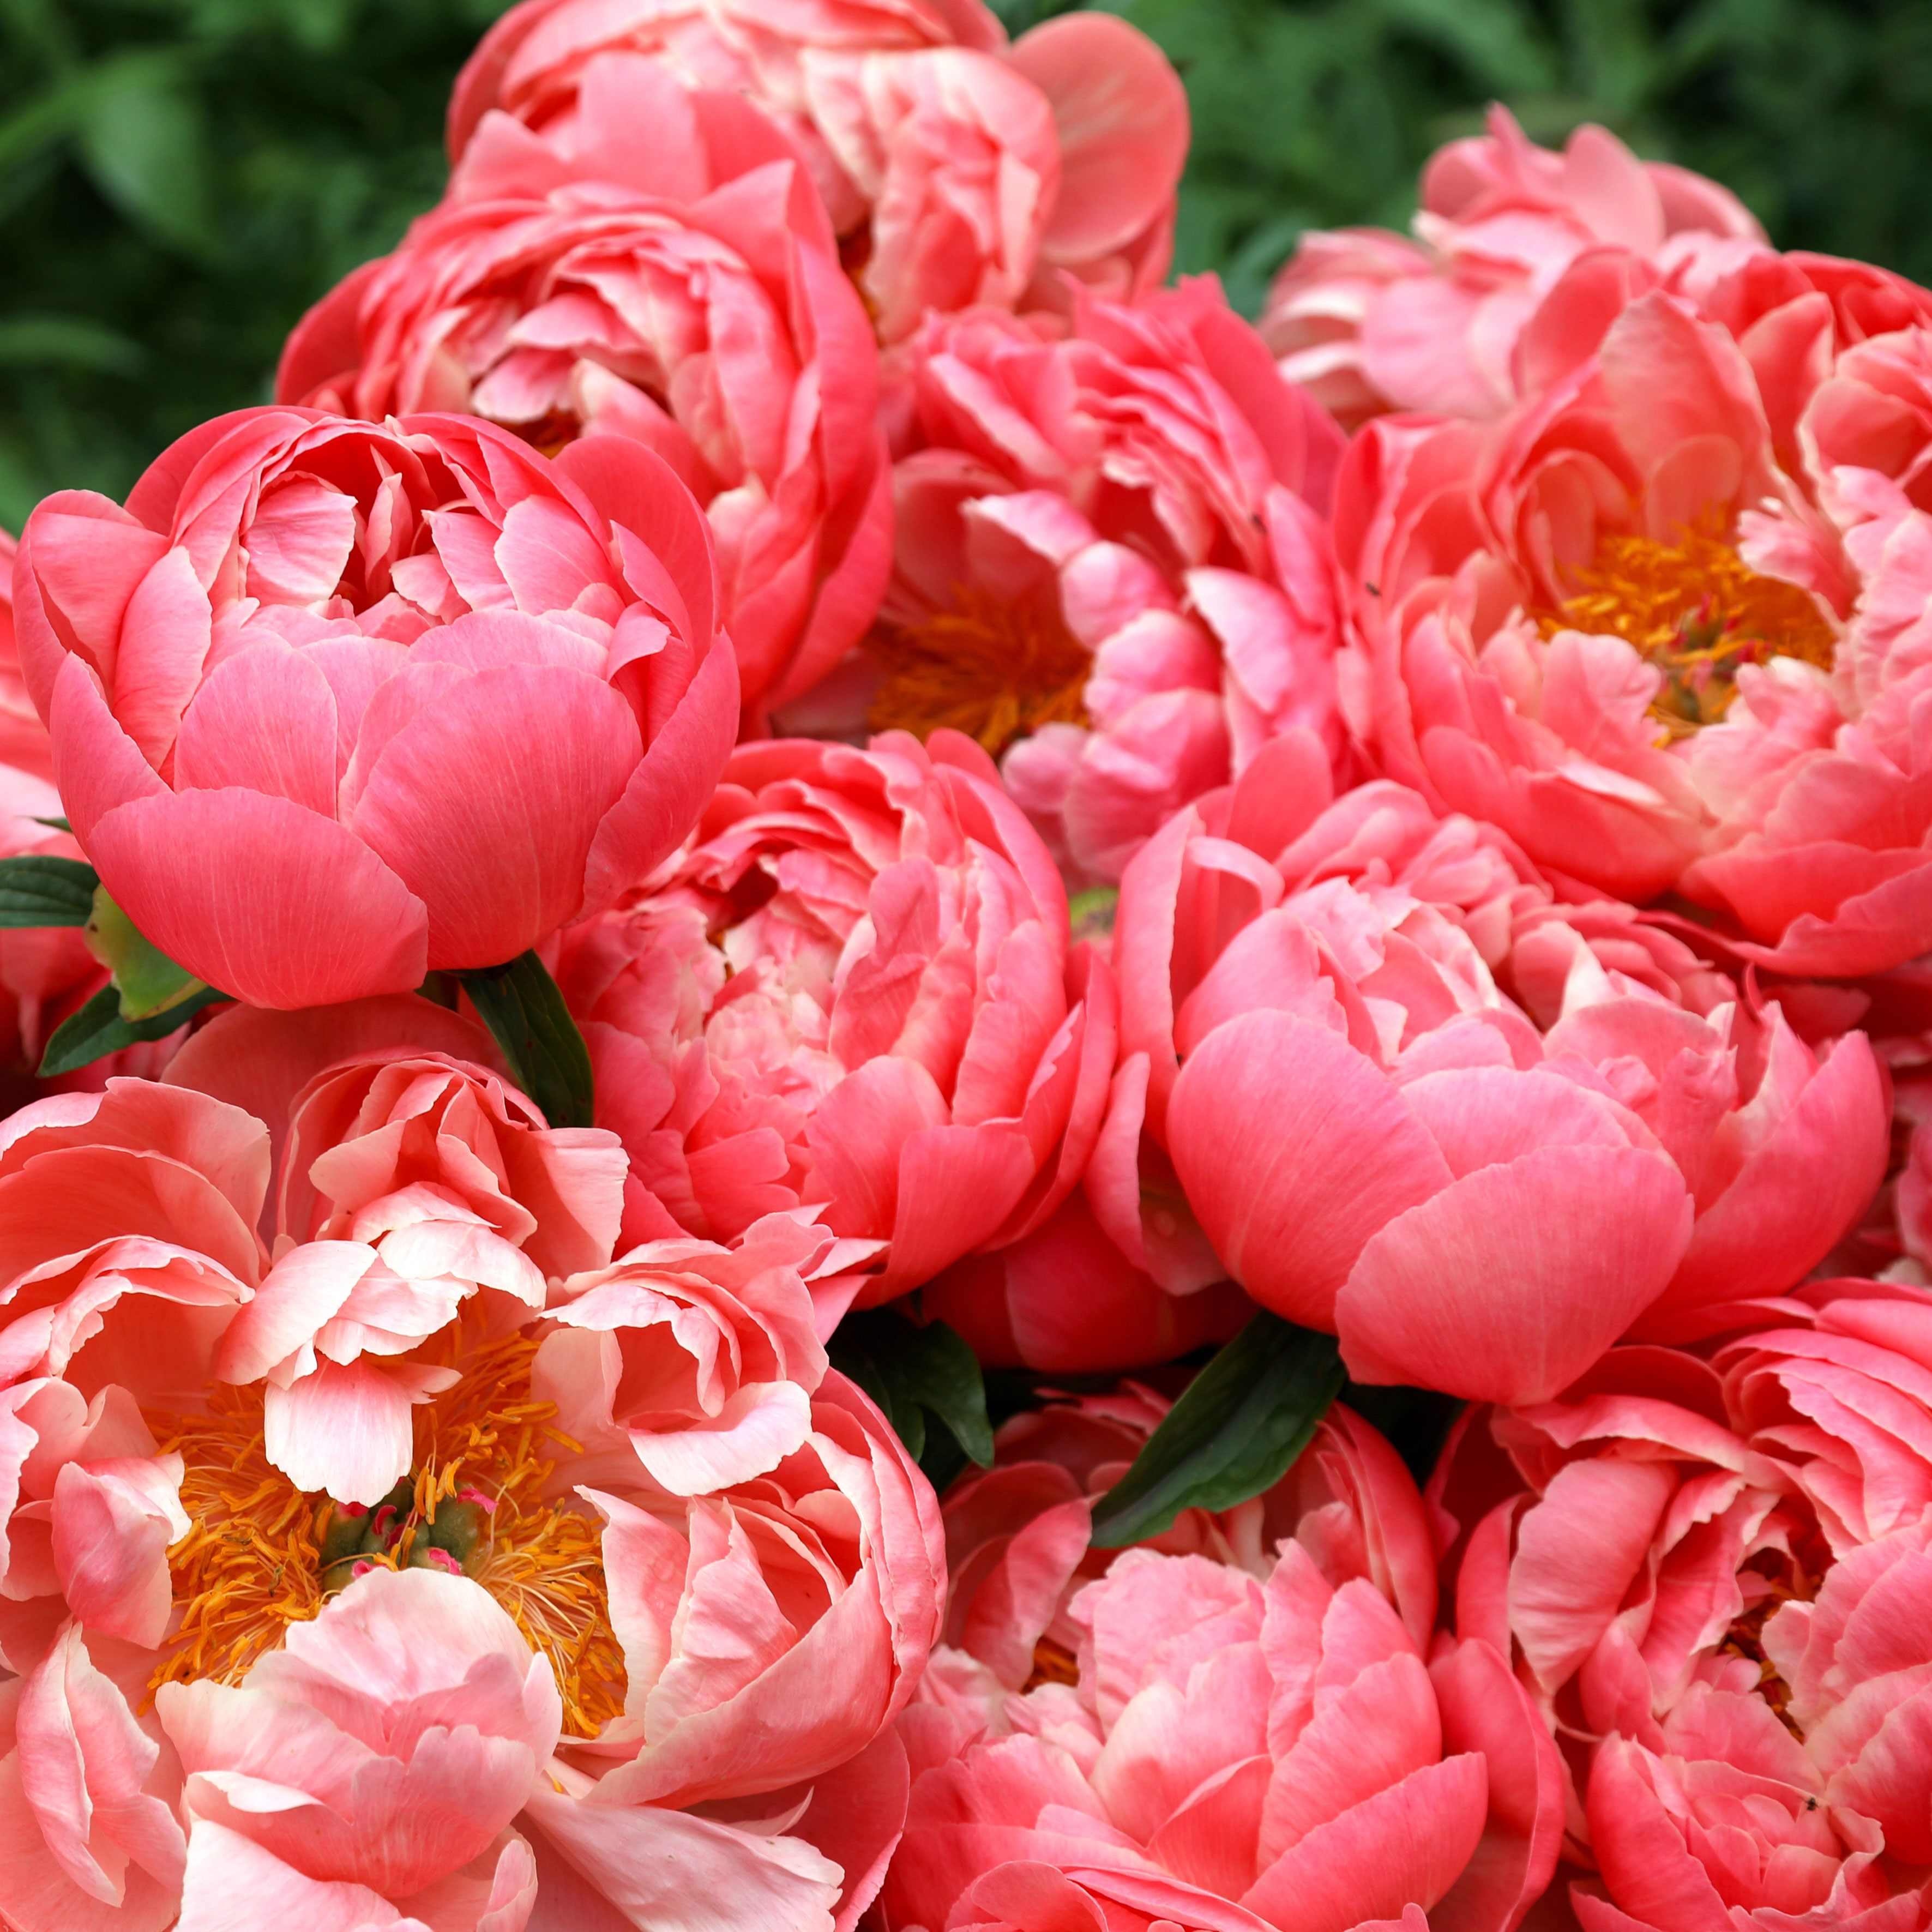
 ‘Coral Charm’ Peony Care For Sublime Semi-Double Peonies With Lush Salmon Pink Flowers
Peonies are known for their soft baby pink or magenta tones, but if plushy coral blooms are your thing, here’s our guide to the ultimate ‘Coral Charm’ peony care
By Tonya Barnett
-
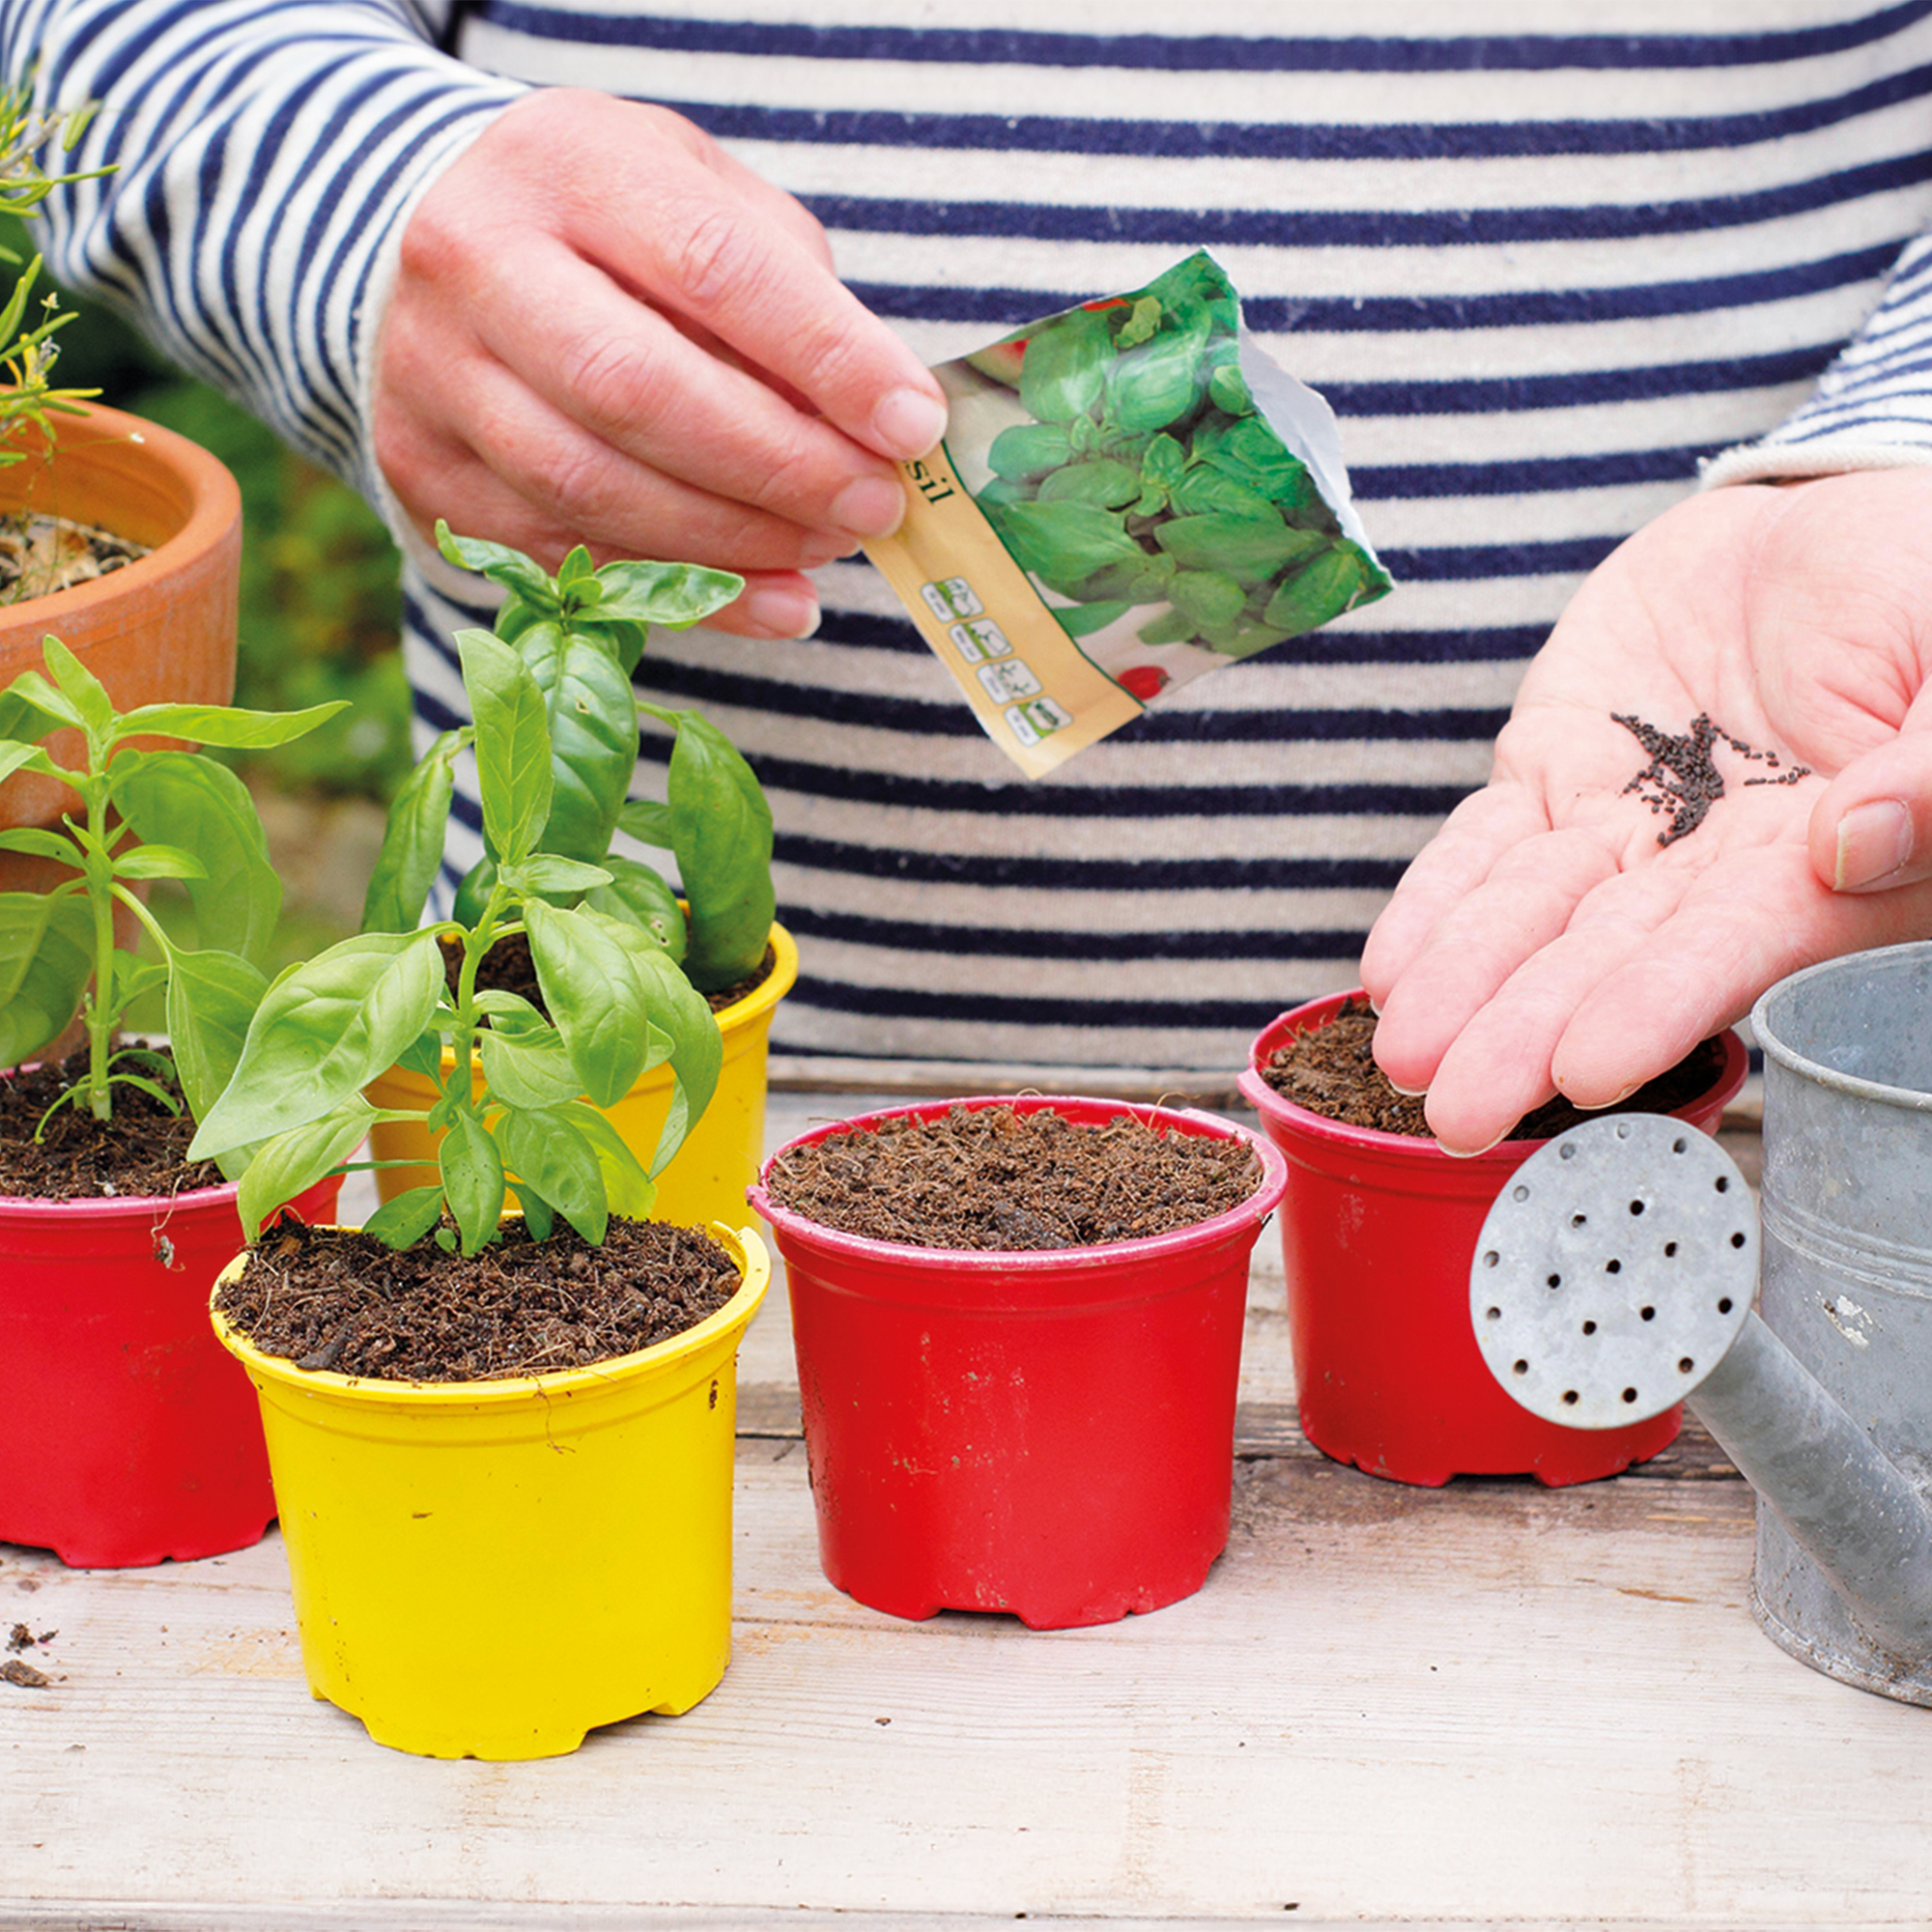
 How To Grow Seeds Quickly: 8 Expert Tricks For Fast Flowers & Crops
It's never too late to start growing! Jump-start your flower or vegetable garden with these pro tips and tricks for germinating seeds in record time.
By Amy Grant