Victorian Rhubarb History - What Is Victoria Rhubarb


Everyone is all abuzz about heirloom plants. Victoria rhubarb is one of the best tasting varieties with a long history of use. You might recognize the taste from your grandma's pies. It was developed over 175 years ago and has been in kitchen gardens ever since. It was introduced to commemorate Queen Victoria, a testament to her long life and reign.
What is Victoria Rhubarb?
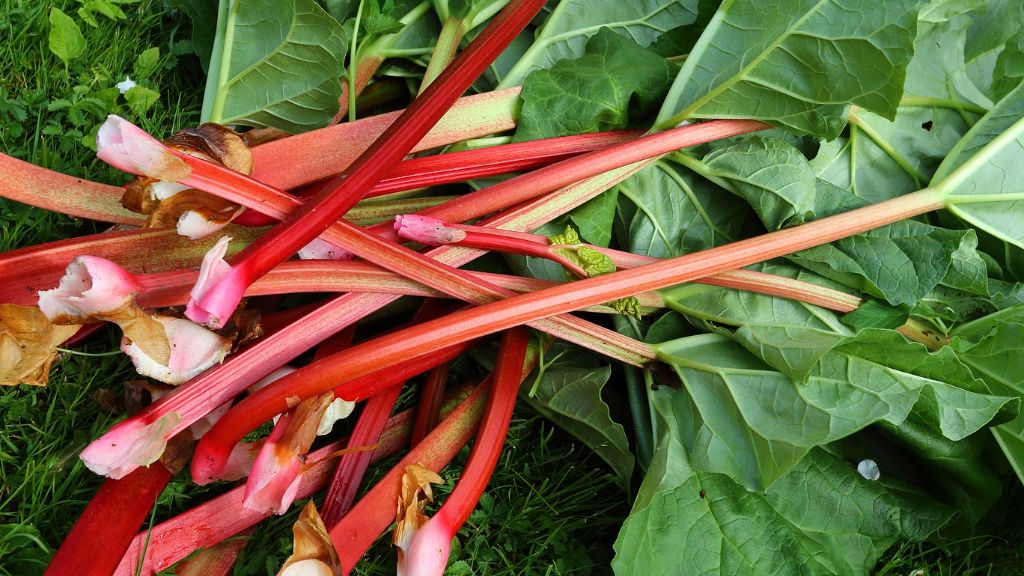
One of the sweetest and least tart rhubarbs, Victoria rhubarb was offered in 1837, the year Victoria became queen. It can be harvested in its second year and has crisp, tender stems that make excellent cobblers, pies, compotes and wines. Those traits sent its popularity soaring and the plant has been used and traded ever since. Victorian rhubarb history may have started to honor the new queen but it hasn't ended. At the time of its introduction, it was one of the few rhubarbs that had bright red color. Most varieties were yellow and had inferior flavor.
Victorian Rhubarb History
Victoria rhubarb was created by Joseph Myatt of Deptford, England. Rhubarb had been used previously, but the sweeter flavor of this variety encouraged bakers and cooks of the period to expand its culinary range. While, technically, rhubarb is a fruit, it is usually used in desserts. However, rhubarb was also used at the time in many entrees, often included in meat dishes and imparting a sweet tang to sauces and chutneys. Lamb is just one example of a popular meat pairing. Victoria rhubarb ruled the day as the best of its kind. A simple but elegant sauce to use over ice cream is easy to make. Wash rhubarb stems and cut them into bite sized pieces. Place them in a saucepan with enough water to cover the bottom of the pot. Add sugar to taste and a dash of lemon juice. Cook the sauce over medium, stirring often until the rhubarb cooks down. Serve hot or cold over your favorite ice cream.
Growing Victoria Rhubarb
Rhubarb is quite easy to grow. You can plant from seed or transplanted roots. Choose a location with plenty of sun in well-drained soil. It is best not to disturb the plant once it establishes itself, so prior preparation of the soil is essential. Till it deeply and incorporate compost. Plant roots in early spring as soon as soil is workable. If you have purchased bare roots too early to plant, simply store them in moist sand in a cool area until all danger of frost has passed. In about 8 weeks, the new shoots should be poking out of the soil and large leaves unfurl. Keep in mind the leaves are not edible and contain large amounts of oxalic acid, which is irritating to the mouth and stomach.
Gardening tips, videos, info and more delivered right to your inbox!
Sign up for the Gardening Know How newsletter today and receive a free copy of our e-book "How to Grow Delicious Tomatoes".
-
 Best Tomatoes For Containers: 10 Tastiest Varieties For Plentiful Produce In Compact Areas
These are the best tomatoes for containers that prove you don't need to have a large space or elaborate garden to grow delicious produce.
By Bonnie L. Grant
-
 Ultimate Potted Flowers For Spring: 8 Brilliant Blooming Options for Spring Containers
Celebrate the most uplifting of seasons with the most dazzling container flowers imaginable. Here, we present some of the loveliest potted flowers for spring…
By Tonya Barnett
